What Happens When Acid Meets Base? Create the Crystals of Neutralization — A Visible Chemistry Drama (HCl & NaOH Experiment)
Hi, I’m Ken Kuwako, your Science Trainer. To me, every day is an experiment!
Pop quiz: what happens when “sour” meets “bitter”—two completely opposite personalities? In the world of science, we witness a fascinating drama called neutralization, where substances with intense traits hold hands and cancel each other out. Today, I’ll introduce you to an exciting experiment that captures the “visible footprints of chemistry”—the creation of beautiful crystals. With just a few simple materials, let’s dive into the depths of science while enjoying a magical show of changing colors!
Preparation First! The Key to Success is “Perfect Concentration”
Just like cooking, the “prep work” is vital for a successful experiment. For our ingredients, we’ll use a 0.1 mol/L aqueous solution of Hydrochloric Acid (the classic acid) and Sodium Hydroxide (the classic alkali).
Let’s talk a little bit about concentration. A 0.1 mol/L mix is the “Goldilocks zone” for middle school experiments—it’s not too reactive, yet the color changes are vivid and clear.
For this setup, I added 4 mL of hydrochloric acid to a generous 480 mL of water. For the sodium hydroxide, I dissolved 2 g into 500 mL of water. This prepares enough for four full classes (10 groups x 4 classes).
Let the Experiment Begin! The Moment the Magic Happens
1. Giving the Acid its “Signature Color”
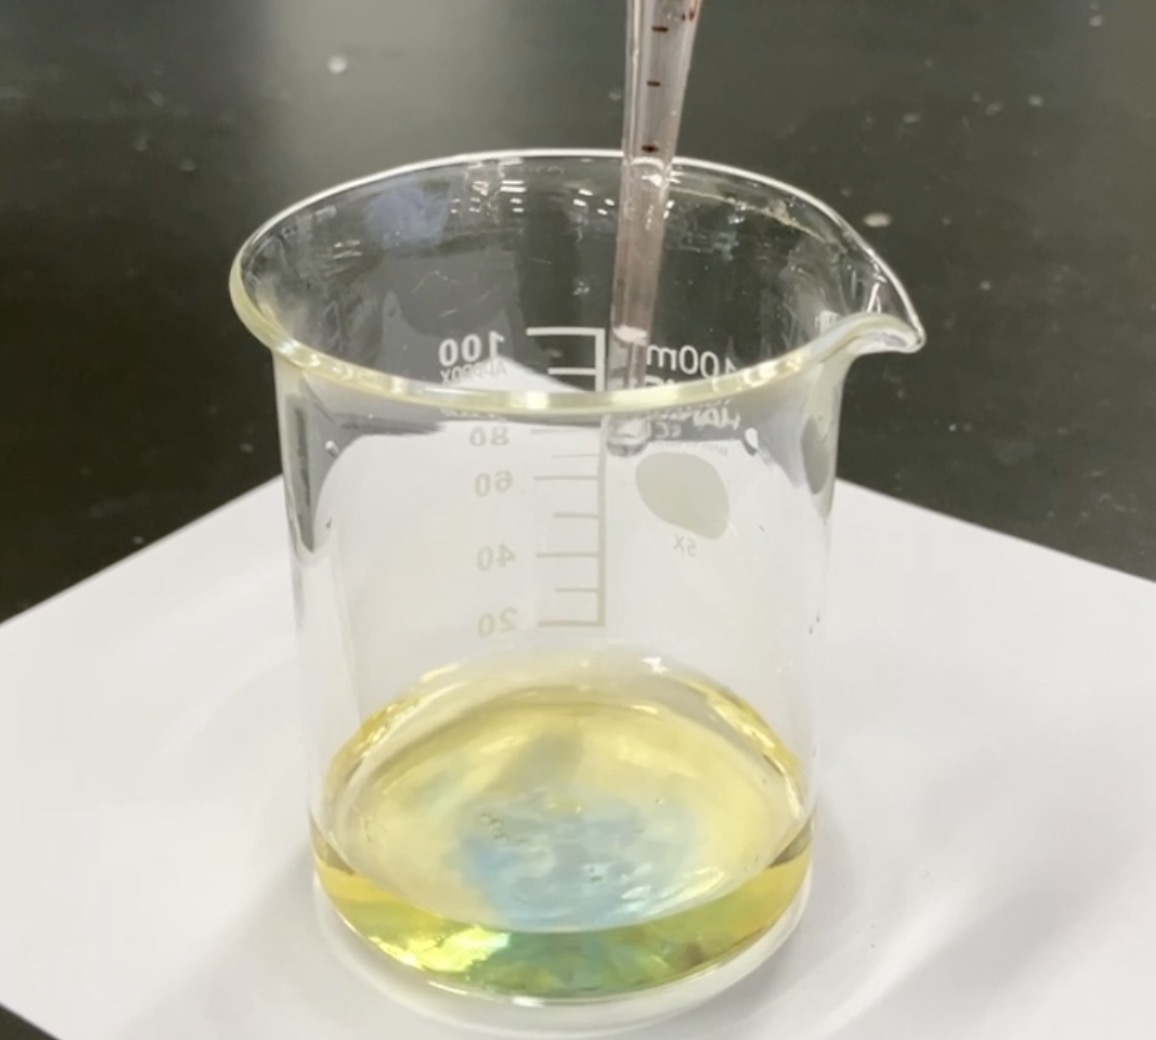
First, use a pipette to put 10 mL of hydrochloric acid into a 100 mL beaker (if preparing for one class, you can pre-fill these). Pro tip: Place a sheet of white paper under the beaker to make the color changes pop! Next, add about 5 drops of BTB solution. In an instant, it turns a brilliant yellow! This tells us the solution is acidic.
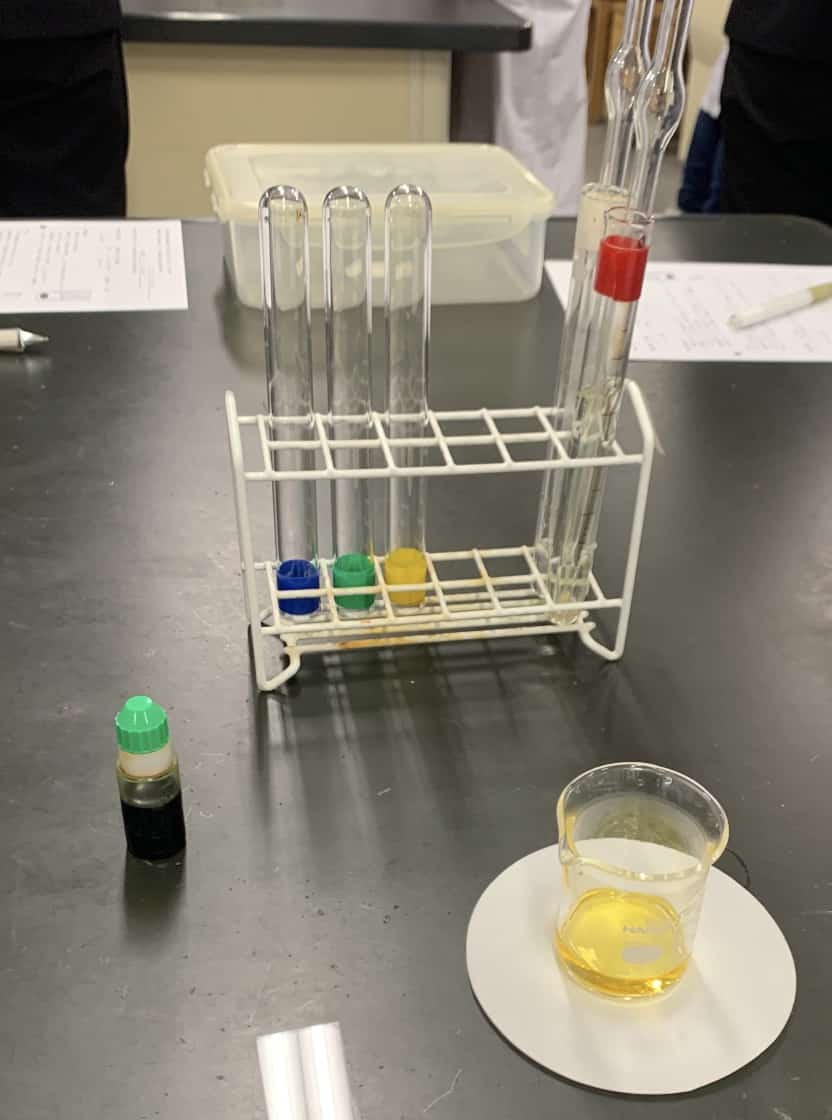
The solution turns yellow!
Using a pipette requires delicate control of your fingertips. It’s a fundamental science skill, so it’s great to practice it here.
2. The Neutralization Tug-of-War
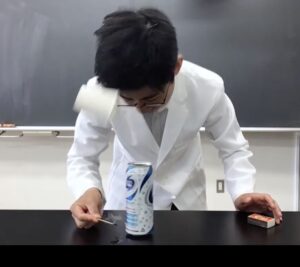
Next, add the sodium hydroxide solution 2 mL at a time, stirring gently with a glass rod.
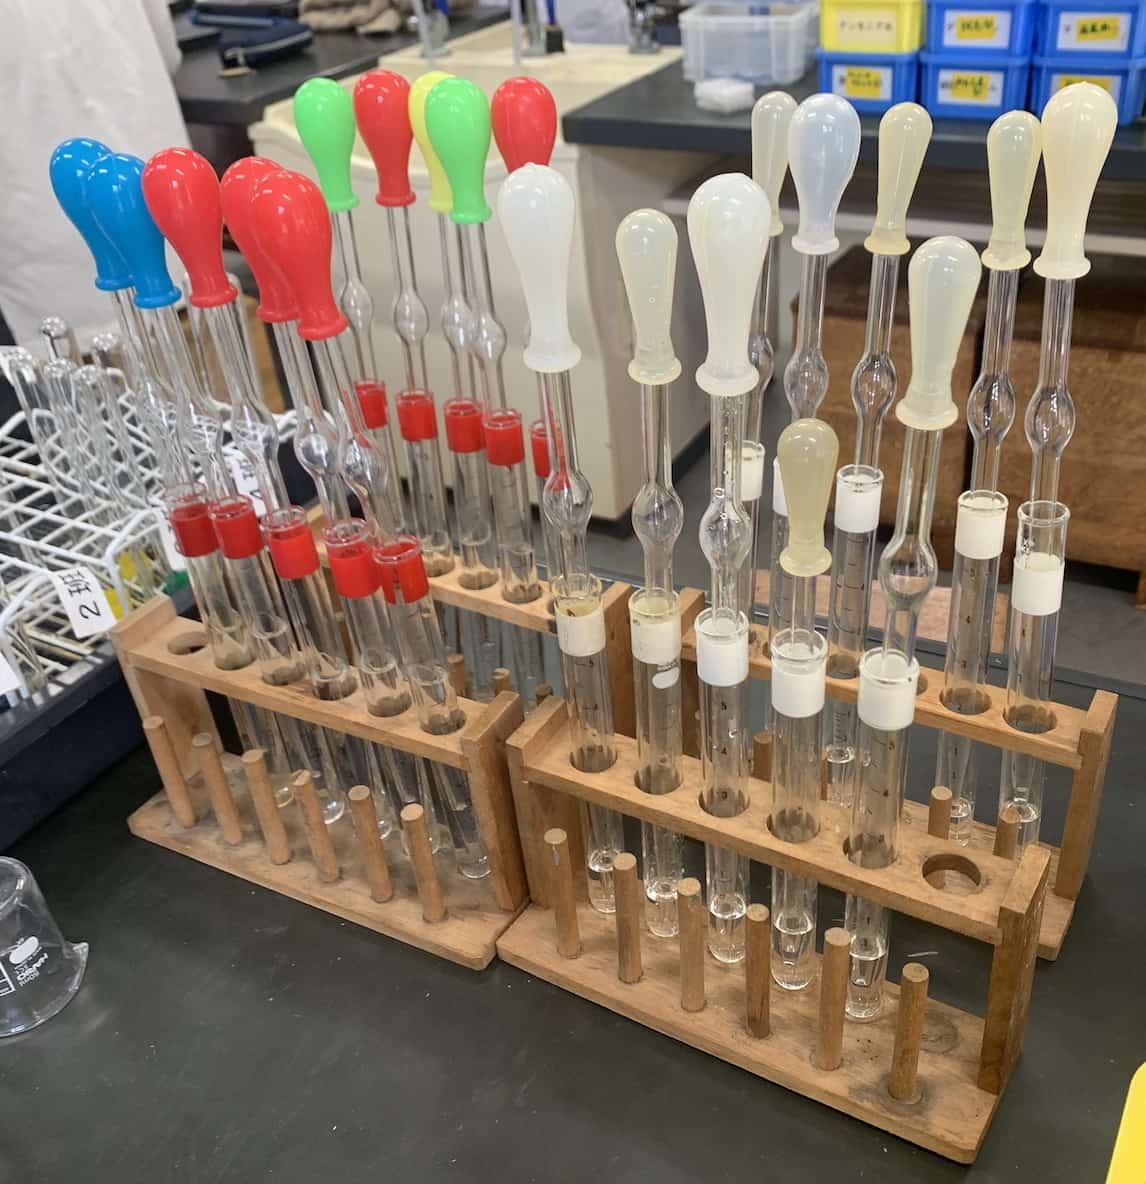
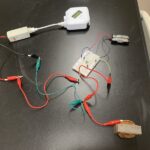
Here is the setup. White label is sodium hydroxide, red is hydrochloric acid. For a single class, pre-fill test tubes with 4 mL of acid and 14 mL of sodium hydroxide.
The yellow solution will flash blue every time you add the sodium hydroxide, only to snap back to yellow. Once you’ve added around 10 mL, the solution finally stays blue! This is proof that it has swung toward “alkaline.” It’s a signal that our goal—the “neutral point”—is just around the corner.
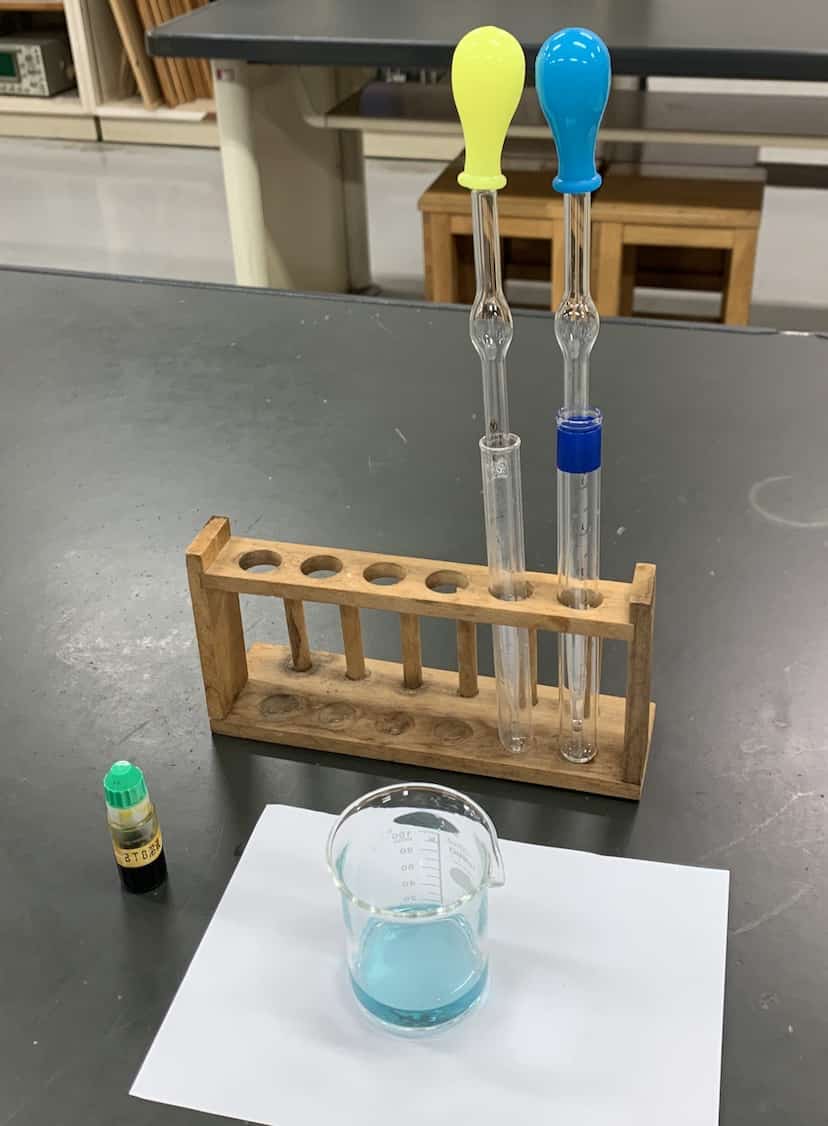
Oops, went too far!
3. The Joy of Fine-Tuning: Aim for the “Perfect Green”
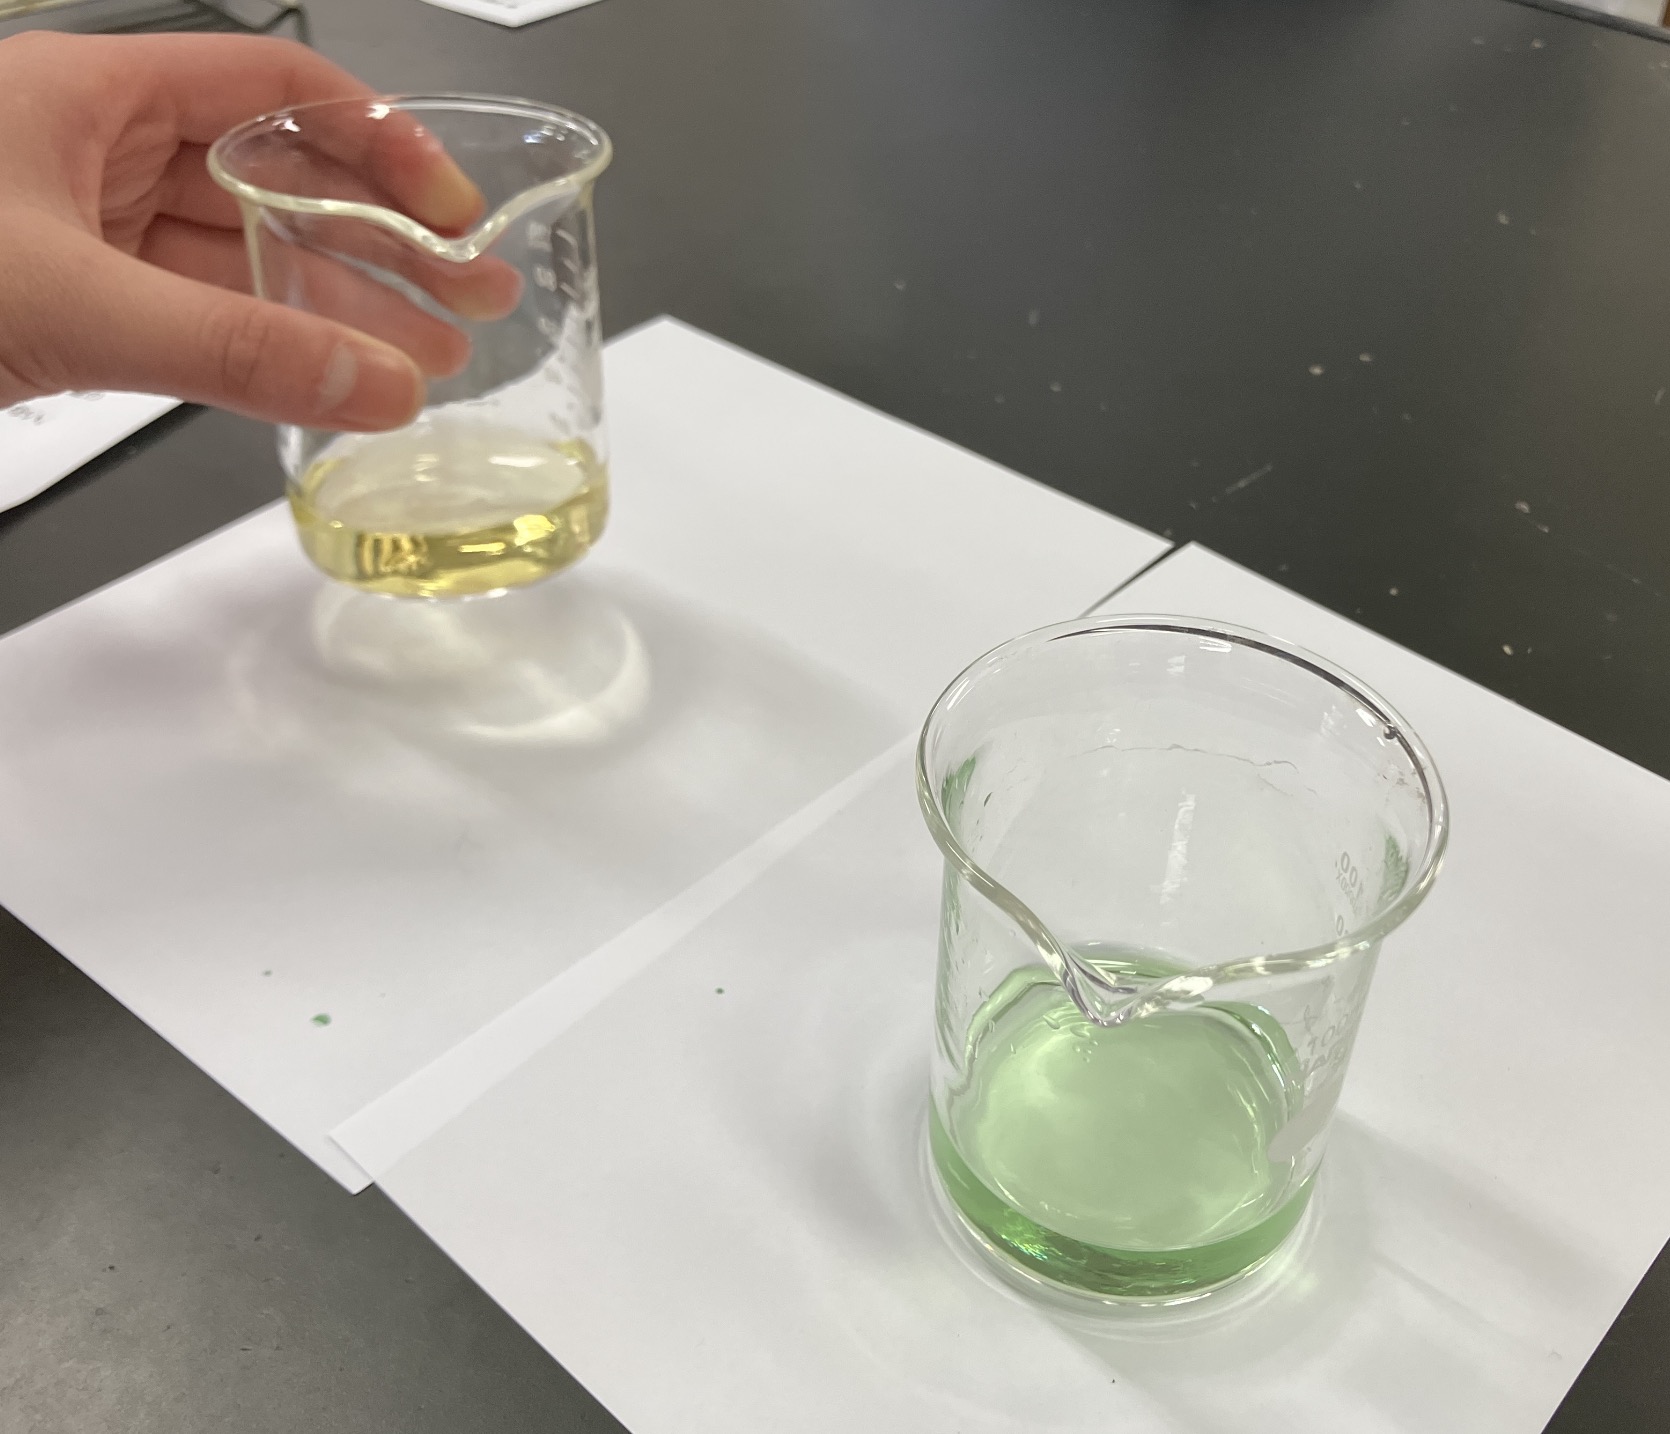
If it turns blue, the real game begins. Carefully add the hydrochloric acid one drop at a time to reach that elusive green that signals neutrality.
“Oh, it’s yellow again!” “Now it’s too blue!”
This back-and-forth micro-adjustment is actually the highlight of the experiment. When a group finally hits that perfect, beautiful green, cheers erupt across the classroom. A focused team can reach this “miracle green” in about 10 minutes.

Success!
The Grand Finale: Observing “Micro-Jewels”
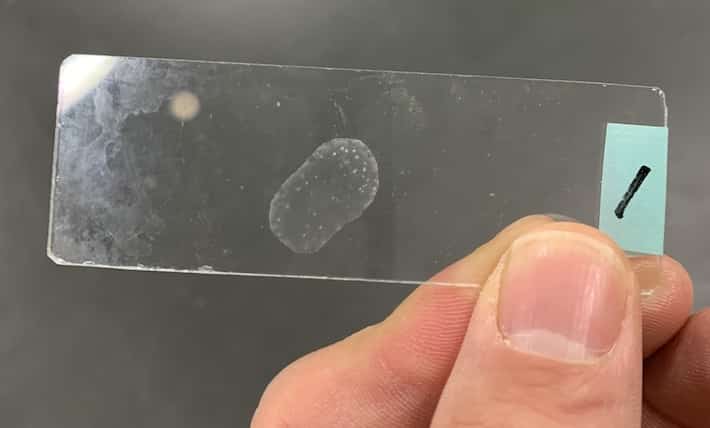
Once neutralization is complete, it’s time for the finishing touch. Place one drop of the solution onto a slide glass and let the water evaporate. Then, wait for it…
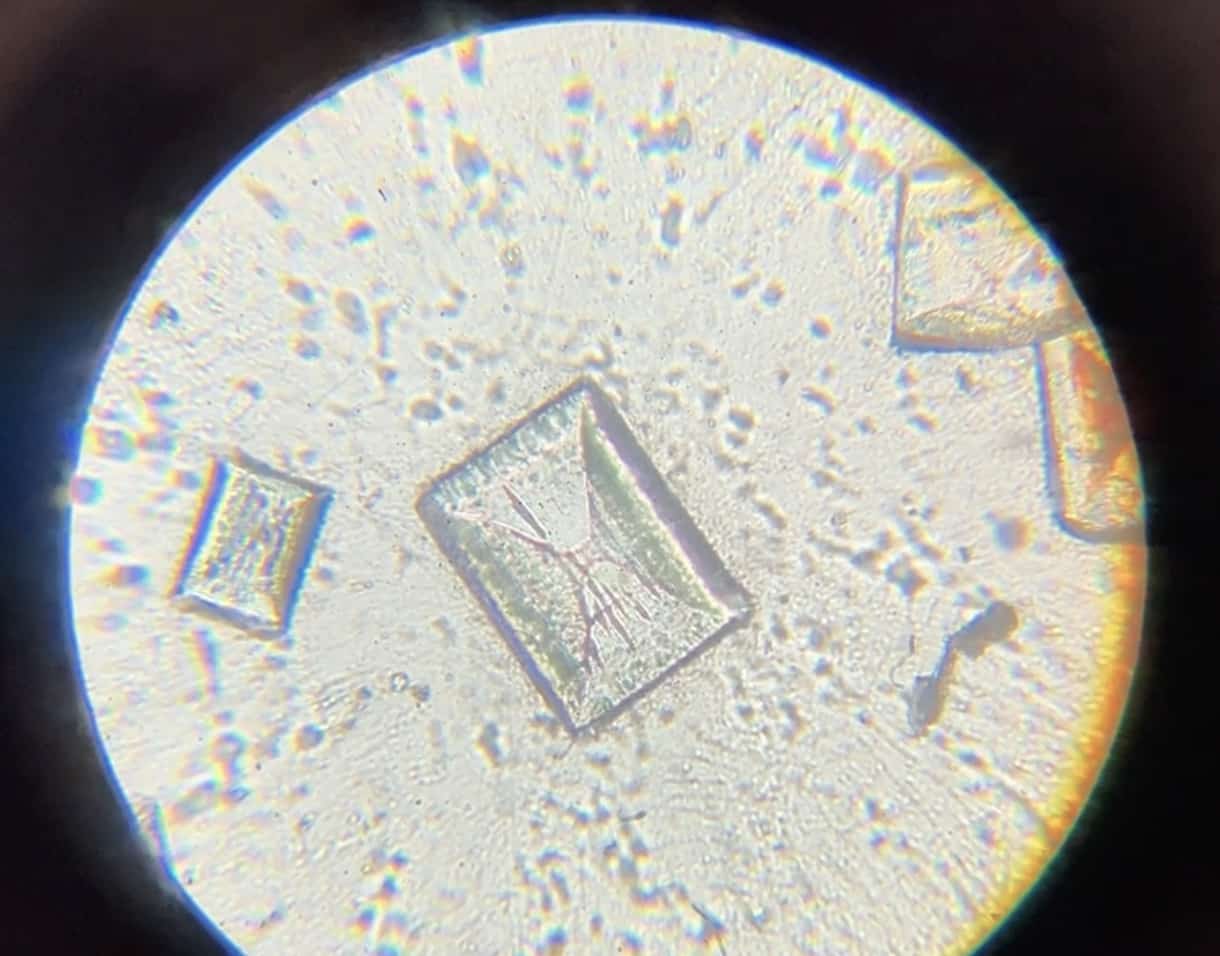
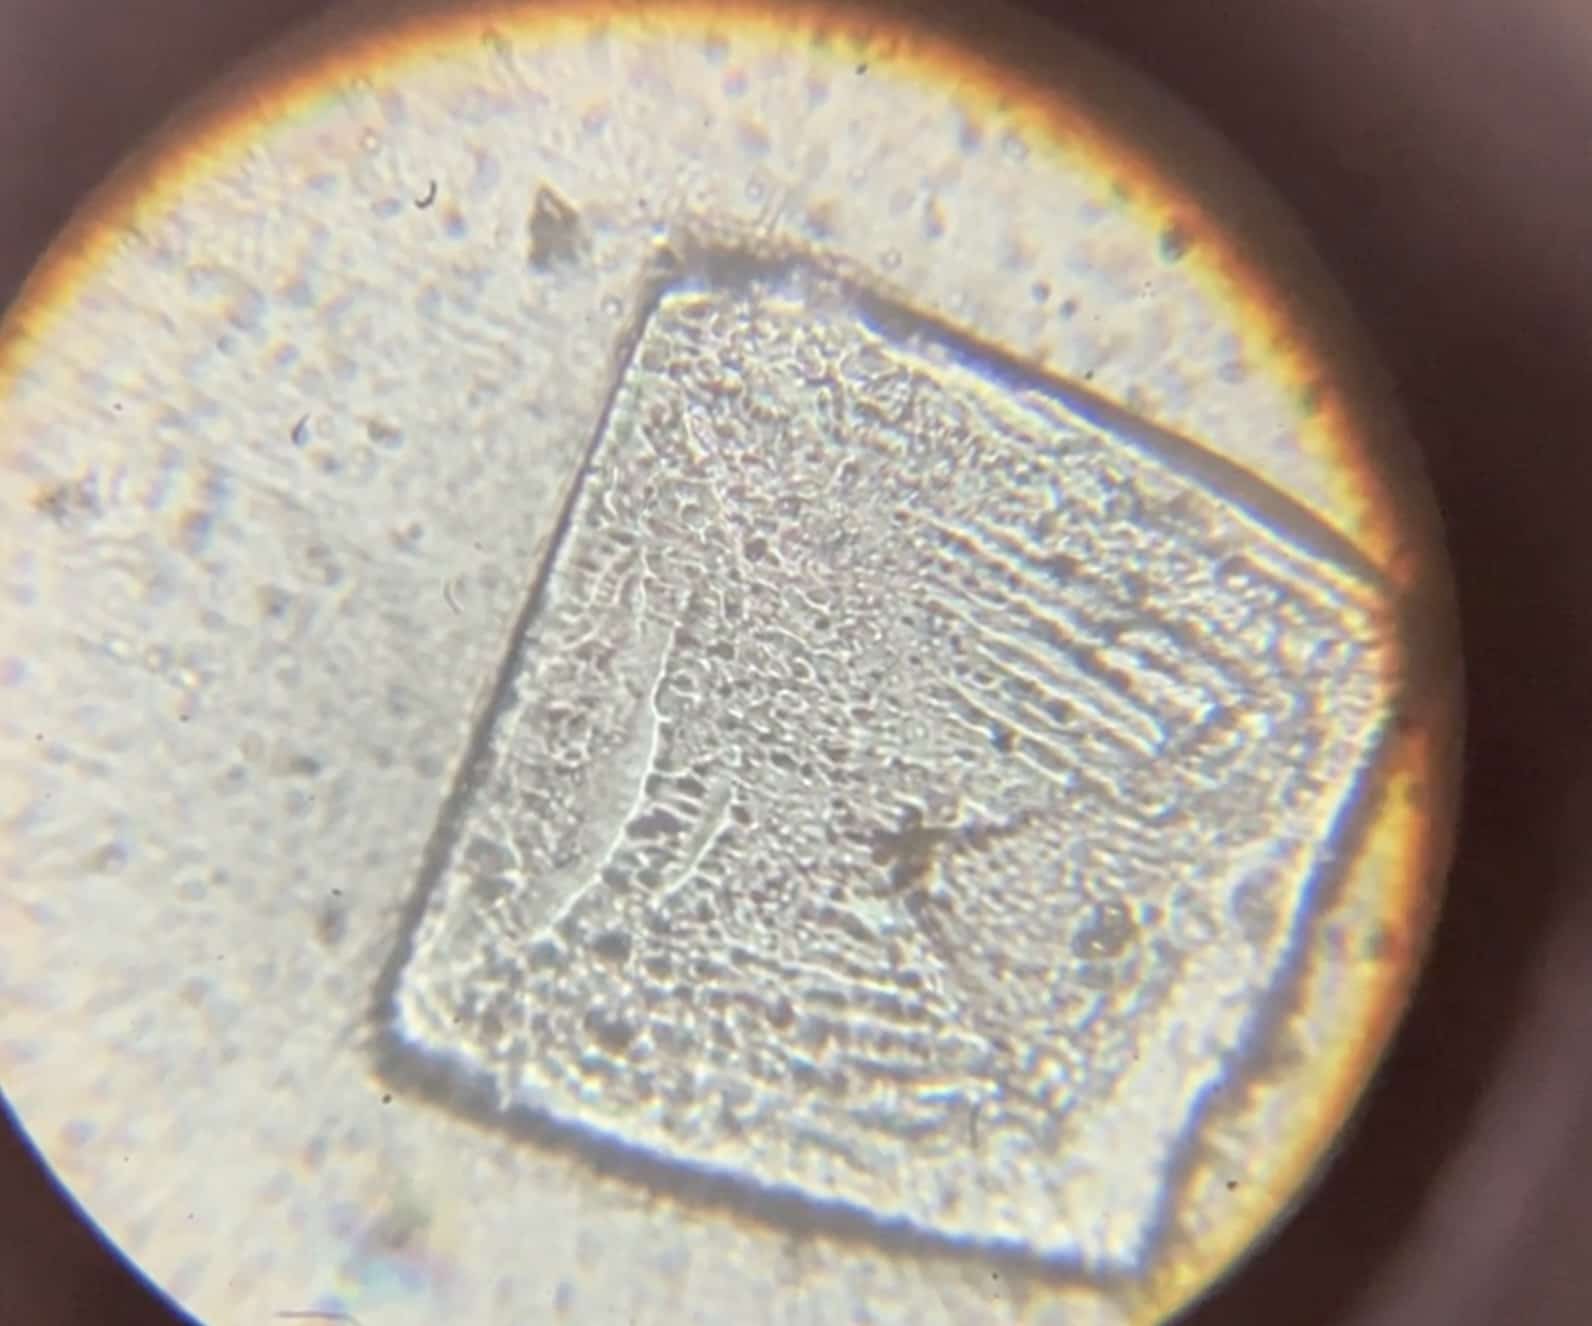
When you look through a microscope in the next lesson, you’ll find square, transparent, and breathtakingly beautiful crystals waiting for you!
It’s helpful to label your slides with a number.
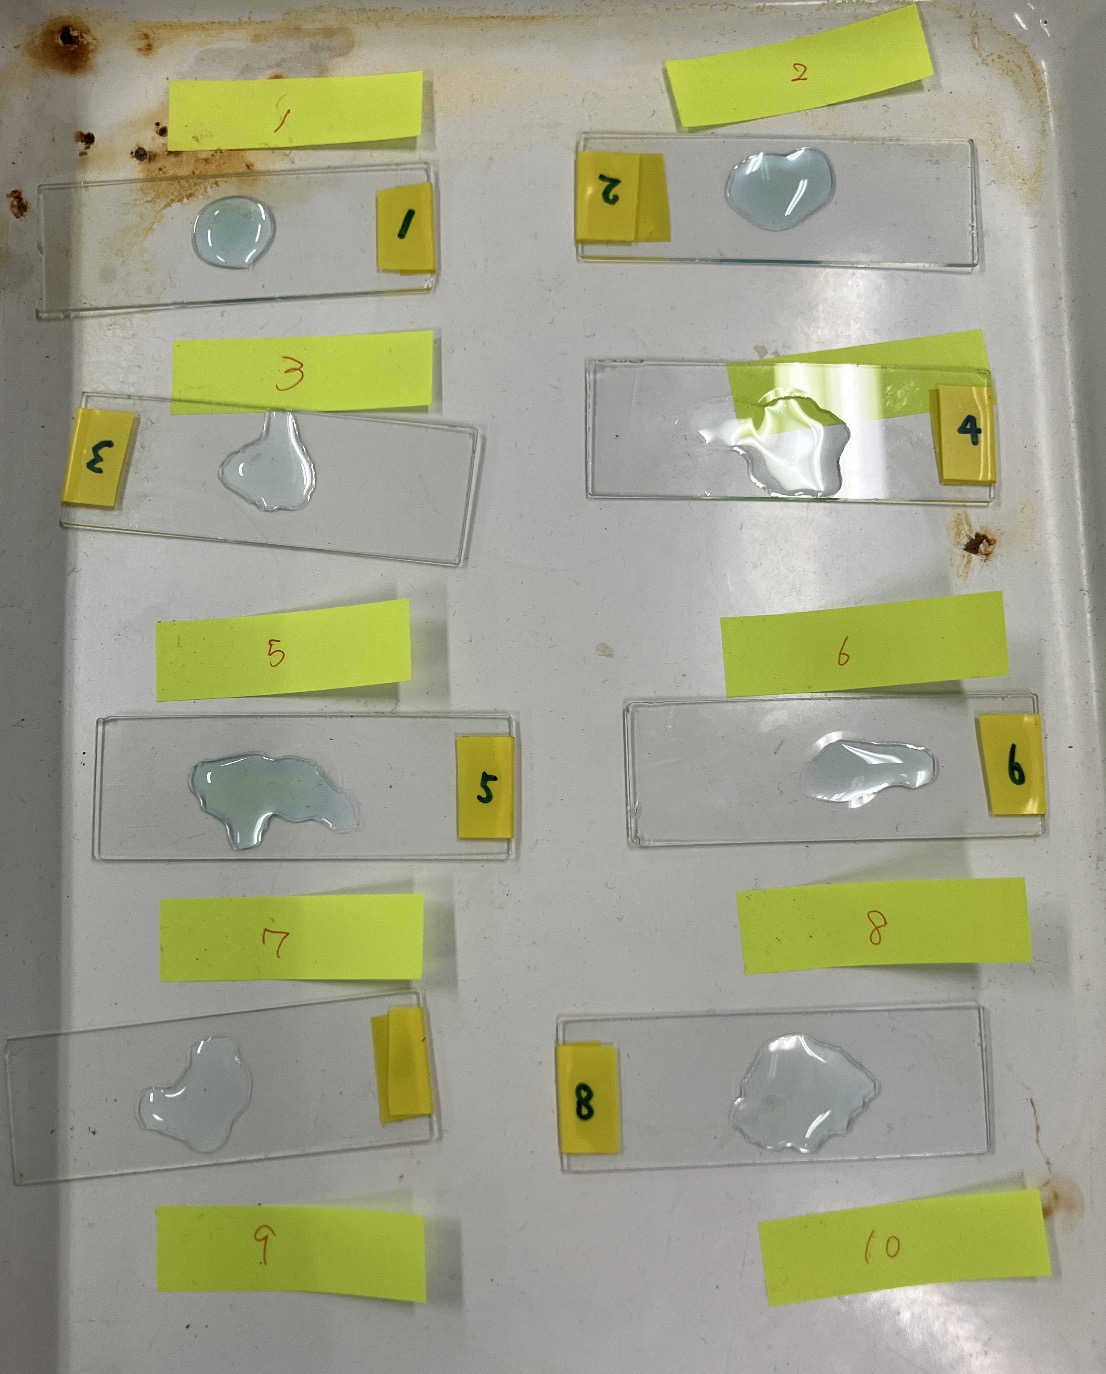
Observation usually happens in the following session, but if you prepare a few slides in advance, students can see the results immediately!
This substance is actually something very familiar: “Table Salt” (Sodium Chloride). It’s the definitive proof that the acid and alkali bonded to transform into something entirely new. These perfectly ordered cubes look just like tiny jewels from a microscopic world.
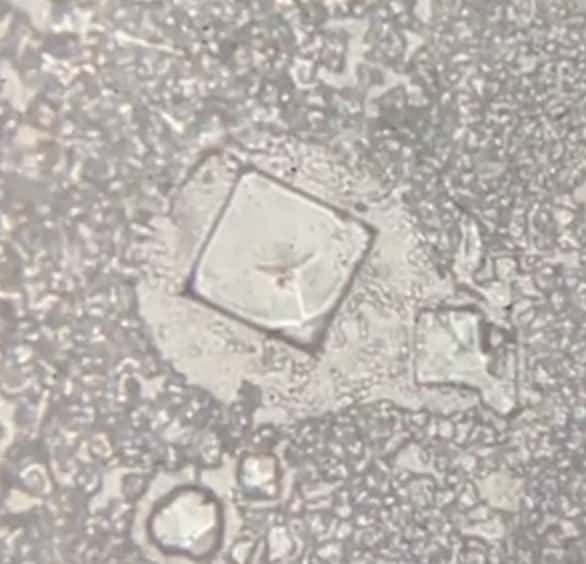
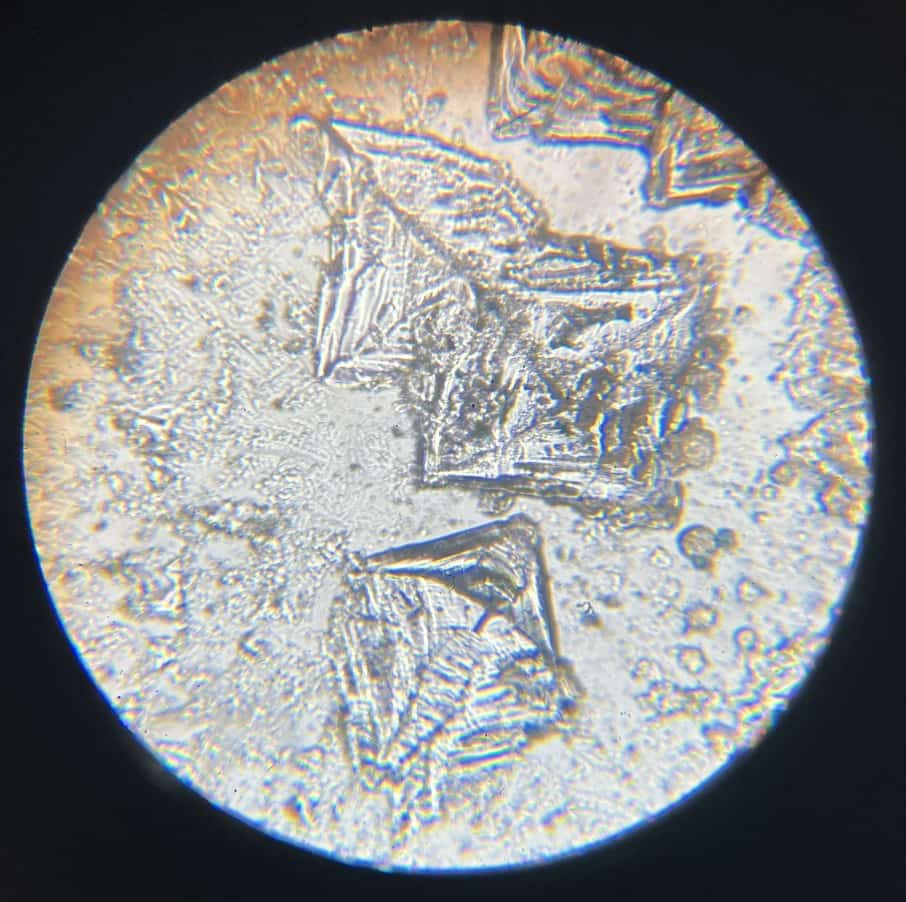
Sometimes, you might even spot tree-like dendritic crystals, which are likely remnants of the sodium hydroxide.

This experiment allows students to enjoy vibrant color changes while learning the fundamentals of neutralization, ending with the wonder of crystal observation. It takes a bit of finesse to prepare, but seeing the students’ faces light up with surprise and discovery makes every second worth it for a science teacher. I hope you’ll try this “color magic” and “crystal sparkle” for yourself and feel the true joy of science!
Inquiries and Requests
Bringing the wonder of science closer to you! I share fun experiments you can do at home and easy-to-follow tips. Feel free to explore!
My “Science Notebook” is now a book! Details here.
Learn more about me, Ken Kuwako, here.
For requests (writing, speaking, workshops, TV supervision, etc.), click here. – Get the latest updates on X (formerly Twitter)!
![]() Check out my experiment videos on the Science Material Channel!
Check out my experiment videos on the Science Material Channel!
7月のイチオシ実験!
夏でプシュッと爽やか実験!

テレビ番組監修・イベント等のお知らせ
- 6月30日(火) 6/30 23:56〜 【科学監修・出演】「地球まるごと大実験ネイチャーティーチャー」(TBS)
- 7月18日(土) 教員向け実験講習会「ナリカカサイエンスアカデミー」の講師をします。お会いしましょう。
- 12月26日(土) ナリカサイエンスアカデミー(教員向け実験講習会)開催
書籍のお知らせ
- 7月16日発売 『高校入試 分解問題集 理科』(学研)…難しい問題も小さな問題に分解することで、問題を解くことができます。そんな分解の技術が身につくように深く関わりを持って作りました。
- 『大人のための高校物理復習帳』(講談社)…一般向けに日常の物理について公式を元に紐解きました。特設サイトでは実験を多数紹介しています。※増刷がかかり6刷となりました(2026/02/01)

- 『きめる!共通テスト 物理基礎 改訂版』(学研)… 高校物理の参考書です。イラストを多くしてイメージが持てるように描きました。授業についていけない、物理が苦手、そんな生徒におすすめです。特設サイトはこちら。

各種SNS(更新情報をお届け!)
【日本語】X(Twitter)/instagram/Facebook 【英語】BlueSky/Threads
Explore
- 楽しい実験…お子さんと一緒に夢中になれるイチオシの科学実験を多数紹介しています。また、高校物理の理解を深めるための動画教材も用意しました。
- 理科の教材… 理科教師をバックアップ!授業の質を高め、準備を効率化するための選りすぐりの教材を紹介しています。
- Youtube…科学実験等の動画を配信しています。
- 科学ラジオ …科学トピックをほぼ毎日配信中!AI技術を駆使して作成した「耳で楽しむ科学」をお届けします。
- 講演 …全国各地で実験講習会・サイエンスショー等を行っています。
- About …「科学のネタ帳」のコンセプトや、運営者である桑子研のプロフィール・想いをまとめています。
- お問い合わせ …実験教室のご依頼、執筆・講演の相談、科学監修等はこちらのフォームからお寄せください。
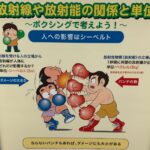
- Punches Aren’t Damage: Understanding Becquerels and Sieverts Through Boxing
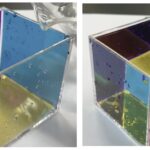
- Pour Water and a Cube Appears! The CMY Water Cube That Reveals the Magic of Color Subtraction
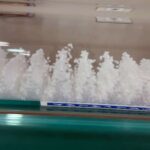
- The Mysterious Device That Makes Styrofoam Float in Midair — Visualizing Sound Waves with a Kundt’s Tube
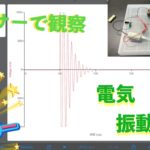
- The Switch Is Off, But It Won’t Stop! Capturing the Mystery of Coil Oscillations with a Sensor (EasySense V-Hub)
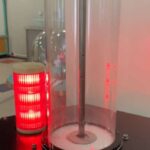
- Eddy Currents Launch Metal Rings Into the Air — The Electromagnetic Magic of Tsukuba Expo Center
- Caught in the Lab: Does Current Actually Hesitate? A Coil’s 0.0005-Second Story
- Chaos to Harmony: The Secret Behind 15 Pendulums Dancing in Perfect Sync
- It Went Off in Class! How Our “Human Chain Shock” Experiment with a Van de Graaff & Leyden Jar Spectacularly Failed

- Why Do Your Eyes Lie? Experience Your Brain’s “Prediction Mode” with 3D Trick Art (Tsukuba Expo Center)