See the Hidden Shapes of Sound! Exploring Resonance with a Tablet and Water (Air Column Resonance Experiment)
Hello, this is Ken Kuwako, your Science Trainer. Where every day is an experiment.
“Sound” is invisible to the naked eye. But wouldn’t you feel a spark of excitement if you could capture those invisible waves perfectly using just math and experiments? Today, I’m introducing a lesson on “Air Column Resonance.” We’ll combine modern tablet devices with good old-fashioned water and pipes to unlock the secrets of sound speed and wave shapes. Try to picture the invisible “vibrations of the air” in your mind as you read along.
Visualizing “Sound” with Tablets × Analog Experiments
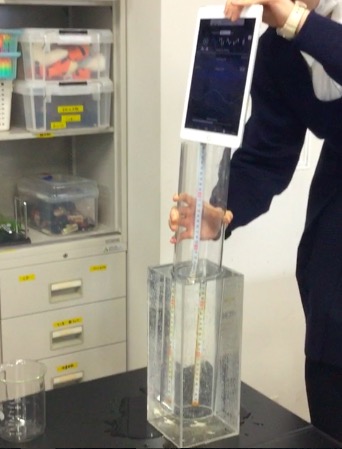
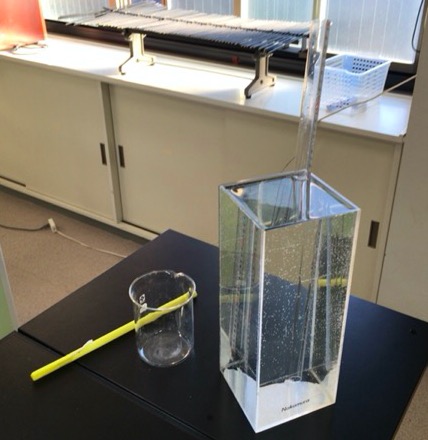
At the Narika Science Academy, we actively introduce experiments utilizing tablets within our science curriculum. Yesterday, we conducted the “Air Column Resonance” experiment using an acrylic pipe and a tablet. The mechanism behind this experiment is simple, yet the science runs deep. We use an oscillator app on the tablet to continuously project a sound at a precise frequency into the acrylic pipe. Then, by raising and lowering a water container connected to the bottom, we change the water level (the length of the closed pipe) inside.
Suddenly, at one very specific depth, the sound jumps out—”WAH!”—becoming surprisingly loud. This is what we call resonance.
Hunt for the “Nodes” and “Antinodes” of the Sound!
If you listen closely, you will find several distinct spots where the volume spikes. We vary the lengths and measure the air column at each of these points.
Inside the pipe, a phenomenon called a standing wave is occurring—it looks as if the wave has stopped moving. Finding the spot where the sound gets loudest means you have located the place where the air vibration is most intense (the antinode). In this experiment, measuring the difference in length between two resonance points allows us to calculate the speed of sound.
[Quiz] Is the Air Spilling Out? The Mystery of “End Correction”
Now, let’s solve a little physics puzzle. When you perform this experiment, you run into a strange phenomenon: the “calculated wave length” and the “actual pipe length” don’t quite match.
One group conducted the resonance experiment and found resonance occurred at 0.415m from the tube opening. They also measured the distance between two resonance spots (half a wavelength) and calculated the full wavelength to be 0.34m.
From this data, let’s deduce what kind of standing wave is occurring inside the tube and calculate the end correction.
If the wavelength is 0.34m, the length of the fundamental vibration (1/4 wavelength) is 0.34 ÷ 4 = 0.085m. The current resonance point of 0.415m is very close to 5 times that number (0.425m). This suggests that the 5th harmonic (the 3rd resonance point) is occurring.
However, while the calculation says 0.425m, the reality is only 0.415m. This gap exists because the sound is actually vibrating slightly outside the exit of the pipe (End Correction).
0.425m - 0.415m = ???
So, what is the answer in cm? (The answer is 1cm!) Being able to measure the invisible “spillover” of air by combining experimental values with theoretical ones—that is the real thrill of physics experiments.
Inquiries & Requests
Making the wonders and fun of science more accessible! We have compiled easy-to-understand tips and fun science experiments you can do at home. Feel free to browse around! ・The contents of the “Science Ideas Notebook” have been made into a book. Details are here ・For more about the operator, Ken Kuwako, click here ・For various requests (writing, speaking, workshops, TV supervision/appearance, etc.), click here ・Article updates are being distributed on X (formerly Twitter)!
![]() The Science Ideas Channel is currently streaming experiment videos!
The Science Ideas Channel is currently streaming experiment videos!
6月のイチオシ実験!
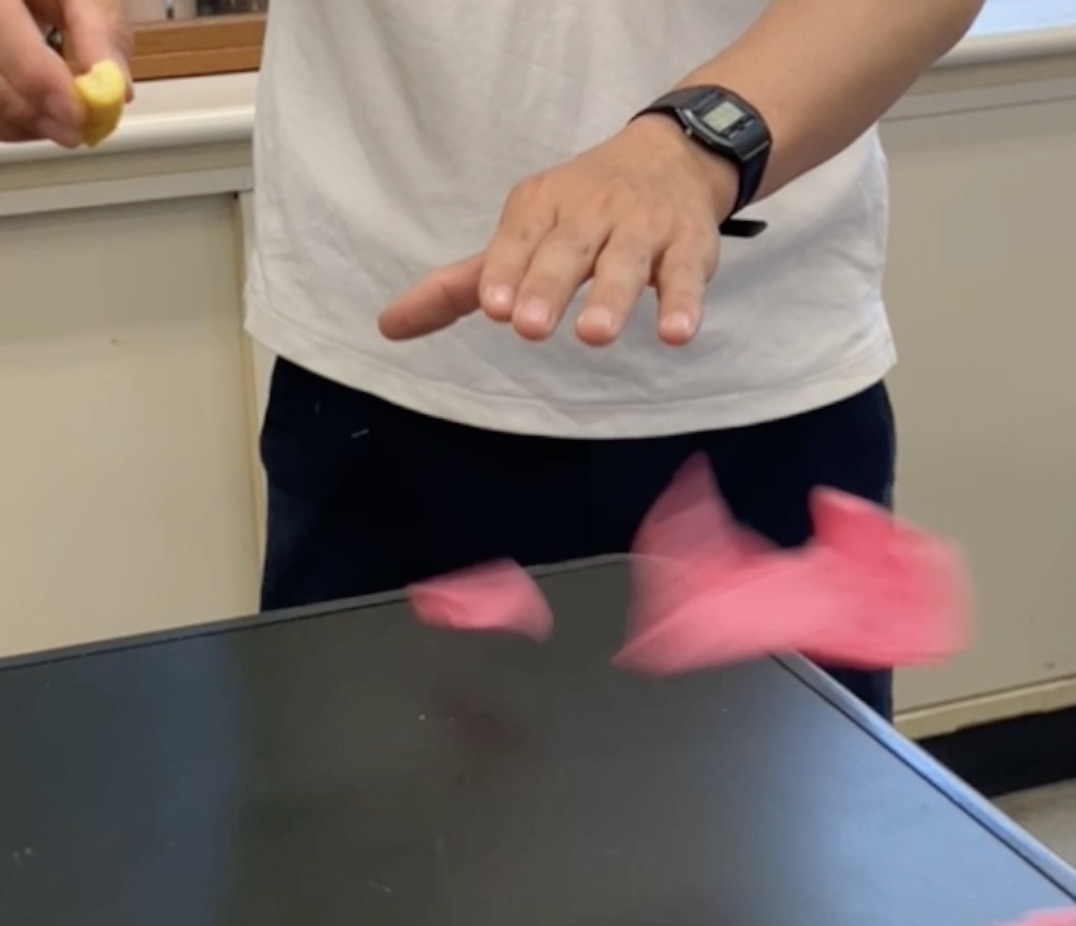
レモンやオレンジで風船を割ろう!インパクトが抜群のリモネン風船の実験
テレビ番組監修・イベント等のお知らせ
- 6月3日(水)20:30〜 「
バカリズムのちょっとバカりハカってみた!」(テレビ東京)を科学監修・出演します。テーマは「 そばの出前は何人前まで運べるのか、限界を測ってみた」です。 - 6月4日(木) 7:00〜 「THE突破ファイル」(日本テレビ)について科学監修しました。
- 6月14日(日) 千葉大学インスタレーション「探究」にて講師を務めます
- 6月26日(金) 公開研究会「脱作業化!デジタル化と段階的指導で実現する オームの法則の探究」
- 6月28日(日) ダビンチマスターズ@昭和女子
- 7月18日(土) 教員向け実験講習会「ナリカカサイエンスアカデミー」の講師をします。お会いしましょう。
書籍のお知らせ
- 『大人のための高校物理復習帳』(講談社)…一般向けに日常の物理について公式を元に紐解きました。特設サイトでは実験を多数紹介しています。※増刷がかかり6刷となりました(2026/02/01)

- 『きめる!共通テスト 物理基礎 改訂版』(学研)… 高校物理の参考書です。イラストを多くしてイメージが持てるように描きました。授業についていけない、物理が苦手、そんな生徒におすすめです。特設サイトはこちら。

各種SNS(更新情報をお届け!)
X(Twitter)/instagram/Facebook(日本語)
Explore
- 楽しい実験…お子さんと一緒に夢中になれるイチオシの科学実験を多数紹介しています。また、高校物理の理解を深めるための動画教材も用意しました。
- 理科の教材… 理科教師をバックアップ!授業の質を高め、準備を効率化するための選りすぐりの教材を紹介しています。
- Youtube…科学実験等の動画を配信しています。
- 科学ラジオ …科学トピックをほぼ毎日配信中!AI技術を駆使して作成した「耳で楽しむ科学」をお届けします。
- 講演 …全国各地で実験講習会・サイエンスショー等を行っています。
- About …「科学のネタ帳」のコンセプトや、運営者である桑子研のプロフィール・想いをまとめています。
- お問い合わせ …実験教室のご依頼、執筆・講演の相談、科学監修等はこちらのフォームからお寄せください。