What Happens When Copper and Zinc Meet Hydrochloric Acid? A “Personality Test” of Metals You Should Know Before Battery Experiments
I’m Ken Kuwako, your science trainer. Every day is an experiment!
In 9th-grade science, there is a particular unit where many students struggle, yet simultaneously find themselves captivated. That unit is “How Batteries Work.” We use smartphones and remote controls every day without a second thought. We know they run on batteries, but if someone asked, “Exactly how is that electricity created?”, surprisingly few people could give an immediate answer.
Today, I want to talk about a “little trick”—a preliminary experiment—that I always perform to help students dive deeper into the world of batteries. Instead of jumping straight into building a battery, taking a small step back is actually the fastest way to cultivate scientific thinking.
Don’t Connect Them Yet! Start with a “Solo” Conversation
Textbooks often jump straight into the procedure: take two different metals (like zinc and copper), connect them with a wire, and dunk them into hydrochloric acid. But wait just a moment!
If you show students the finished product right away, they tend to settle for a simple observation: “Oh, bubbles come out when you put them in acid.” To prevent this, I always make sure to do a preliminary test: “What happens if we put each metal into the acid one by one, all by themselves?”
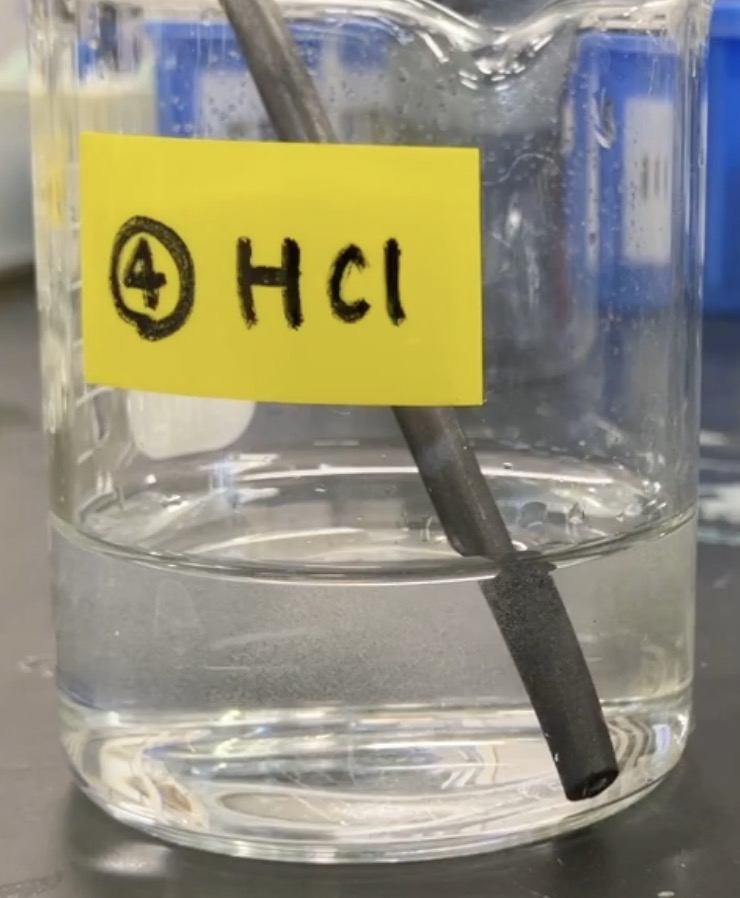
Our three contenders are: a zinc plate, a copper plate, and a carbon rod.
Getting to Know Each Metal’s “Personality”
When you place these materials into hydrochloric acid individually, their unique “personalities” (differences in ionization tendency) become crystal clear. Take a look at this video:
The Zinc Plate: The moment it hits the acid, it starts fizzing vigorously. These bubbles are proof that the zinc is dissolving and generating hydrogen gas. Students usually react with a lively “Whoa, it’s actually melting!”
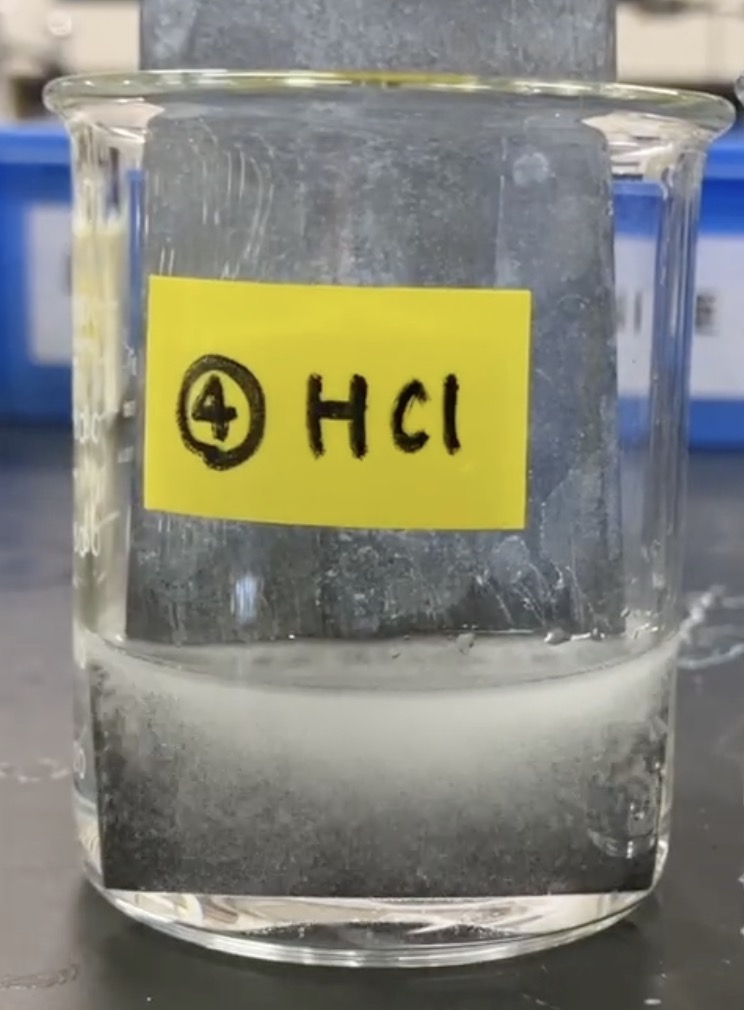
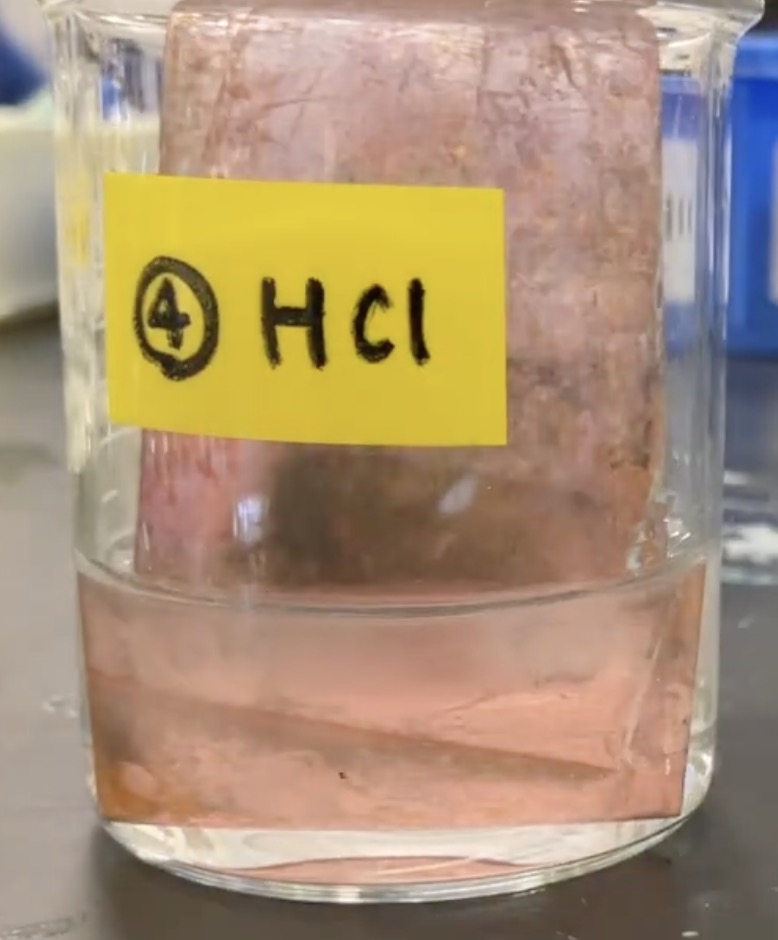
The Copper Plate: You drop it in and… silence. At first glance, nothing seems to be happening. No bubbles. However, when you take it out, there’s a surprising change. The dullness is gone, and the copper is now shiny and bright! This shows that the acid merely cleaned the oxidation (dirt) off the surface, but the copper itself did not dissolve.
The Carbon Rod: Finally, the carbon rod. You put it in, and… absolutely no reaction.
Etching these “solo reactions” into their minds serves as vital foreshadowing for the excitement to come.
Planting the Seeds of “Why?”
By doing this preliminary experiment, a giant question mark appears in the students’ minds the moment we finally connect the zinc and copper plates to form a battery.
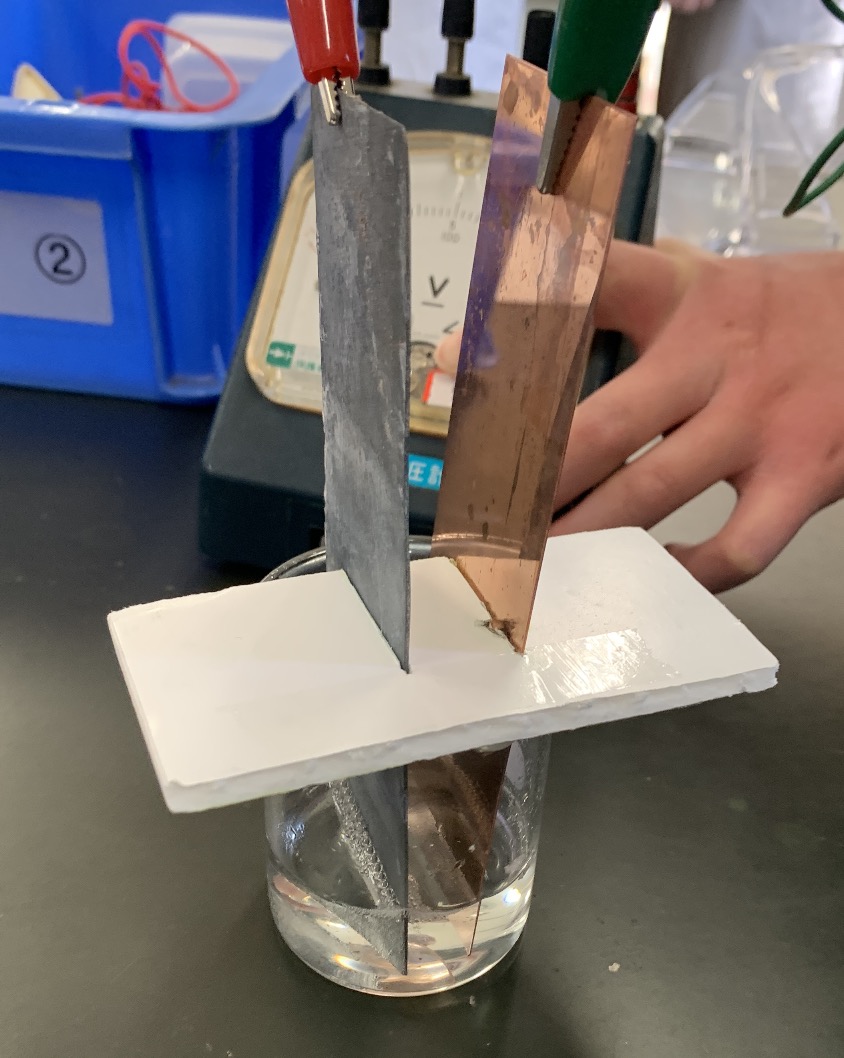
“Wait a second! There weren’t any bubbles on the copper plate before… but now that they’re connected, the copper is fizzing!?”
This sense of wonder is the driving force that pushes students to understand the movement of electrons and the true nature of electric current. A phenomenon that couldn’t happen alone suddenly occurs through a connection. That is the true “magic” of a battery.
Why Include the “Carbon Rod” at All?
By the way, why do we include a non-metal like a carbon rod in our experiment?
The reason becomes clear if I show them a “disassembled manganese battery” beforehand. That black rod in the center of a standard household battery? That’s the carbon rod.
“Let’s try an experiment using the same materials found inside a real battery.”
With just that one sentence, the reaction happening in a beaker in the science lab suddenly links to the gadgets they use every day. It’s the moment the world of the textbook connects to the real world.
Sometimes, the long way around is the shortest path. By taking the time to “converse” with each individual material before building the battery, we can significantly deepen a child’s scientific curiosity.
Inquiries and Requests
Bringing the wonder and fun of science closer to you! I share easy-to-follow tips and fun experiments you can try at home. Feel free to explore more:
My “Science Notebook” series is now a book! Details here
Learn more about Ken Kuwako here
For work requests (writing, lectures, workshops, TV supervision, etc.), click here – Follow me on X (formerly Twitter) for the latest updates!
![]() Watch experiment videos on the Science Material Channel!
Watch experiment videos on the Science Material Channel!
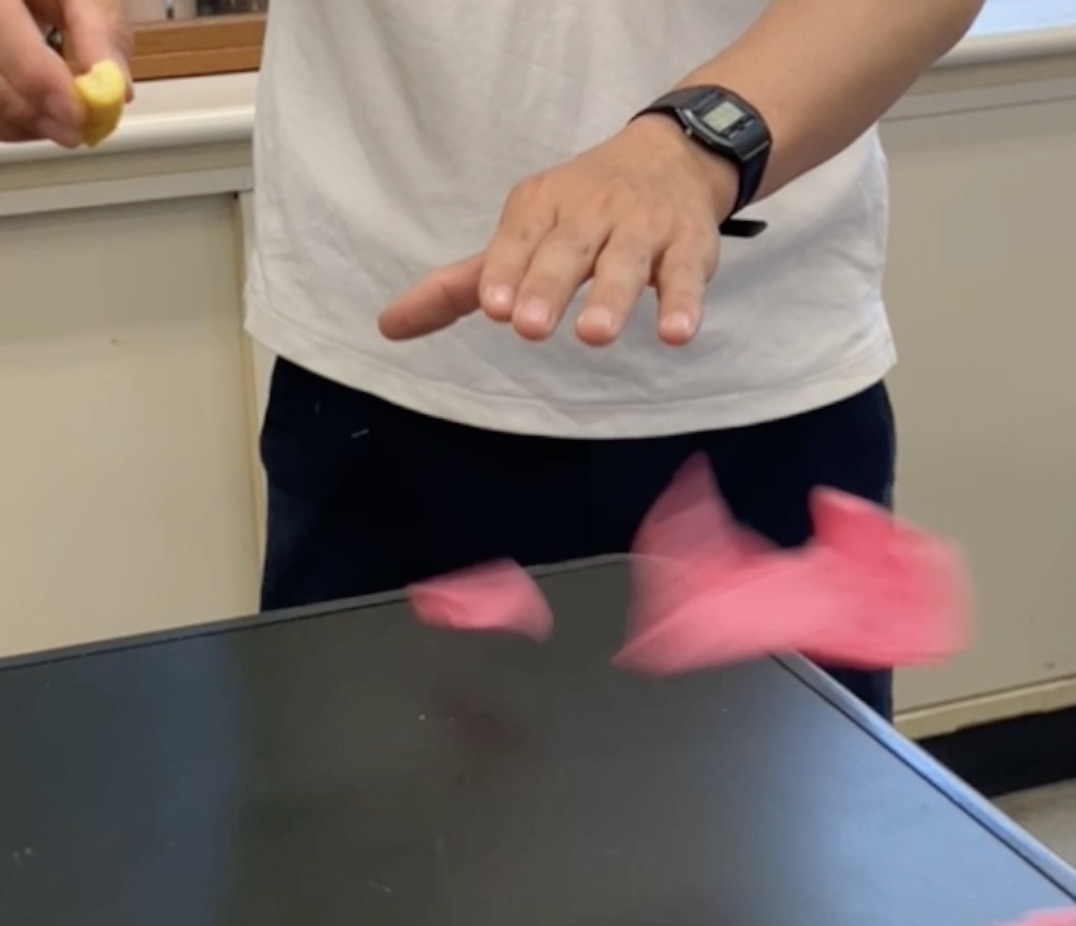
6月のイチオシ実験!
レモンやオレンジで風船を割ろう!インパクトが抜群のリモネン風船の実験
テレビ番組監修・イベント等のお知らせ
- 6月26日(金) 公開研究会「脱作業化!デジタル化と段階的指導で実現する オームの法則の探究」
- 6月28日(日) ダビンチマスターズ@昭和女子
- 6月30日(火) 6/30 23:56〜 【科学監修・出演】「地球まるごと大実験ネイチャーティーチャー」(TBS)
- 7月18日(土) 教員向け実験講習会「ナリカカサイエンスアカデミー」の講師をします。お会いしましょう。
- 12月26日(土) ナリカサイエンスアカデミー(教員向け実験講習会)開催
書籍のお知らせ
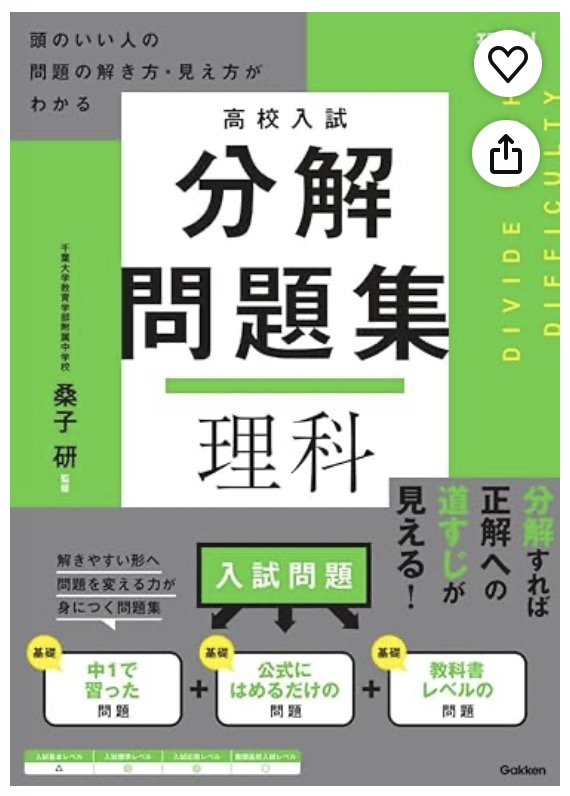
- 7月16日発売 『高校入試 分解問題集 理科』(学研)…難しい問題も小さな問題に分解することで、問題を解くことができます。そんな分解の技術が身につくように深く関わりを持って作りました。
- 『大人のための高校物理復習帳』(講談社)…一般向けに日常の物理について公式を元に紐解きました。特設サイトでは実験を多数紹介しています。※増刷がかかり6刷となりました(2026/02/01)

- 『きめる!共通テスト 物理基礎 改訂版』(学研)… 高校物理の参考書です。イラストを多くしてイメージが持てるように描きました。授業についていけない、物理が苦手、そんな生徒におすすめです。特設サイトはこちら。

各種SNS(更新情報をお届け!)
【日本語】X(Twitter)/instagram/Facebook 【英語】BlueSky/Threads
Explore
- 楽しい実験…お子さんと一緒に夢中になれるイチオシの科学実験を多数紹介しています。また、高校物理の理解を深めるための動画教材も用意しました。
- 理科の教材… 理科教師をバックアップ!授業の質を高め、準備を効率化するための選りすぐりの教材を紹介しています。
- Youtube…科学実験等の動画を配信しています。
- 科学ラジオ …科学トピックをほぼ毎日配信中!AI技術を駆使して作成した「耳で楽しむ科学」をお届けします。
- 講演 …全国各地で実験講習会・サイエンスショー等を行っています。
- About …「科学のネタ帳」のコンセプトや、運営者である桑子研のプロフィール・想いをまとめています。
- お問い合わせ …実験教室のご依頼、執筆・講演の相談、科学監修等はこちらのフォームからお寄せください。