Mixing Is the Secret! Soybean-Sized Copper in the Copper Oxide Reduction Experiment
Hi, I’m Ken Kuwako, a science trainer. Every day is an experiment!
【The Magic of Chemistry!】Get that “Red Glow” with a Copper Oxide Reduction Experiment
When teaching “metal refining” in middle school science, one of the most engaging experiments is the reduction of copper oxide. The visual impact of “a red metal appearing from a black powder!” combined with the moment the reaction “flashes with a bright red glow” is truly the highlight of chemistry. This article shares a practical guide full of tips and tricks for success, based on my own experience teaching this experiment. From preparation to cleanup, I hope this helps you plan your own class.
▼ Experiment Objective and Overview
Objective: Heat a mixture of copper oxide (CuO) and carbon to extract copper through a reduction reaction
Chemical Equation: 2CuO + C → 2Cu + CO₂↑
Materials:
Safety goggles, lab coat, copper oxide, carbon, limewater, glass tube with rubber stopper, mortar and pestle, test tube stand, 50mL beaker, gas burner, pinchcock, rubber tubing, scoopula, stand, matches, waste container, stirring rod
▼ Lesson Preparation and Required Materials
What the teacher needs to prepare in advance
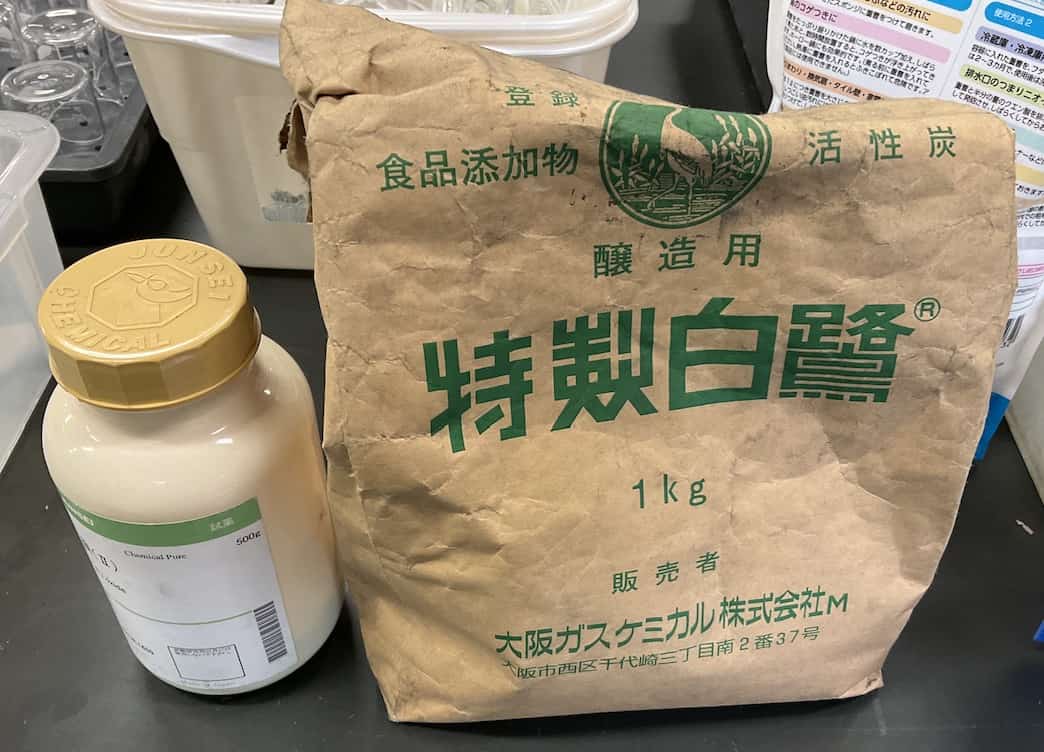
• Prepare individual packets with 2g of copper oxide (CuO) and 0.2g of carbon powder
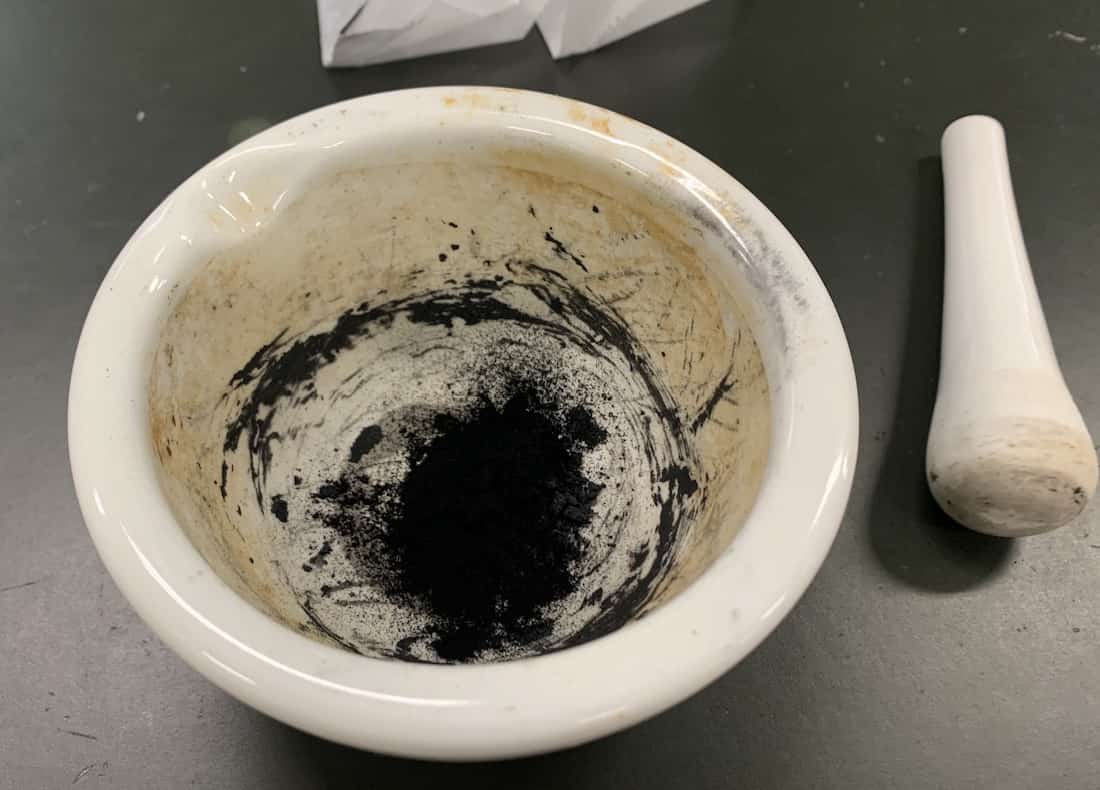
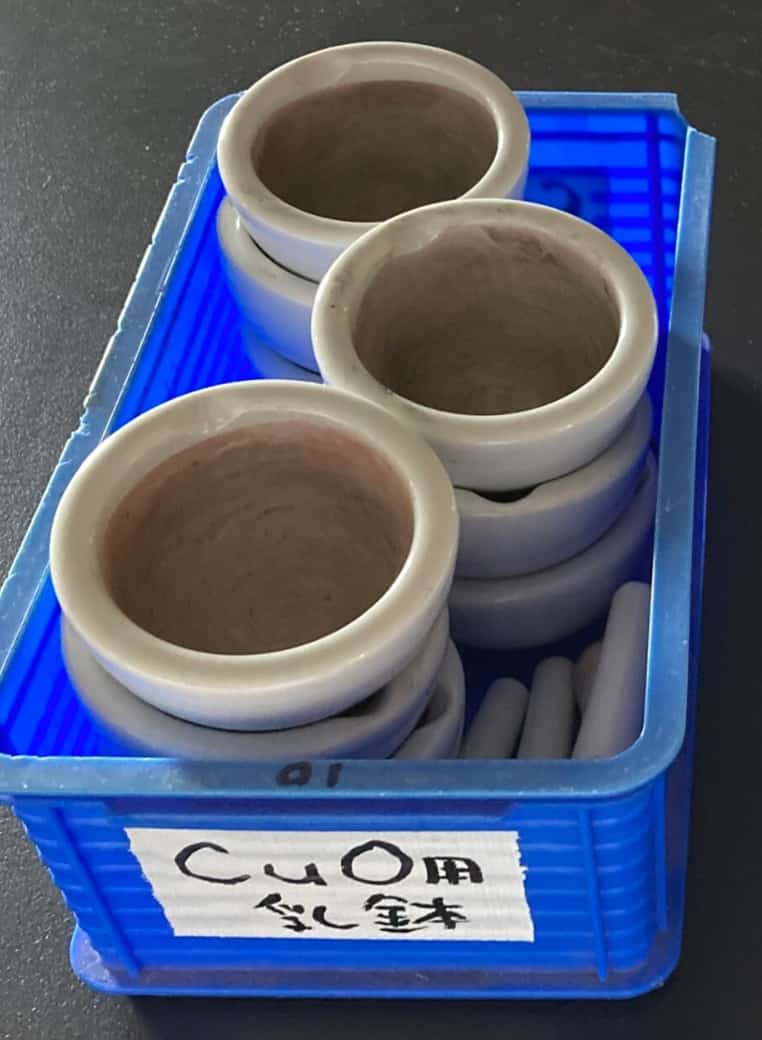
• Designate a mortar for copper oxide only and store it separately (This makes it easy to recover the powder without washing it)
Student lab equipment (per group)
• Copper oxide, carbon, mortar, pestle, test tube (heat-resistant), rubber stopper (with glass tube), pinchcock
• Limewater, beaker (50mL), stand, gas burner, matches, scoopula, stirring rod
• Test tube stand, waste container, filter paper, conductivity checker (for metal identification), etc.
Teacher’s Pre-prepared Materials:
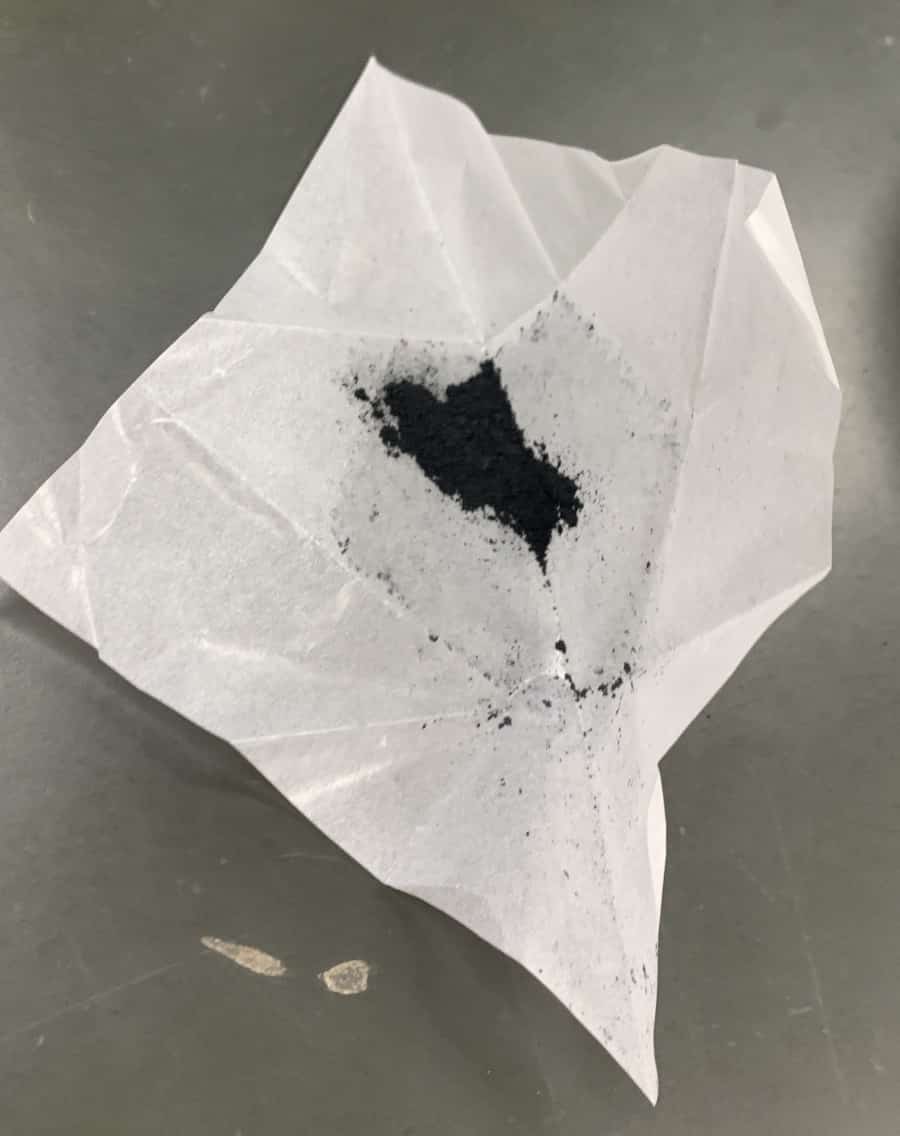
Use an electronic balance to measure out the copper oxide (Ⅱ) CuO (2g) and carbon (0.2g), and place them in separate weighing papers.
Mix 2g of copper oxide (Ⅱ) CuO and 0.2g of carbon well in the mortar and transfer the mixture to a test tube. Theoretically, the ratio of copper oxide to oxygen is 2:0.15. The mixture should be spread out a little at the bottom of the test tube, not packed down. For more details, this video is a great reference.
Next, use the scoopula to pour the mixture onto the weighing paper, then use the paper to carefully funnel it into the test tube.

Important: Mix thoroughly and spread it out a bit.
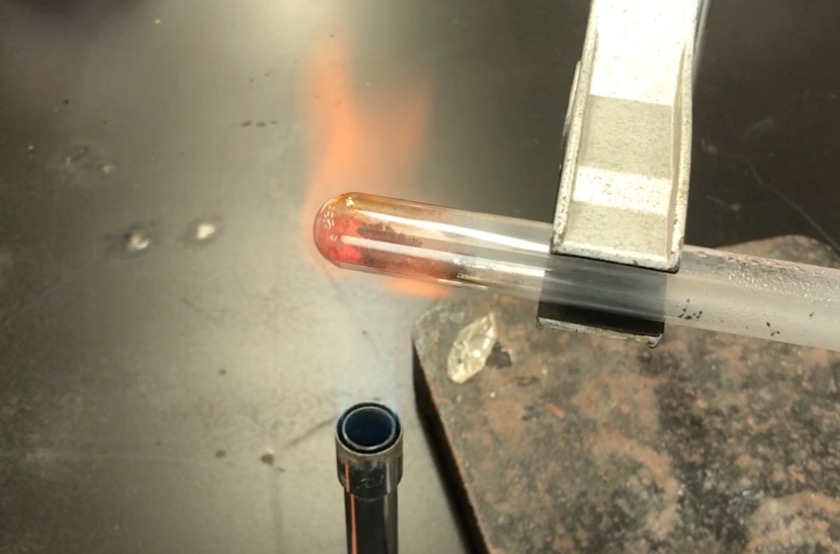
Tilt the mouth of the test tube slightly downwards and attach it to the stand. Clip the pinchcock onto the glass tube, leaving it open so gas can pass through. Then, heat it with the gas burner. Water vapor may be generated inside the test tube during heating (due to moisture in the carbon).
*Note: The water vapor that comes out at this point is due to moisture in the charcoal and is unrelated to the reaction.
*Note: Starting with a high flame from the beginning increases the chances of success.
*Note: No water is produced by the chemical reaction itself, but water may appear due to moisture contained in the charcoal.
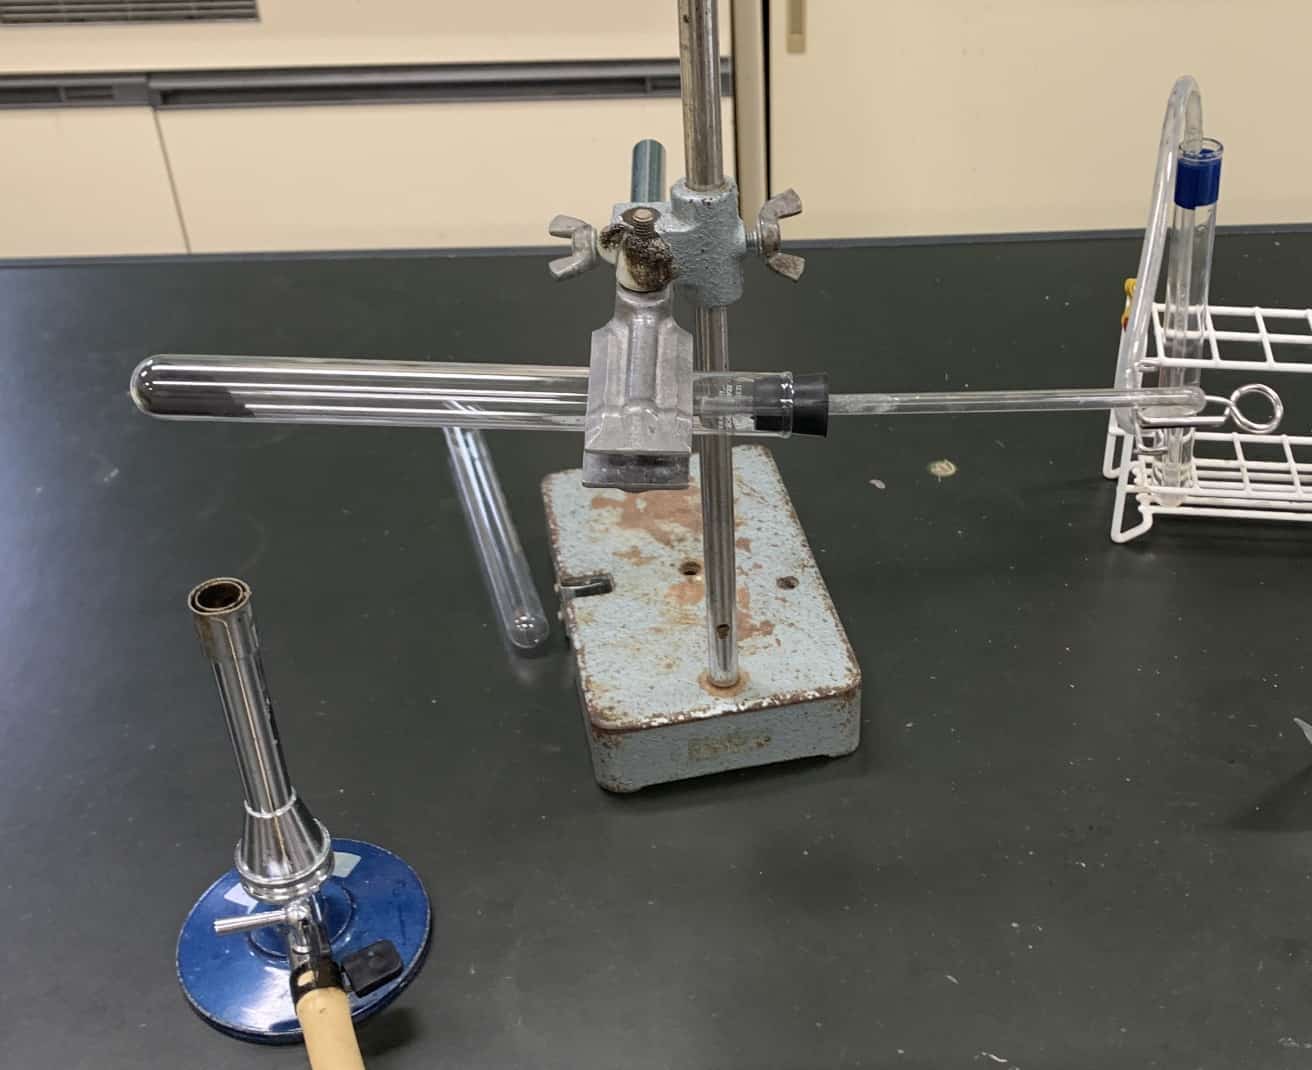
Once the mixture reacts and the glowing red subsides, remove the glass tube from the limewater and turn off the heat. Then, close the pinchcock on the rubber tubing to prevent air from entering the test tube (to keep the newly formed copper from oxidizing again).
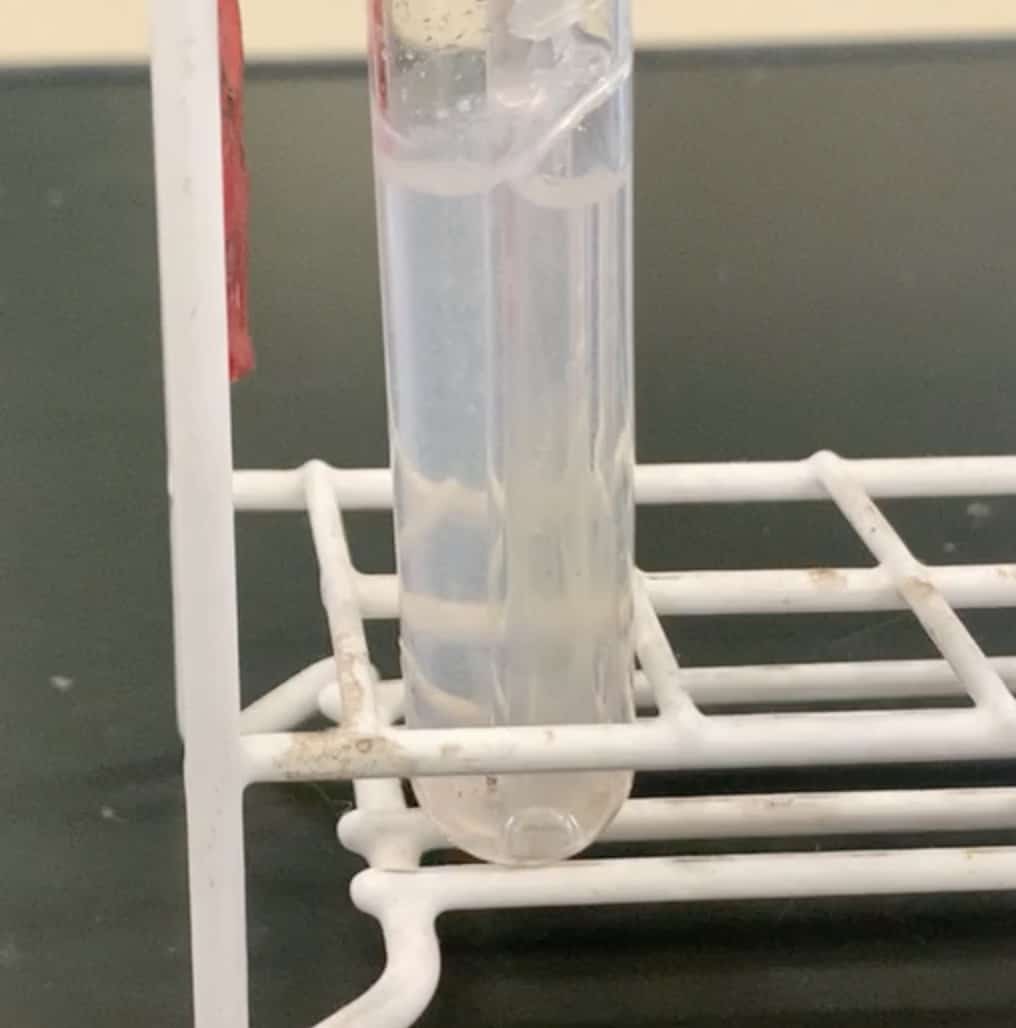
Check the limewater—if it turns cloudy, the reaction has occurred even if you didn’t see the visual change. Once the limewater is sufficiently cloudy, the experiment is complete. If nothing turns red after about five minutes of heating, check for cloudiness in the limewater and then turn off the heat.
Use a heat-resistant (Pyrex) test tube, as the temperature gets very high. Be careful of backflow. When the reaction starts, the limewater will react quickly.
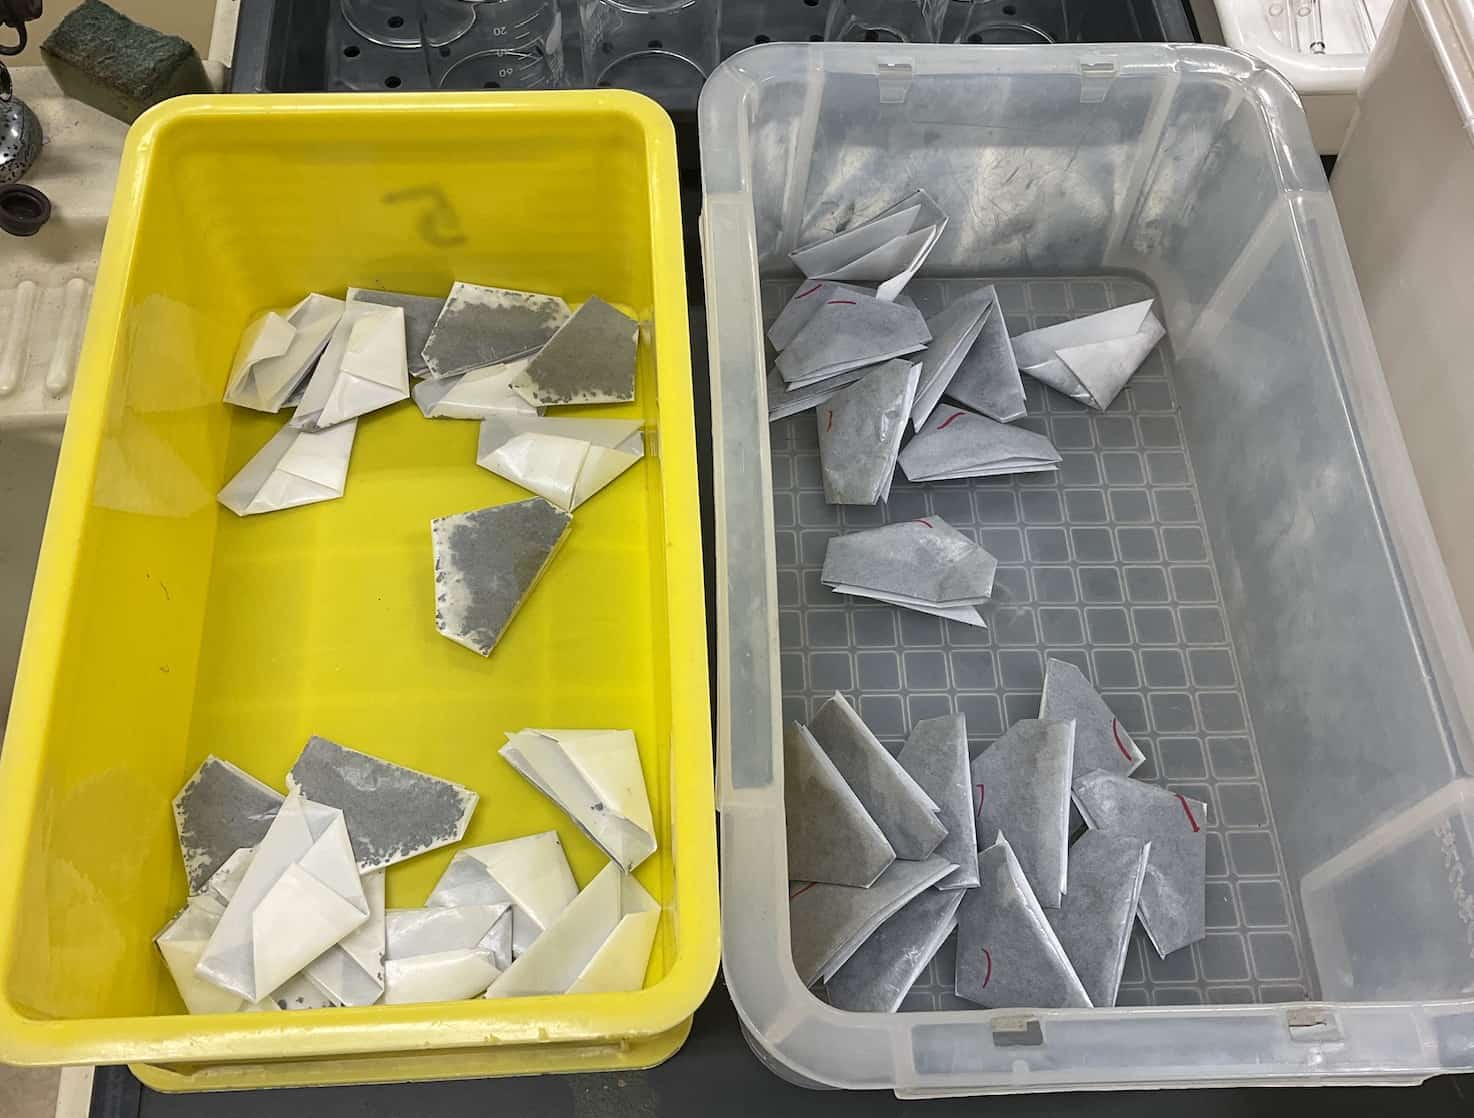
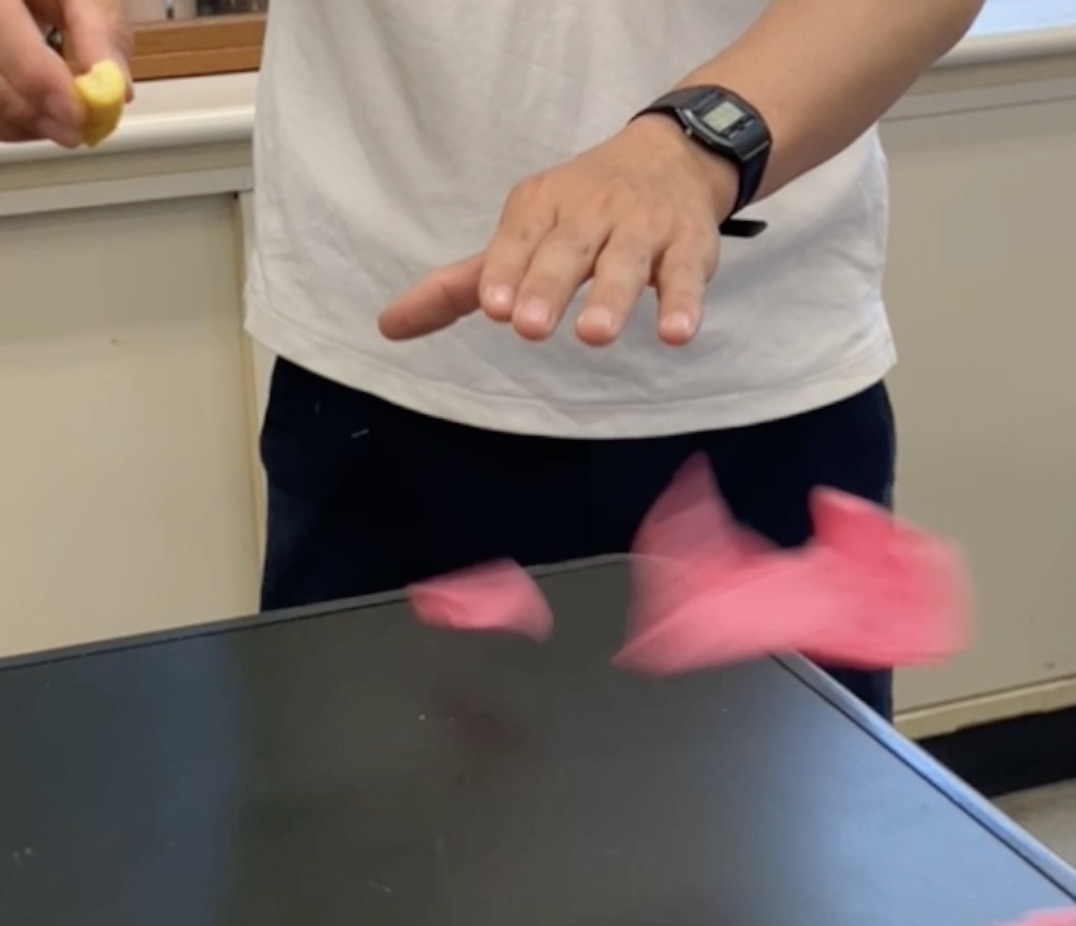
After the test tube has cooled (this takes about 5 minutes), transfer the contents into a beaker (50mL) with water. Stir with a glass rod and pour out the floating carbon powder. The goal is to get rid of the supernatant liquid. If the group’s experiment was successful (they saw a quick red flash), they can simply pour the contents onto a piece of filter paper and pick out the pieces by hand.
If the reduction is complete, you’ll get copper (Cu), but if it’s incomplete, you’ll get copper(I) oxide (Cu₂O). Both copper and copper(I) oxide are reddish, but the copper(I) oxide has a darker red color. Often, both will be present in a single lump.
After waiting 5-10 minutes for the test tube to cool, observe the color of the inside of the heated test tube and the residue in the beaker. Also, scrape the bottom of the test tube with a hard object to check for a metallic sheen. In some cases, you can also verify it by hammering it on an anvil, checking for conductivity, or performing a flame test.
Cleanup
Wash the test tube thoroughly with a test tube brush. Remind students to hold the bottom of the test tube with their left thumb to prevent it from slipping (nitric acid is said to clean it very well). Collect the copper separately at the front. Collect the mixture of copper and copper oxide in a large beaker with a little water at the front.
A helpful tip:
Designate a specific mortar for copper oxide reduction and just collect the powder after lightly tapping it out (don’t wash it).
If your class period is only 50 minutes, it can be really tough to finish this experiment. You need to be ready to start immediately or you’ll run out of time! If it goes well, you’ll get something like this.


Even groups that didn’t get a perfect result will find a small amount of copper.

For the groups that succeeded, the inside of the test tube glowed red and a piece of copper about the size of a soybean appeared with a satisfying thud. In that moment, I could feel the students’ excitement for the “creation” unique to chemistry, something you don’t quite get with physics.By the way, some reports suggest a higher success rate when using charcoal powder from Hayashi Chemical. The quality of the charcoal can also be a key to success!
▼ Summary and Cleanup
• Use a heat-resistant glass (Pyrex) test tube
• Clean thoroughly with a test tube brush and nitric acid (be sure to give safety instructions)
• The teacher should collect the copper in a single container, separating it from the cleaning liquid
Contact and Requests
Making the wonders and fun of science more accessible! This blog explains fun at-home science experiments and their tips in an easy-to-understand way. Feel free to browse around!
・For more about the author, Ken Kuwako, click here
・For inquiries about my services (writing, lectures, science classes, TV supervision, appearances, etc.), click here
・Article updates are posted on X!
![]() The Science Channel features experiment videos!
The Science Channel features experiment videos!
6月のイチオシ実験!
レモンやオレンジで風船を割ろう!インパクトが抜群のリモネン風船の実験
テレビ番組監修・イベント等のお知らせ
- 6月3日(水)20:30〜 「
バカリズムのちょっとバカりハカってみた!」(テレビ東京)を科学監修・出演します。テーマは「 そばの出前は何人前まで運べるのか、限界を測ってみた」です。 - 6月4日(木) 7:00〜 「THE突破ファイル」(日本テレビ)について科学監修しました。
- 6月14日(日) 千葉大学インスタレーション「探究」にて講師を務めます
- 6月26日(金) 公開研究会「脱作業化!デジタル化と段階的指導で実現する オームの法則の探究」
- 6月28日(日) ダビンチマスターズ@昭和女子
- 7月18日(土) 教員向け実験講習会「ナリカカサイエンスアカデミー」の講師をします。お会いしましょう。
書籍のお知らせ
- 『大人のための高校物理復習帳』(講談社)…一般向けに日常の物理について公式を元に紐解きました。特設サイトでは実験を多数紹介しています。※増刷がかかり6刷となりました(2026/02/01)

- 『きめる!共通テスト 物理基礎 改訂版』(学研)… 高校物理の参考書です。イラストを多くしてイメージが持てるように描きました。授業についていけない、物理が苦手、そんな生徒におすすめです。特設サイトはこちら。

各種SNS(更新情報をお届け!)
X(Twitter)/instagram/Facebook(日本語)
Explore
- 楽しい実験…お子さんと一緒に夢中になれるイチオシの科学実験を多数紹介しています。また、高校物理の理解を深めるための動画教材も用意しました。
- 理科の教材… 理科教師をバックアップ!授業の質を高め、準備を効率化するための選りすぐりの教材を紹介しています。
- Youtube…科学実験等の動画を配信しています。
- 科学ラジオ …科学トピックをほぼ毎日配信中!AI技術を駆使して作成した「耳で楽しむ科学」をお届けします。
- 講演 …全国各地で実験講習会・サイエンスショー等を行っています。
- About …「科学のネタ帳」のコンセプトや、運営者である桑子研のプロフィール・想いをまとめています。
- お問い合わせ …実験教室のご依頼、執筆・講演の相談、科学監修等はこちらのフォームからお寄せください。