Say Goodbye to the Electric Swing! Discover Fleming’s Left-Hand Rule with Just One Sheet of Aluminum Foil (The Force on a Current in a Magnetic Field)
I’m Ken Kuwako, your Science Trainer. Every day is an experiment.
Every time I do this experiment, I can’t help but say, “Wow!” There’s electric current that we can’t see, and there’s a magnetic field that we can’t see either. Yet when these two “invisible things” meet, something amazing happens: a real force appears.
And with the method I’m introducing today, you can recreate this fascinating phenomenon using something as familiar as aluminum foil, without having to build a large apparatus like an electric swing. It’s incredibly simple, but the result is the kind of experiment that sticks in your memory. Give it a try in class or as a science project!
What happens when electric current and a magnetic field “shake hands”?
The phenomenon in which an electric current experiences a force from a magnetic field is called the “Lorentz force.” We rarely think about it in everyday life, but this force is actually at work at the heart of machines that support our daily lives, such as motors and generators. Electric fans, trains, washing machines—in the end, all of them are powered by this invisible force.
Many people probably see the words “Fleming’s left-hand rule” in a textbook and think, “That sounds complicated.” But once you actually see a piece of aluminum foil twitch right before your eyes, the rule suddenly becomes something you can experience for yourself. Today, I’ll show you a simple way to experience this phenomenon firsthand.
What you need
- Aluminum foil (about 25 cm wide): Ordinary household aluminum foil is perfectly fine.
- Scissors: For cutting the aluminum foil.
- Ruler: Handy for cutting the aluminum foil into straight strips.
- Cellophane tape or double-sided tape: Used to secure the aluminum foil to the desk.
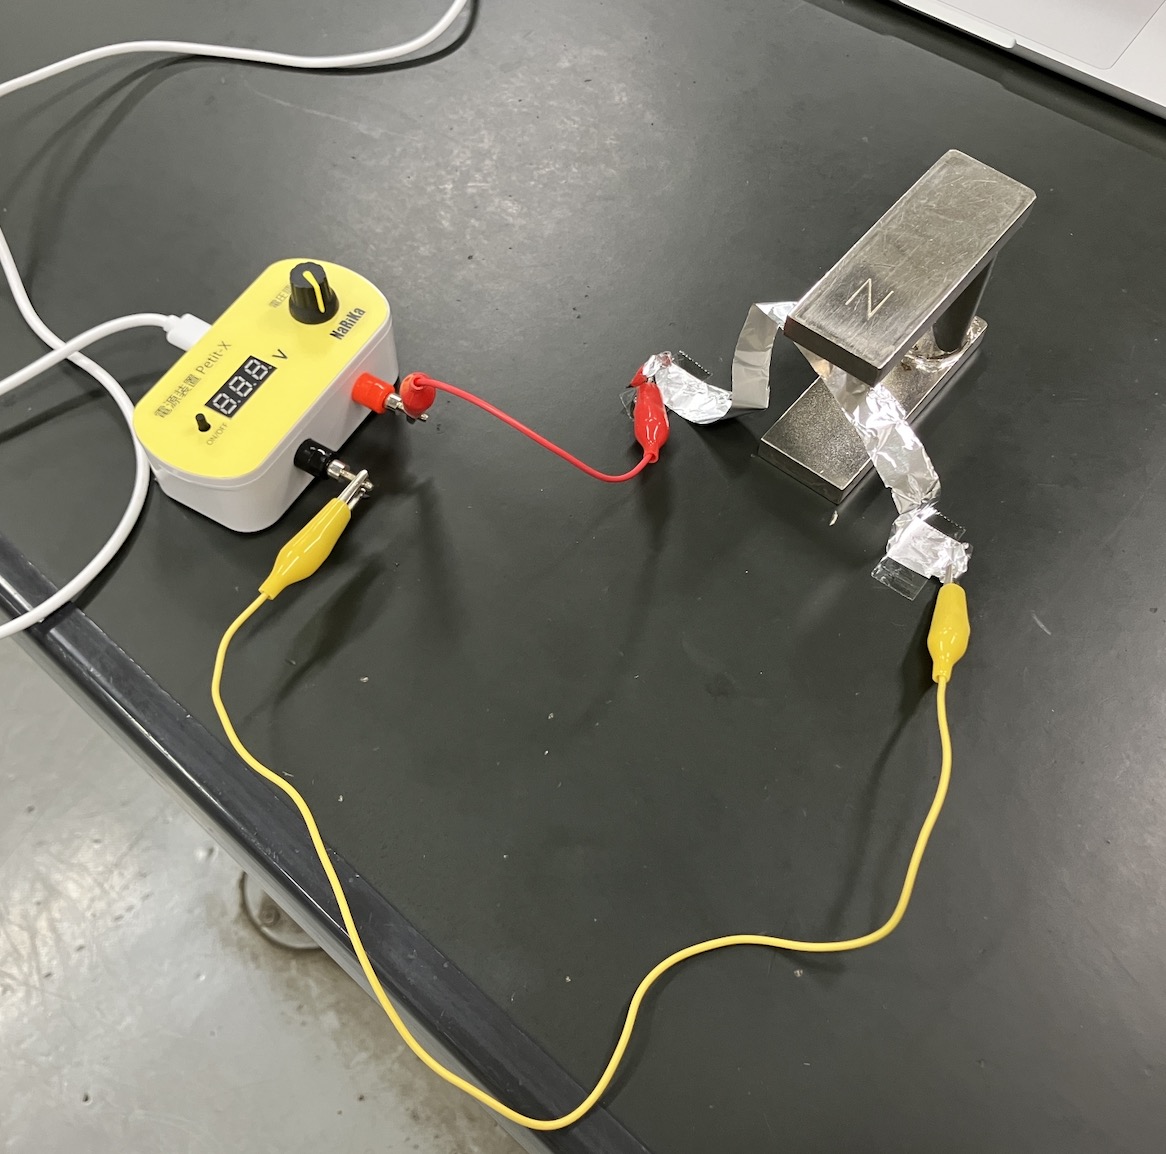
- DC power supply: Needed to run the current. I recommend a mini ammeter called Petit-X. It’s also a convenient safety feature that the power automatically shuts off when the current reaches 1 A.

- Lead wires (with clips): Used to connect the power supply to the aluminum foil.
- Strong magnets such as Alnico or neodymium magnets: Used to create the magnetic field. A horseshoe magnet can also be used.
How to do the experiment
1. Cut the aluminum foil: Cut the 25 cm-wide aluminum foil into long, narrow strips about 1.5 cm wide. Prepare enough strips for the number of students taking part. The narrower the strips, the lighter they are, making their movement easier to see even when the force is very small.
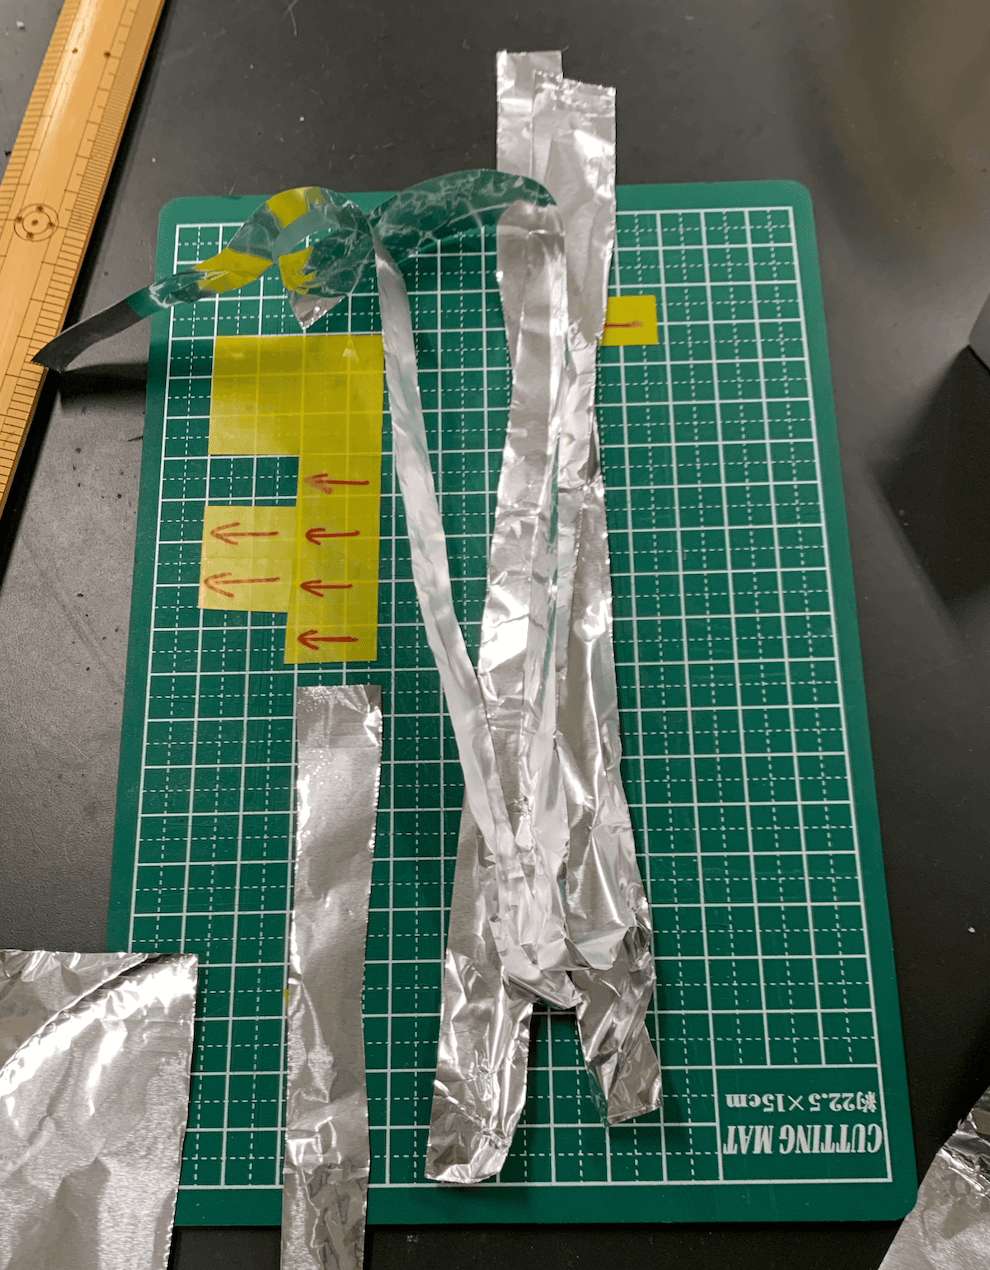
2. Secure it to the desk: Place the cut aluminum foil on the desk and firmly secure both ends with cellophane tape or double-sided tape. The key is to pull the foil tight so that it doesn’t sag when you attach it to the desk. If it sags, its movement will be much harder to see when the force acts on it.
3. Build the circuit: Connect a lead wire to each of the positive and negative terminals of the DC power supply (or batteries).
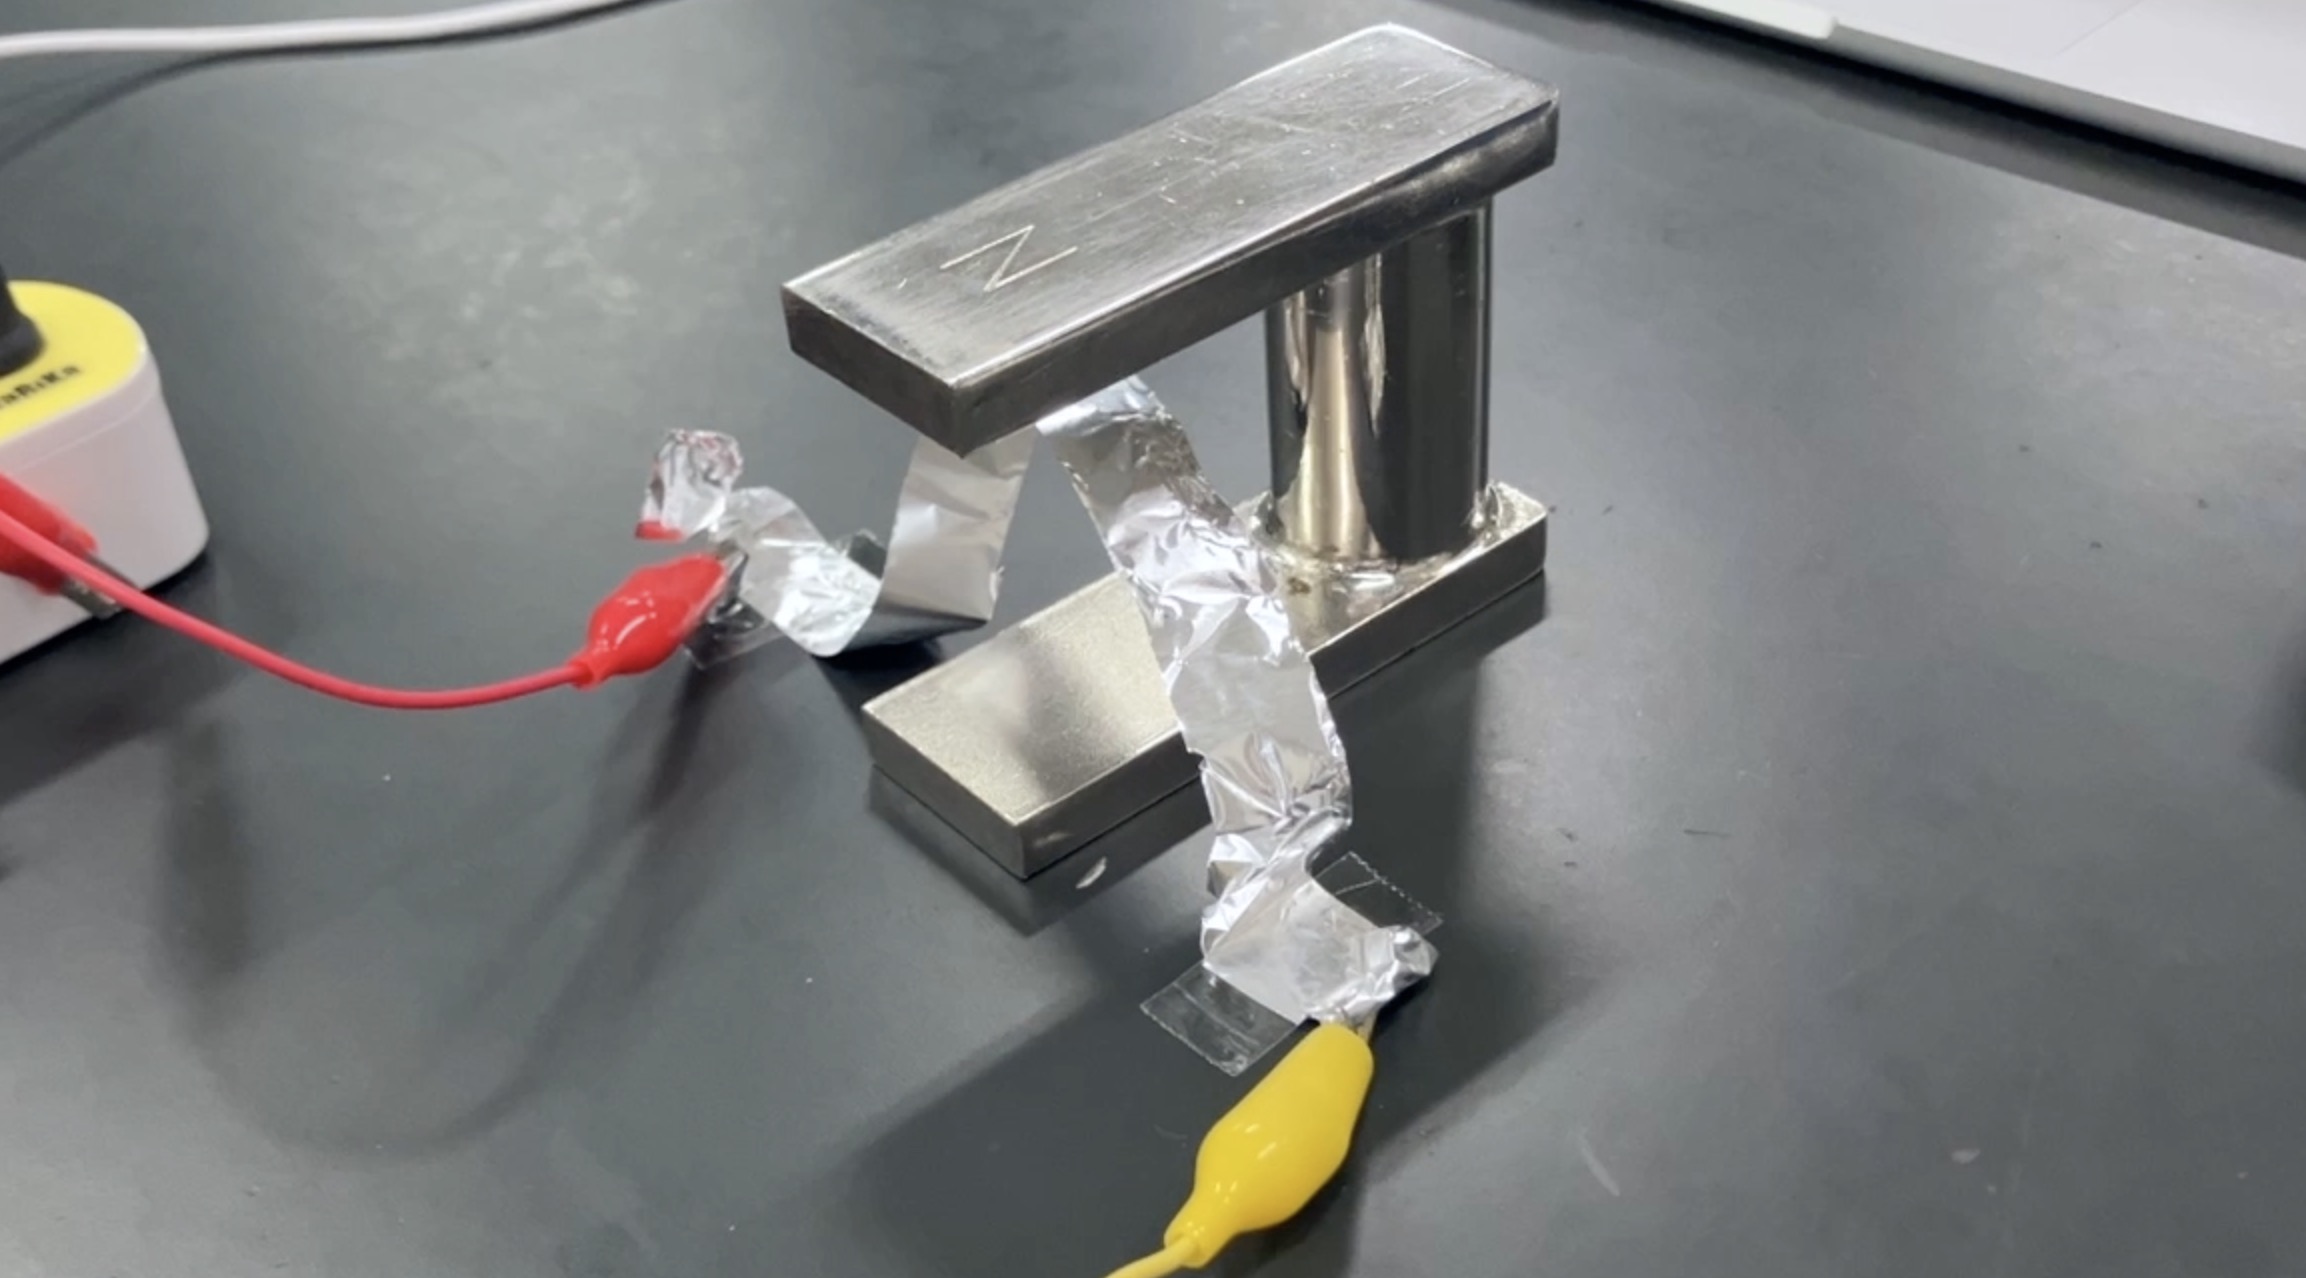
4. Position the magnet: Place a strong magnet, such as a neodymium magnet, directly above or below the aluminum foil. Simply changing the orientation of the magnet (N pole or S pole) will change the direction of the force. If you have time, be sure to give it a try and observe what happens.
5. Turn on the current!: Turn on the power supply and let the current flow. Be careful not to let too much current flow. When the current starts flowing, you can see the twisted part of the aluminum foil suddenly twitch. This movement is evidence of the force exerted on the current by the magnetic field—the Lorentz force.
For example, if you arrange the apparatus like this and turn on the current,
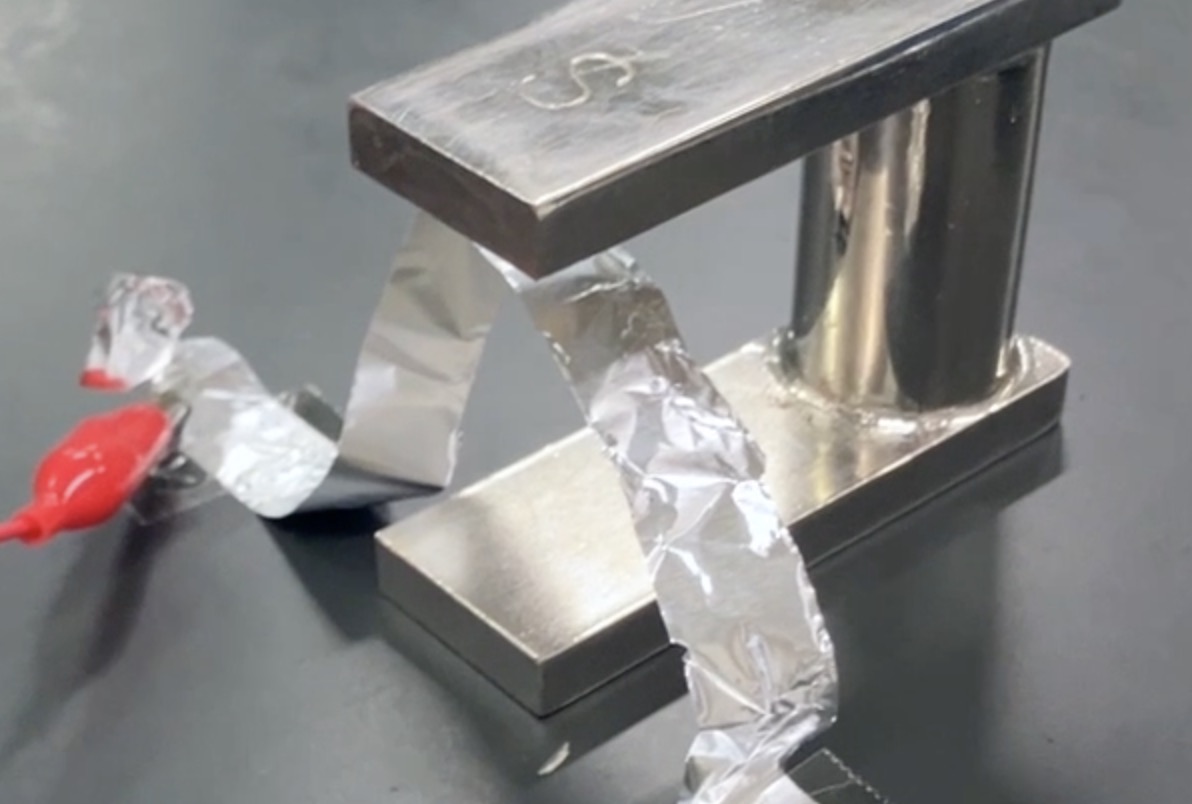
the aluminum foil strip is pushed toward you and moves.
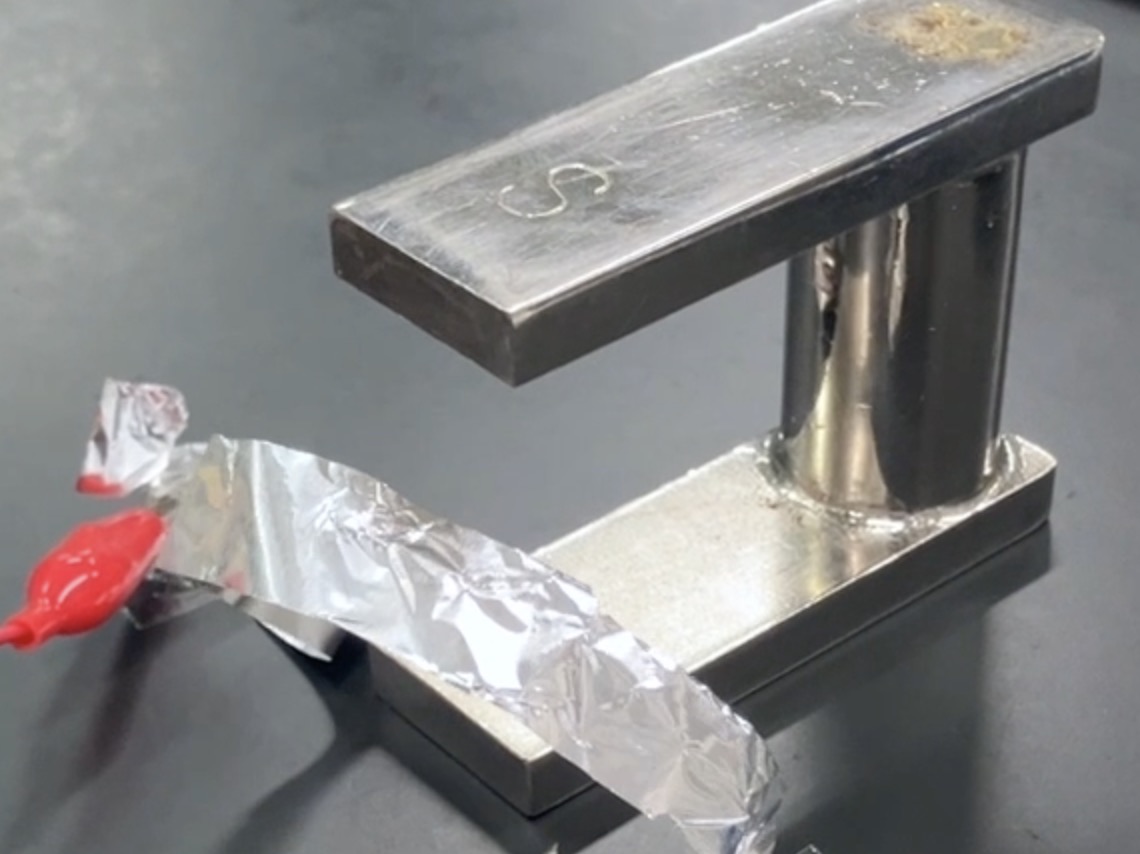
If you arrange it like this and turn on the current,
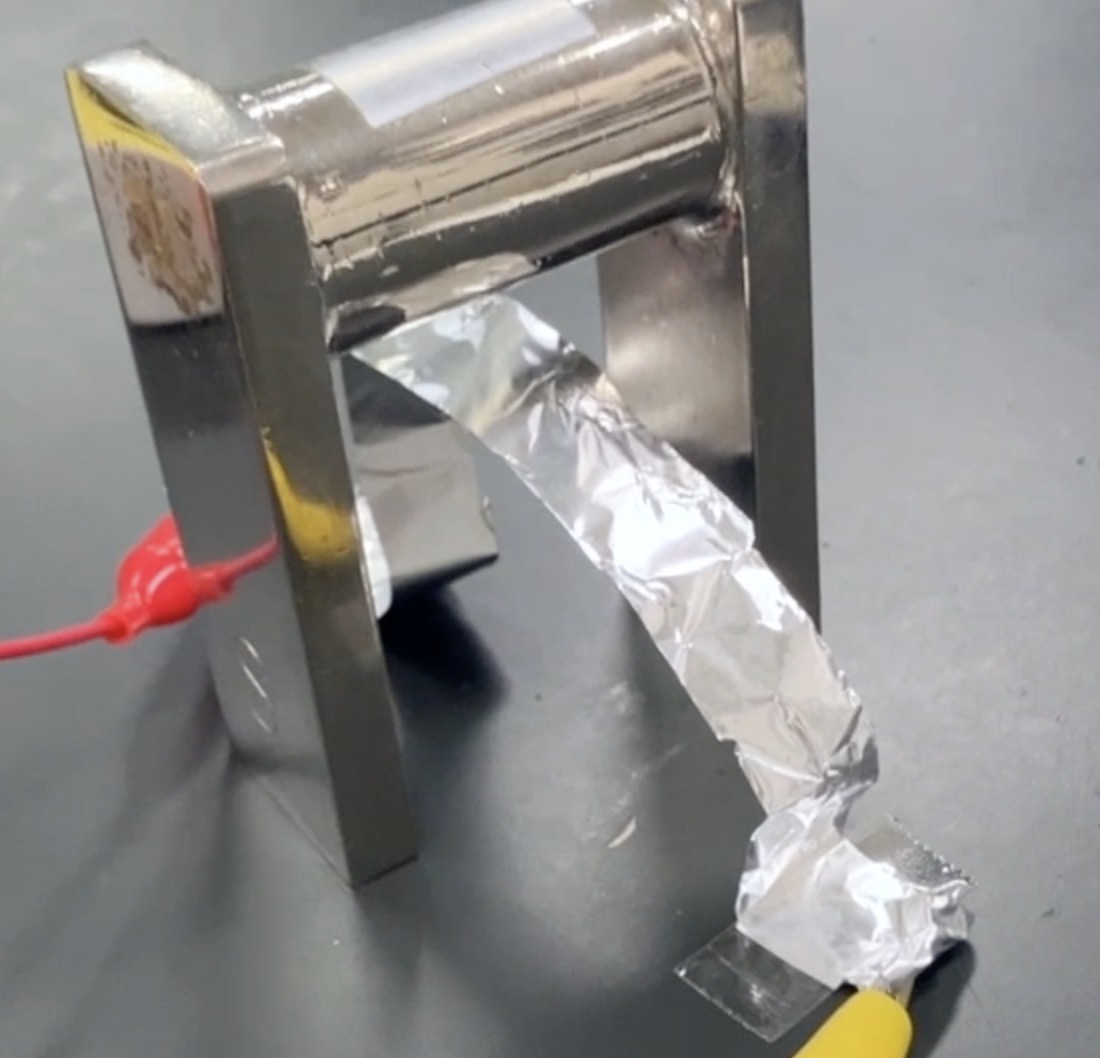
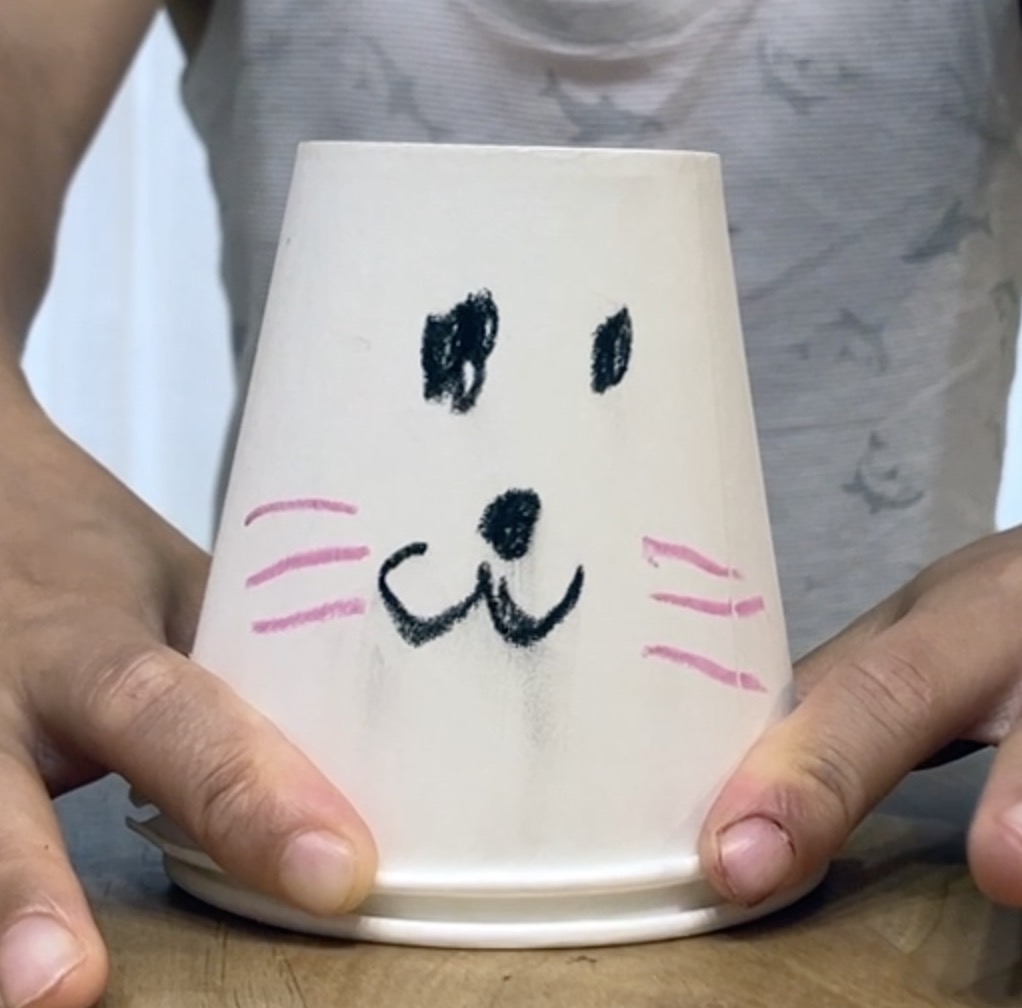
the aluminum foil strip is pushed downward, almost as if a dog were lying down. The current is the same, and the magnet is the same, yet simply changing the orientation produces such a dramatic change in the movement. That is exactly what makes the Lorentz force so fascinating.
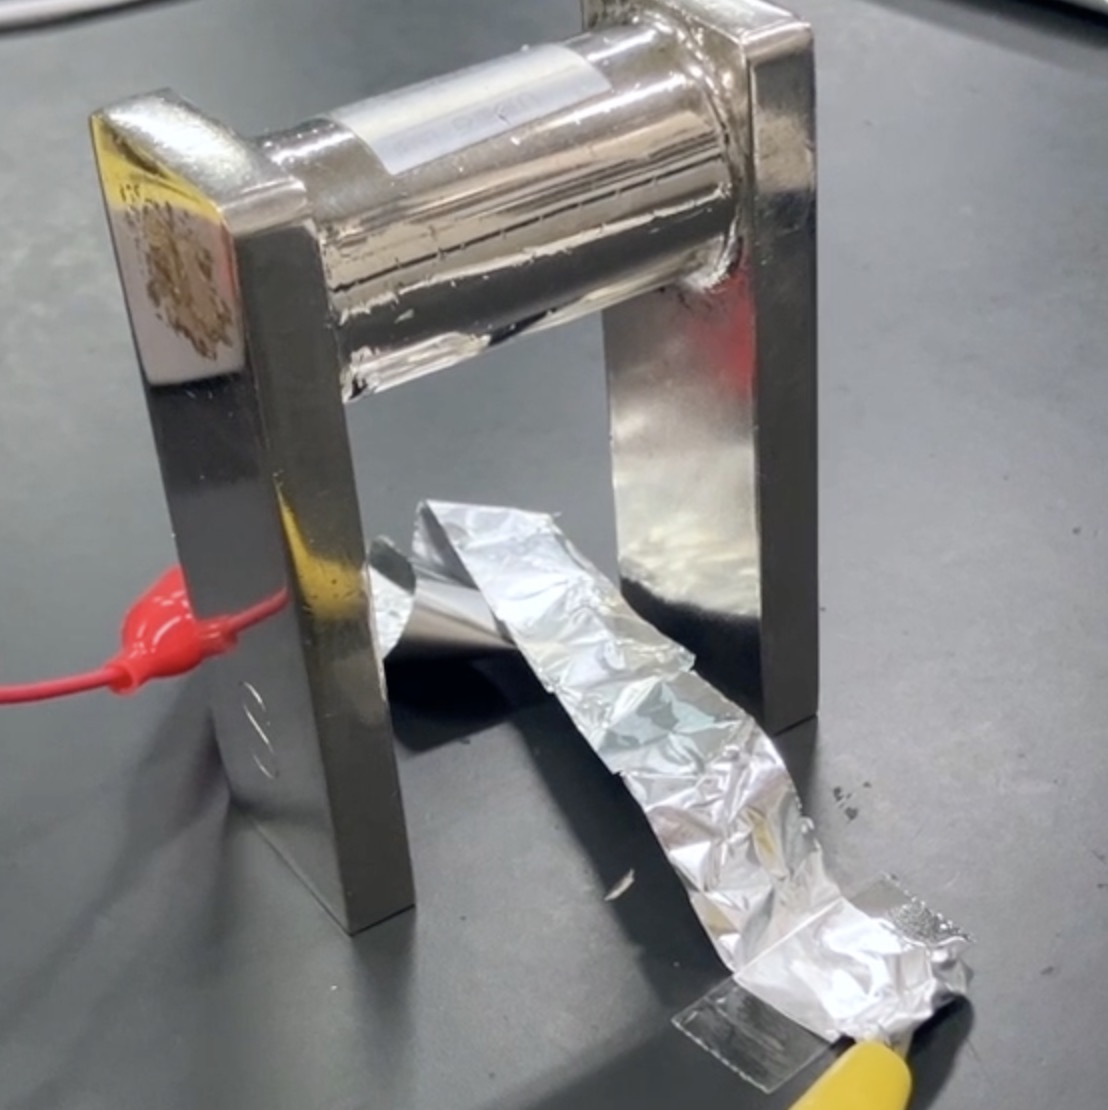
Here is an image-based teaching resource that you can use as a handout. Feel free to use it if you find it helpful.
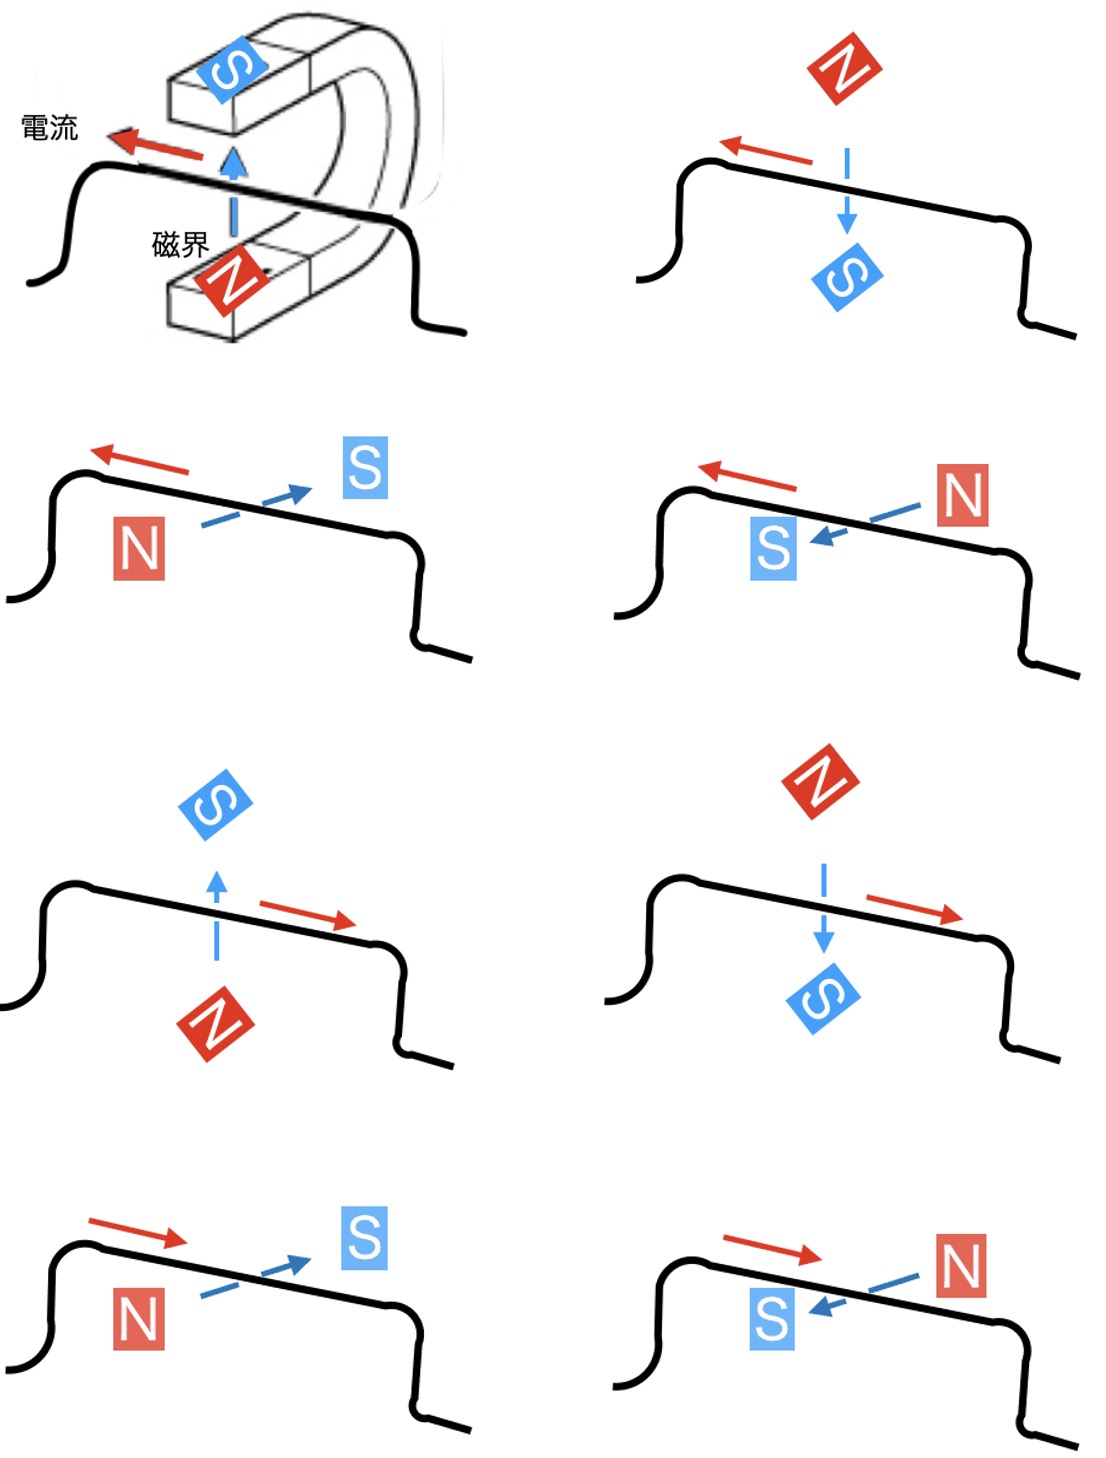
Can students work their way to Fleming’s left-hand rule?
After the experiment, encourage students to think for themselves about the patterns they can find among the direction of the current, the direction of the magnetic field, and the direction of the force. What makes this phenomenon tricky is that it takes place in three-dimensional space, and it is difficult to fully explain using a flat sheet of paper. That is precisely why it is so valuable to move your hands and “learn it with your body” before trying to understand it purely in your head.
Hold your thumb, index finger, and middle finger at right angles to one another. Point your index finger in the direction of the magnetic field and your middle finger in the direction of the current, and your thumb will indicate the direction of the force. This is known as “Fleming’s left-hand rule.”

Students’ understanding can become much deeper when they first watch the aluminum foil move right before their eyes and then work their way toward the rule, rather than simply memorizing it from a textbook. First, discover the phenomenon with your own hands. Then learn that it has a name and a rule behind it. Perhaps this sequence is one of the best ways to make science feel like something that truly belongs to you.
Questions, requests, and collaborations
I want to bring the wonder and excitement of science a little closer to everyone! I share fun science experiments you can try at home, along with easy-to-understand tips and explanations. Take a look around and search for whatever catches your curiosity!
・The content from 科学のネタ帳 is now available as books. For more details, click here
・For more information about Ken Kuwako, the site operator, click here
・For various requests (writing, lectures, science workshops, TV science supervision, appearances, etc.), click here
・For updates on new articles, follow X!
 科学のネタチャンネルでは実験動画を配信中!
9月のイチオシ実験!
テレビ番組監修・イベント等のお知らせ
- 9月25日(金)21:00〜 かまいたちの瞬間回答!にて、科学監修を行いました。
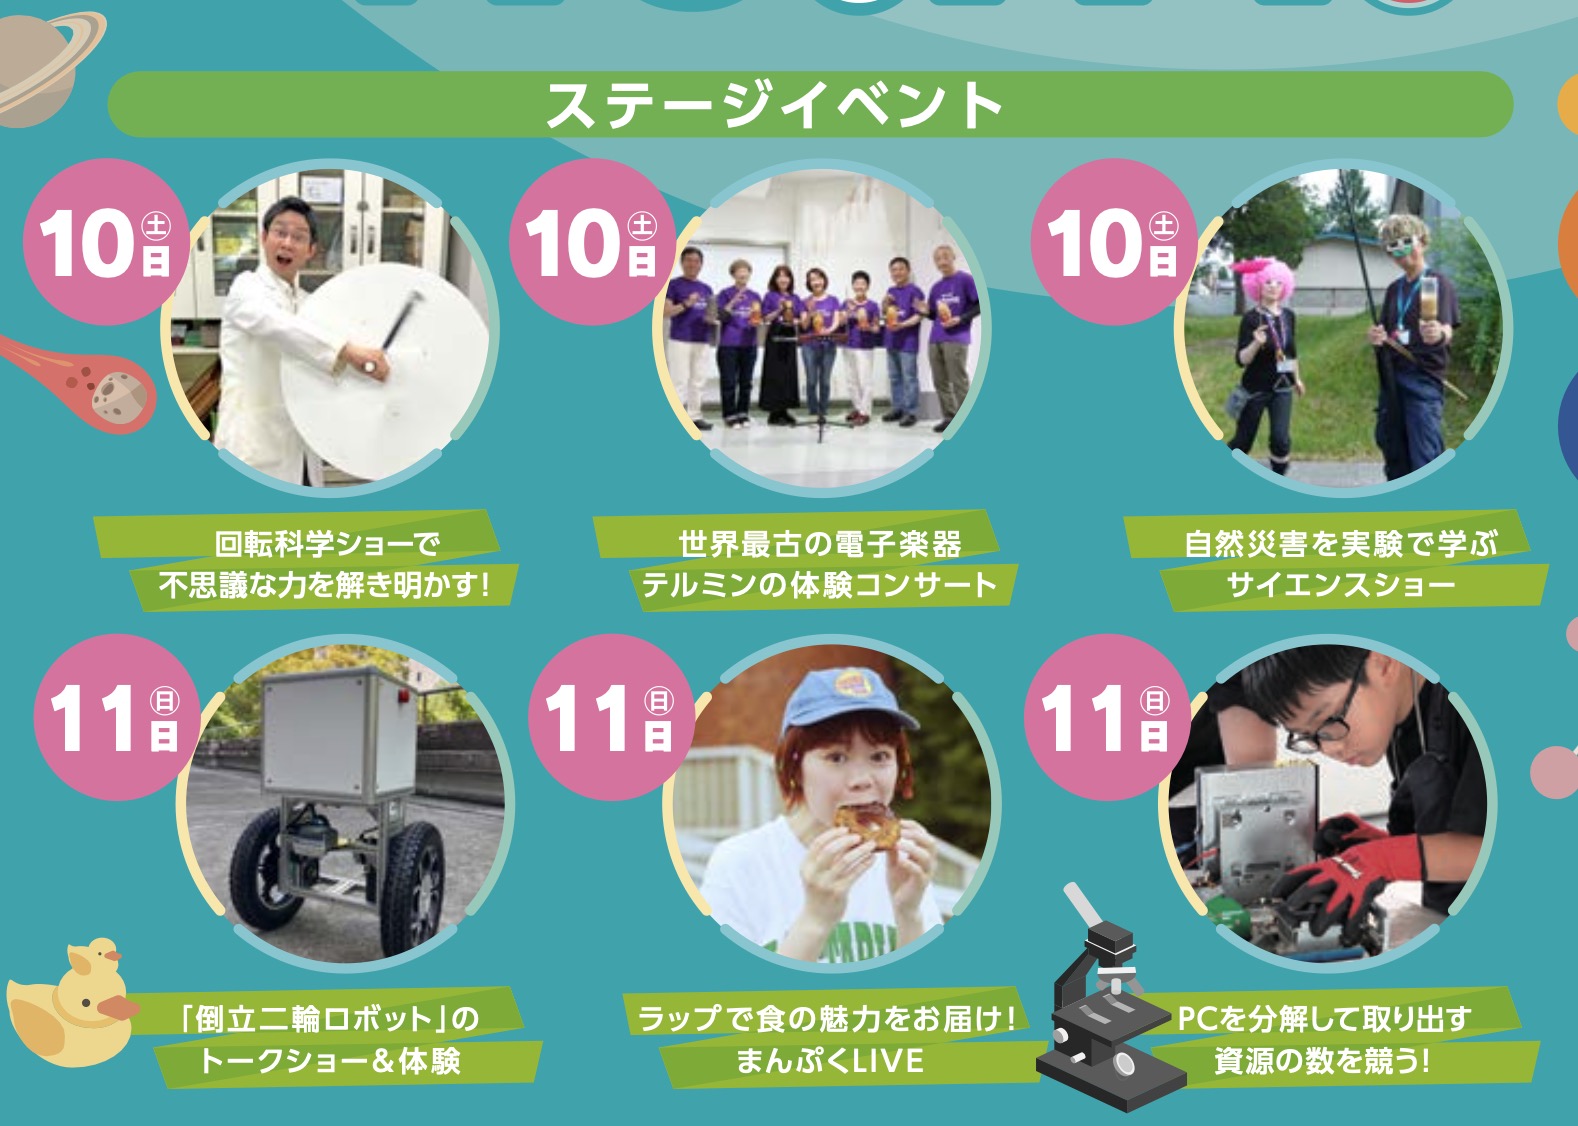
- 10月10日(土)11:15~12:00 千葉市科学フェスタ2026「桑子先生の回転科学ショー」にてサイエンスショーを行います。
- 12月26日(土) ナリカサイエンスアカデミー(教員向け実験講習会)開催
書籍のお知らせ
- 『高校入試 分解問題集 理科』(学研)…難しい問題も小さな問題に分解することで、問題を解くことができます。そんな分解の技術が身につくように深く関わりを持って作りました。
 『大人のための高校物理復習帳』(講談社)…一般向けに日常の物理について公式を元に紐解きました。特設サイトでは実験を多数紹介しています。※増刷がかかり6刷となりました(2026/02/01)

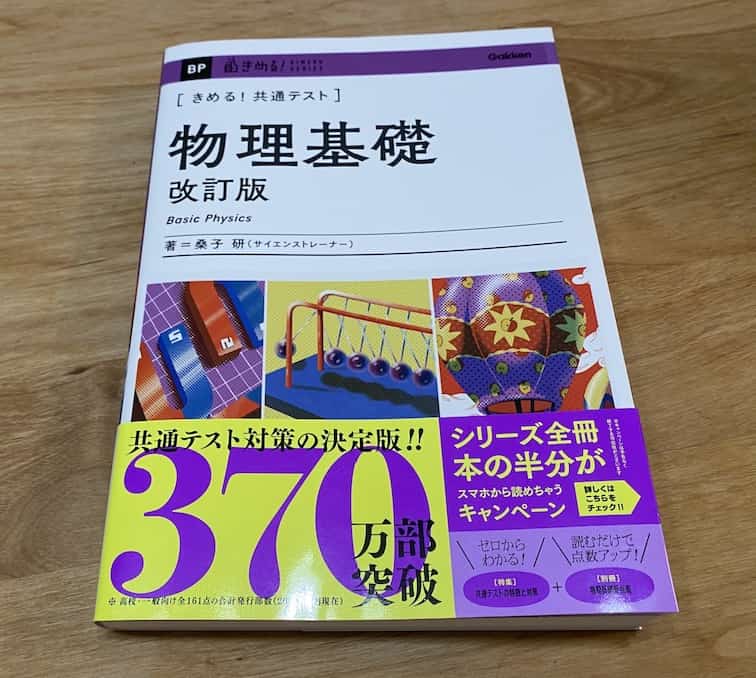
- 『きめる!共通テスト 物理基礎 改訂版』(学研)… 高校物理の参考書です。イラストを多くしてイメージが持てるように描きました。授業についていけない、物理が苦手、そんな生徒におすすめです。特設サイトはこちら。
各種SNS(更新情報をお届け!)
【日本語】X(Twitter)/instagram/Facebook 【英語】BlueSky/Threads
Explore
- 楽しい実験…お子さんと一緒に夢中になれるイチオシの科学実験を多数紹介しています。また、高校物理の理解を深めるための動画教材も用意しました。
- 理科の教材… 理科教師をバックアップ!授業の質を高め、準備を効率化するための選りすぐりの教材を紹介しています。
- Youtube…科学実験等の動画を配信しています。
- 科学ラジオ …科学トピックをほぼ毎日配信中!AI技術を駆使して作成した「耳で楽しむ科学」をお届けします。
- 講演 …全国各地で実験講習会・サイエンスショー等を行っています。
- About …「科学のネタ帳」のコンセプトや、運営者である桑子研のプロフィール・想いをまとめています。
- お問い合わせ …実験教室のご依頼、執筆・講演の相談、科学監修等はこちらのフォームからお寄せください。