Cloudy Day? No Problem! A Complete Guide to Photosynthesis Experiments with Elodea & Brome Grass
I’m Ken Kuwako, your Science Trainer. Every day is an experiment.
When the water’s color gradually shifts, students’ eyes light up. “Whoa, it changed!” That single moment of discovery is exactly why we do science experiments. Today, I’ve put together a guide on how to successfully run a middle school classic: observing photosynthesis using Elodea (waterweed) and BTB solution. While this experiment seems simple, the preparation makes all the difference between a “meh” result and a “wow” moment.
Equipment List
• Elodea (Make sure it’s healthy and vibrant)
• BTB Solution (Pre-diluted, ready-to-use versions are recommended)
• Beakers
• 4 Test Tubes (Labeled A to D)
• Aluminum Foil
• LED Grow Light (High output is best)
• Darkroom or a light-proof box
Pre-Experiment Prep
Place the Elodea in a darkroom starting the day before. If you skip this, the plant might already have a “head start” on photosynthesis, which can muddy your results. Prepare your BTB solution and have droppers or pipettes ready for easy handling. Also, do a quick test run with your light source to check its strength—some consumer lights take a surprisingly long time to trigger a reaction.
Experimental Procedure
Add 2 to 3 drops of BTB solution to a beaker and add tap water. Use a straw to blow your breath into the water until the BTB solution turns yellow.
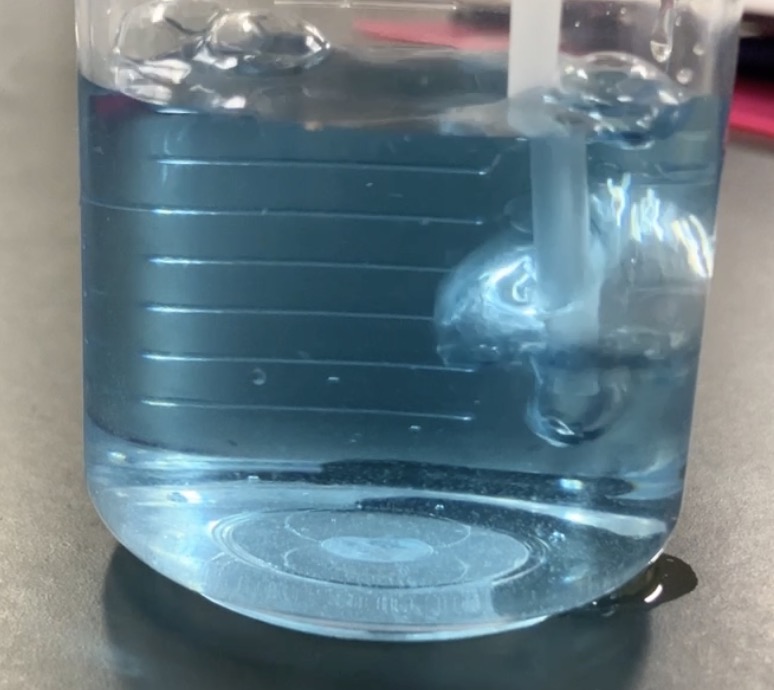
From Blue…
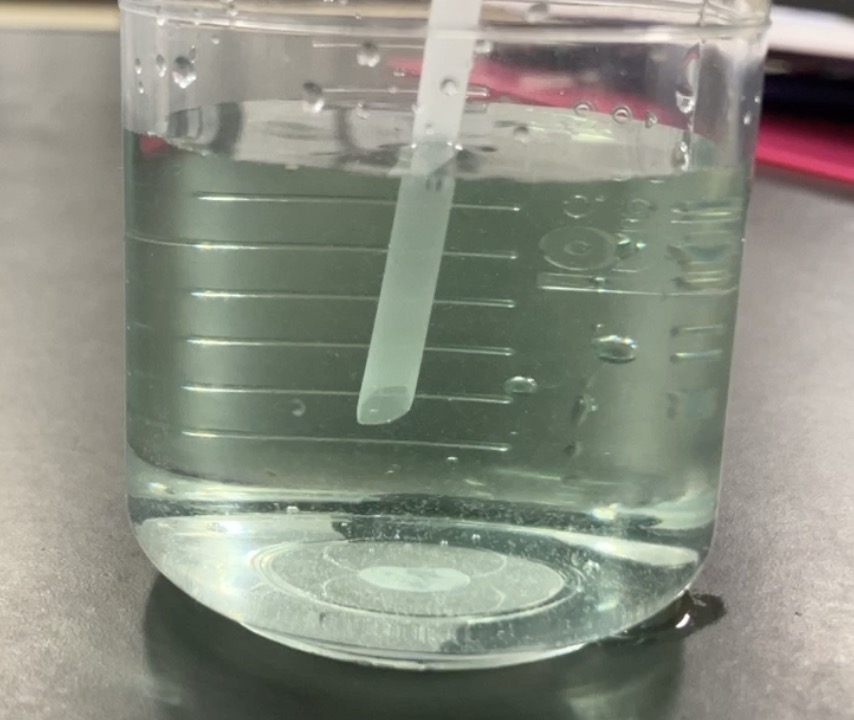
…to Yellow!
Exhaled breath contains carbon dioxide ($CO_2$). When it dissolves in water, it forms carbonic acid, making the liquid acidic and turning the BTB solution yellow. Now, pour this yellow BTB solution into four test tubes (A through D):
• Test Tube A: BTB Solution + Elodea
• Test Tube B: BTB Solution only (No plant)
• Test Tube C: BTB Solution + Elodea + Wrapped in Aluminum Foil
• Test Tube D: BTB Solution only + Wrapped in Aluminum Foil
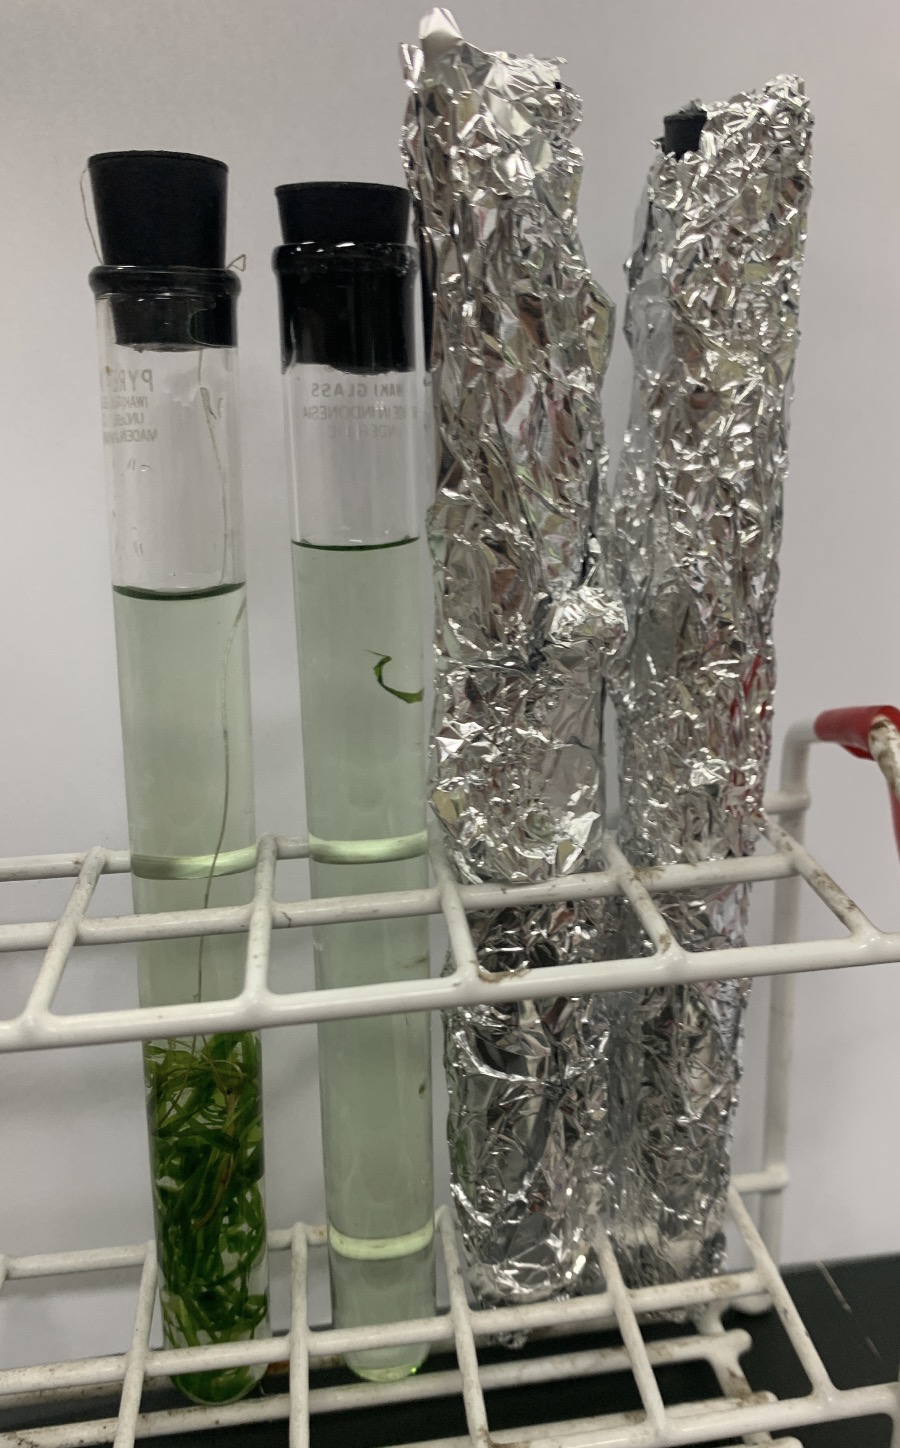
Arranged from left to right: A, B, C, and D.
Place the tubes under sunlight or a grow light for about 20 minutes. If it’s a cloudy day, use the grow light, but keep in mind you may need to leave them under the light longer if the output is weak.

Observe the color changes after 2 hours.
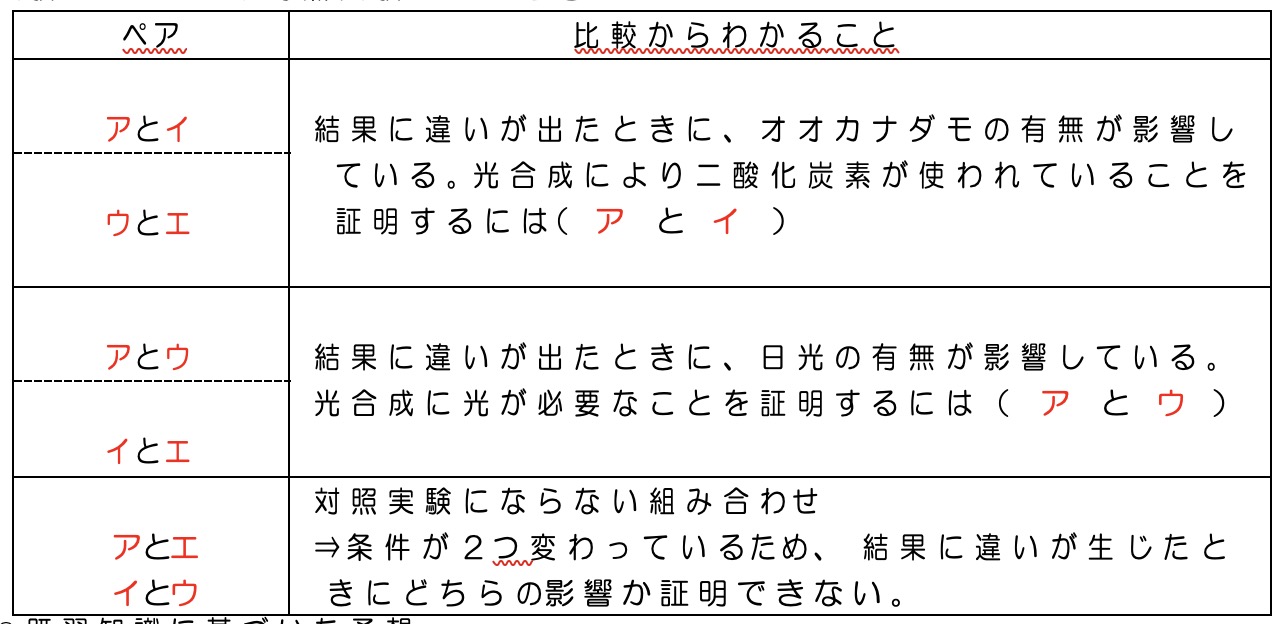
Results and Key Takeaways
In my trial, there was almost no change in the first 30 minutes because the grow light was a bit weak, so I let it go for 2 full hours. Finally, Test Tube A (the one with the Elodea and light) shifted to a beautiful blue-green!
The shift to blue-green is proof that the plant absorbed the dissolved $CO_2$ through photosynthesis, causing the liquid to become more alkaline. BTB solution is a pH indicator that turns blue in alkaline conditions, green when neutral, and yellow when acidic. This color change essentially “visualizes” the plant breathing in carbon dioxide.
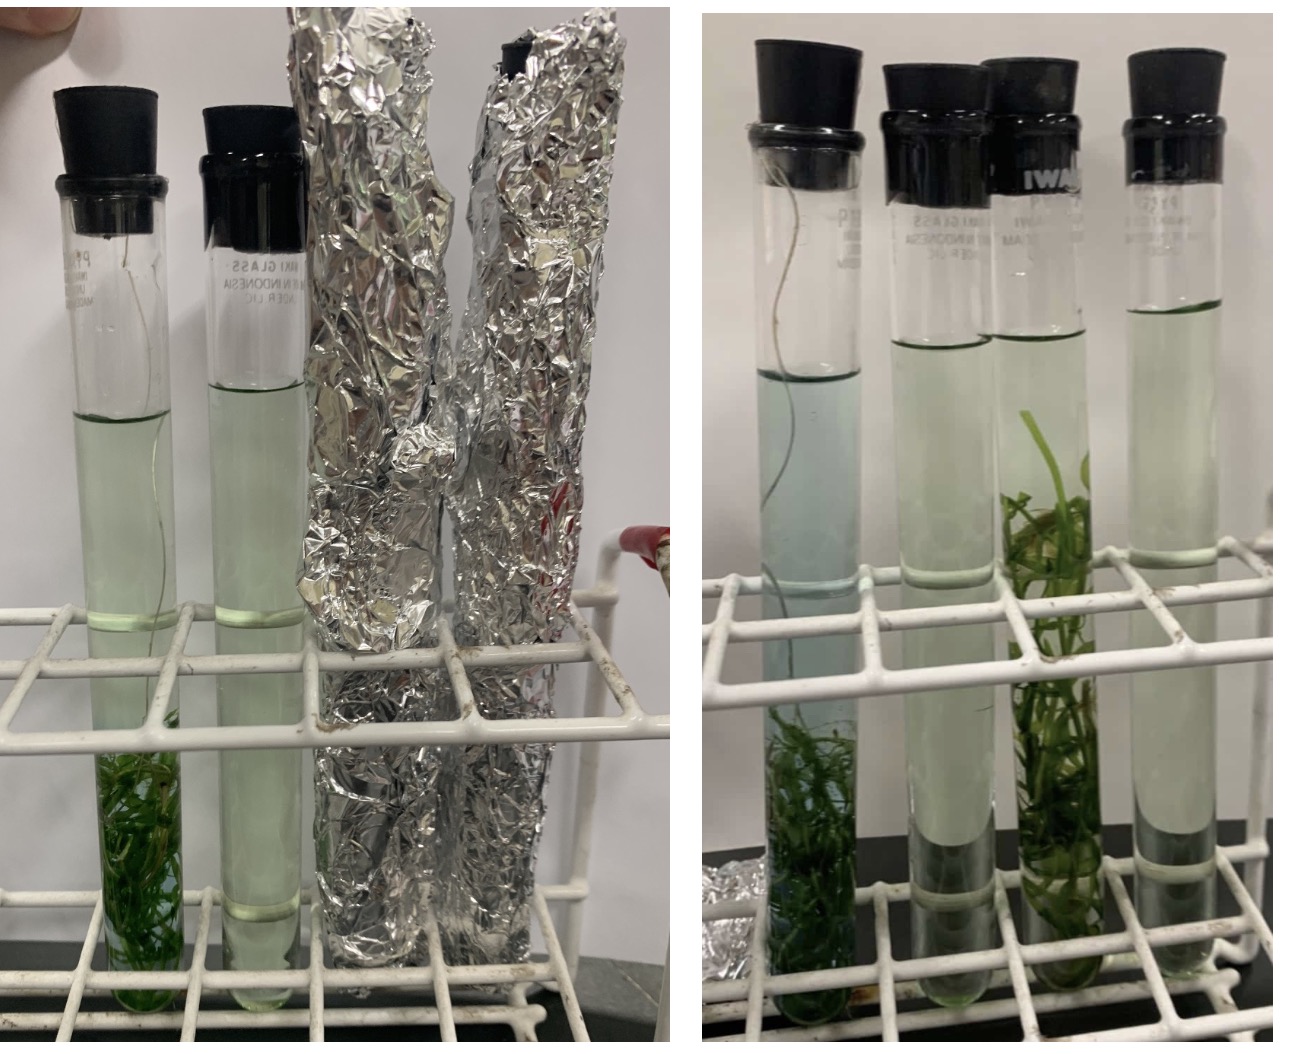
Left: Before / Right: After
We also saw tiny bubbles forming around the leaves of the Elodea.
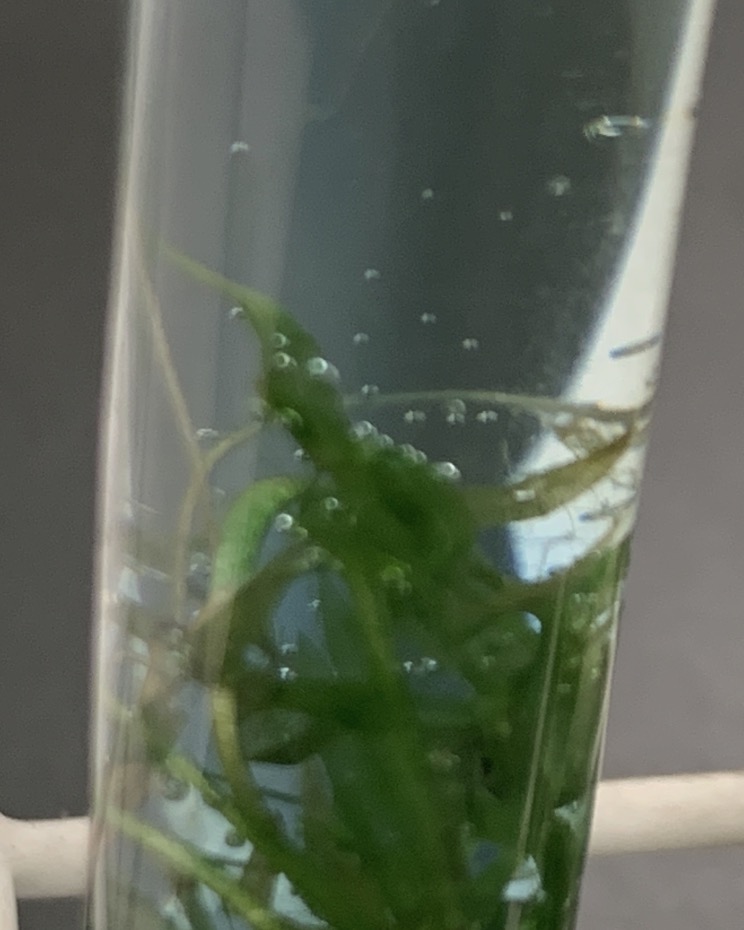
These bubbles are pure oxygen produced by photosynthesis. Using light energy, plants convert $CO_2$ and water into sugar and oxygen. Seeing this happen right before your eyes is incredible—when you realize that the very oxygen we breathe was built by the world’s plants over millions of years, these tiny bubbles feel a lot more significant.
The foil-wrapped tubes (C and D) showed no change. This confirms that without light, photosynthesis stops. This is the beauty of a “controlled experiment”—by changing only one variable at a time, the visual evidence makes the science feel real.
Pro-Tips for Success
• Use a slightly more concentrated BTB solution than textbooks usually suggest to make the color change pop.
• Keep a high-power grow light on standby for rainy or cloudy days.
• Always prep your Elodea in the dark for 24 hours beforehand.
• Give yourself a 2-hour window for the reaction to fully develop.
• Hand out magnifying glasses! Watching the bubbles form is half the fun.
What if you use Limewater?
Let’s look at what happens when we swap BTB for limewater.
I prepared four tubes by blowing into them for 20 seconds. I added Bromus catharticus (rescue grass) leaves to A and C, leaving B and D as controls. C and D were wrapped in foil. After 20 minutes in the sun, I checked the results. Since limewater turns cloudy when reacting with $CO_2$, we expect it to clear up if photosynthesis absorbs that $CO_2$.
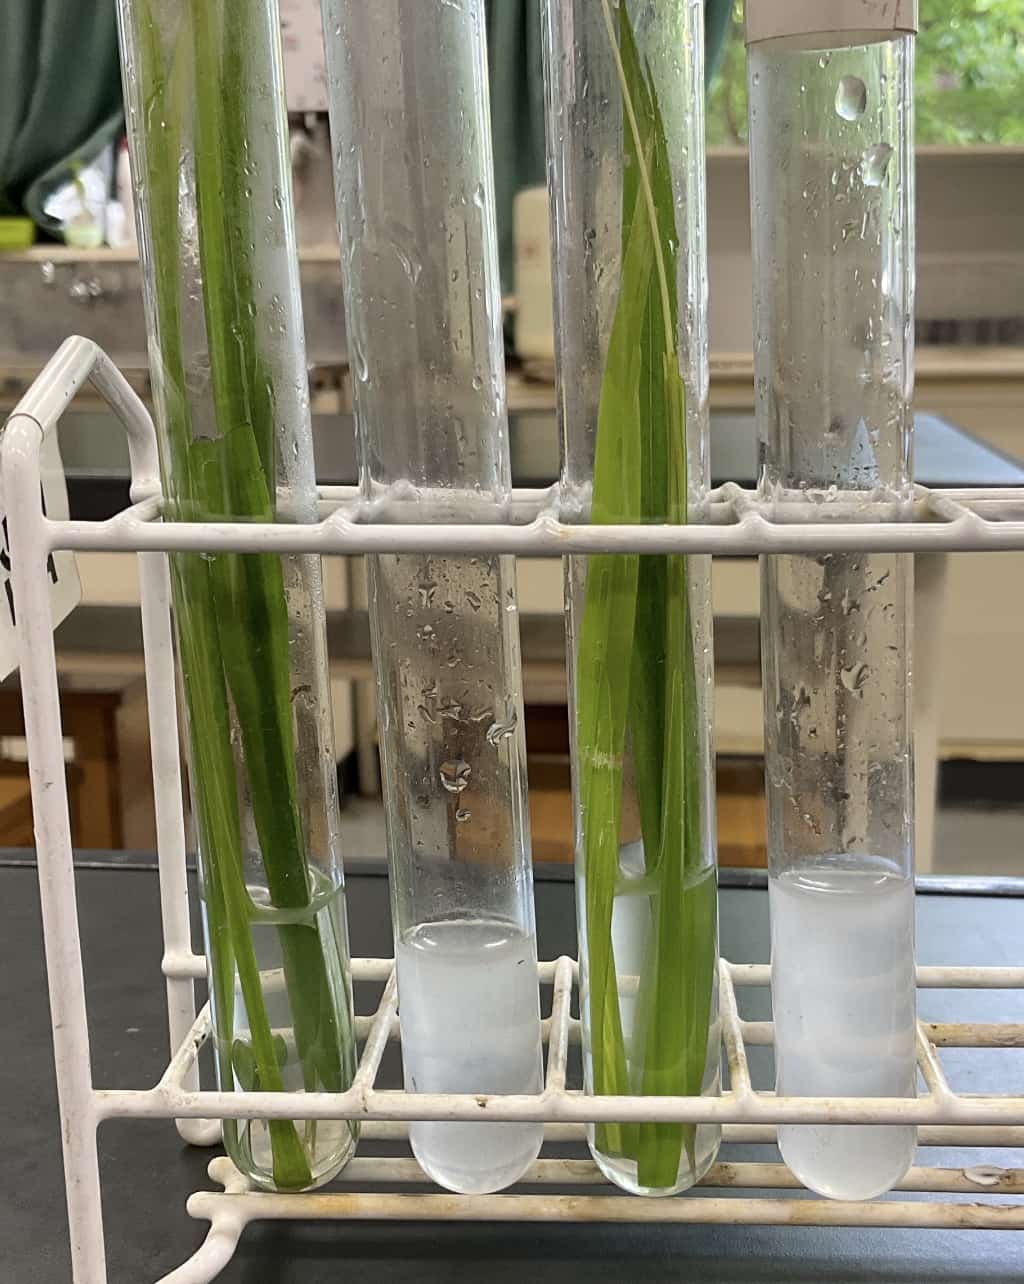
It’s hard to see through the leaves, so I pulled them out.
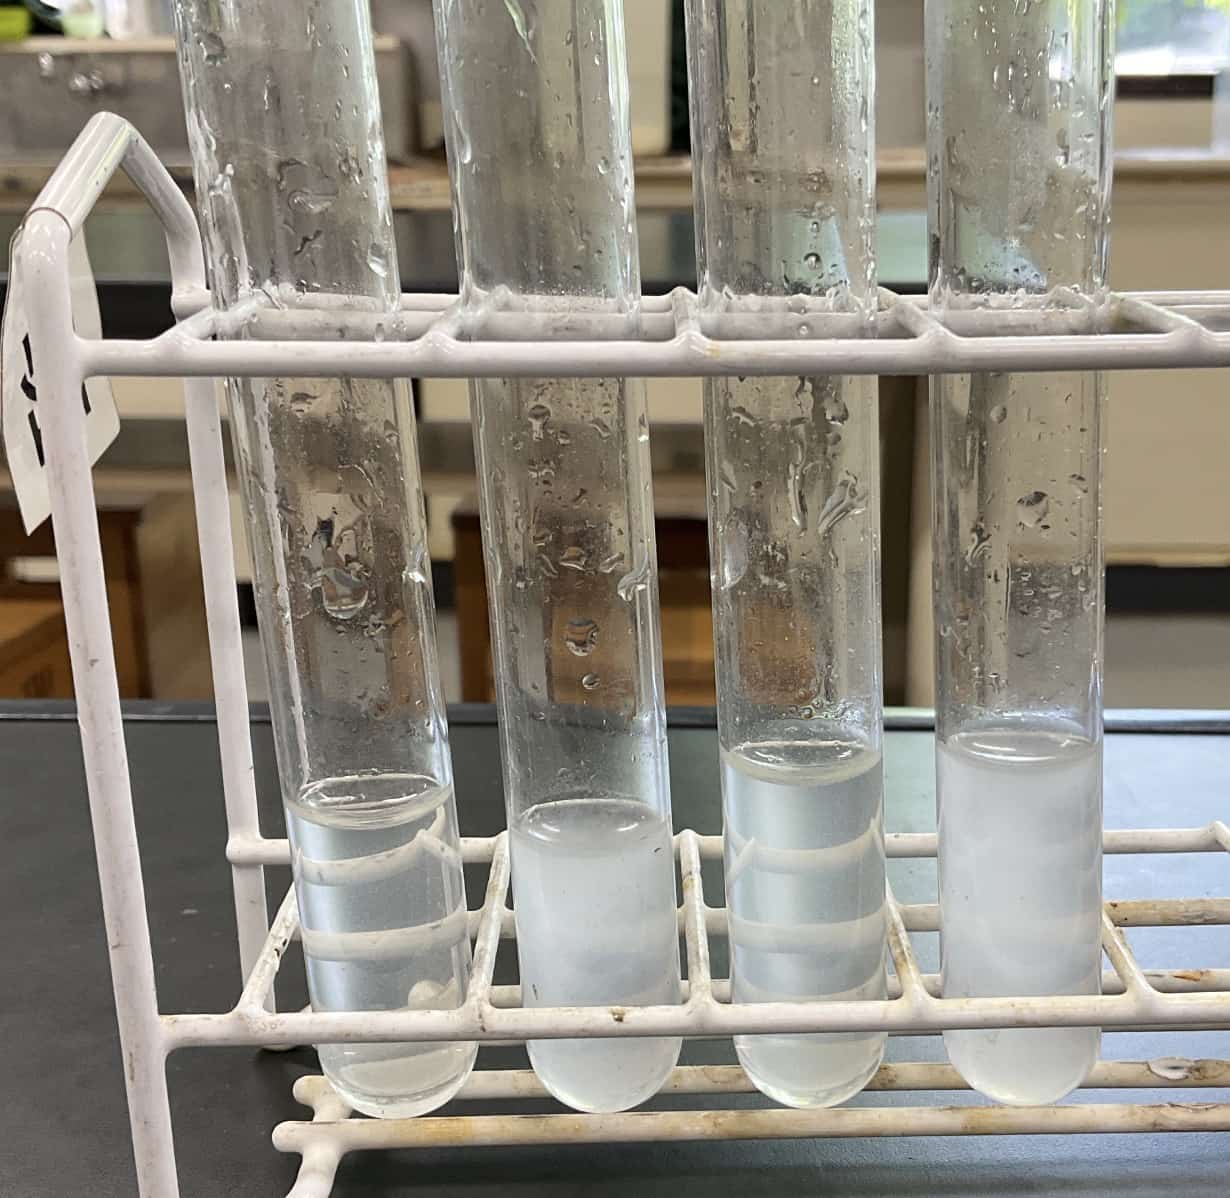
Tube A (left) is noticeably clearer, while the other three remain cloudy. While the photo makes it hard to distinguish A from C, the difference was striking in person. For reference, the textbook Science World 2 (Dainippon Tosho) shows the ideal result like this:
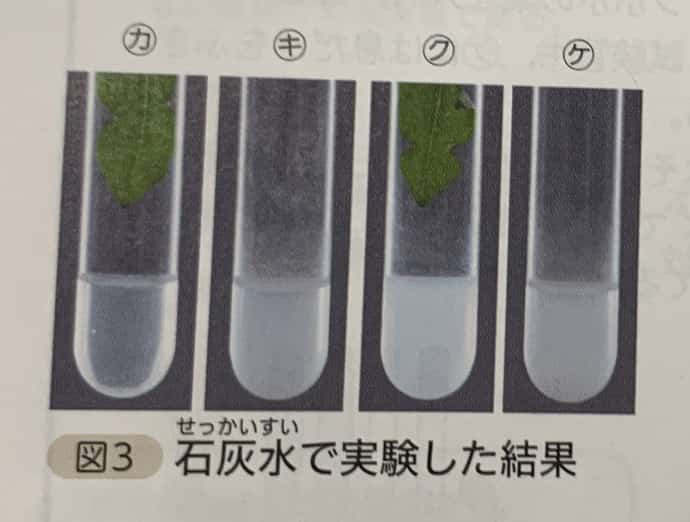 Cited from Science World 2 (Dainippon Tosho, Feb 2021), P100
In my test, the difference in Tube C wasn’t as dramatic as the textbook’s example—leaving it outside longer likely would have cleared it up more. Comparing two different indicators (BTB and Limewater) is a fantastic way to verify the evidence from multiple angles. Here is why doing both is worth the effort:
1. Verifying the “Decrease” of $CO_2$ in Two Ways
BTB shows it through color (yellow to blue-green), and limewater shows it through clarity (cloudy to clear). Confirming the same phenomenon with different tools teaches students the core scientific value of reproducibility and multi-angle verification.
2. Double the Visual Impact
Seeing a liquid change color is one thing; seeing a cloudy liquid become crystal clear is another. Together, they create a stronger memory and spark deeper curiosity.
3. Easy to Expand into Comparative Studies
In this post, I used Elodea for BTB and rescue grass for limewater. You can easily pivot this into a discussion or a new experiment: “Do different types of plants photosynthesize at different speeds?”
In short, doing both experiments is a powerful way to make the science “stick.” If you have the class time, I highly recommend it. This is one of the most rewarding lessons in the curriculum, covering respiration, photosynthesis, and variable control all at once. Prepare well, and enjoy the “Aha!” moments with your students!
Inquiries and Requests
Want to bring the wonders of science closer to home? I share tips and fun experiments you can try yourself. Feel free to explore!
• Learn more about Ken Kuwako here.
• For writing, speaking, or media requests, click here.
• Get the latest updates on X (formerly Twitter)!
 Check out my experiment videos on the Science Neta Channel!
9月のイチオシ実験!
お弁当箱をプラバンがわりにしてキーホルダーを作ろう!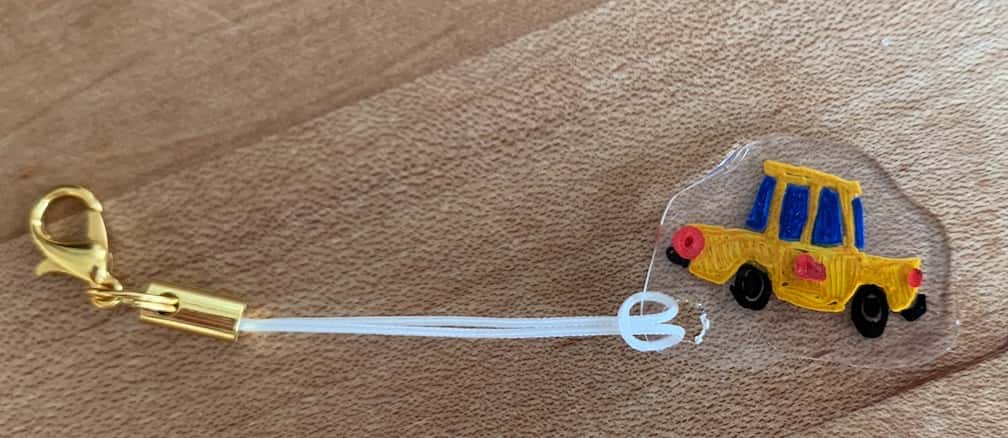
テレビ番組監修・イベント等のお知らせ
- 8月27日(木)科学監修番組放送予定
- 9月20日(日)ダビンチマスターズ出演予定
- 10月10日(土)11:15~12:00 千葉市科学フェスタ2026「桑子先生の回転科学ショー」にてサイエンスショーを行います。
- 12月26日(土) ナリカサイエンスアカデミー(教員向け実験講習会)開催
書籍のお知らせ
- 『高校入試 分解問題集 理科』(学研)…難しい問題も小さな問題に分解することで、問題を解くことができます。そんな分解の技術が身につくように深く関わりを持って作りました。
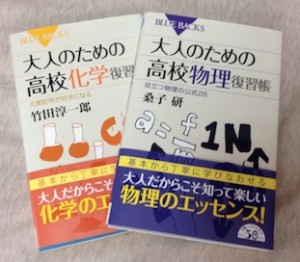
 『大人のための高校物理復習帳』(講談社)…一般向けに日常の物理について公式を元に紐解きました。特設サイトでは実験を多数紹介しています。※増刷がかかり6刷となりました(2026/02/01)
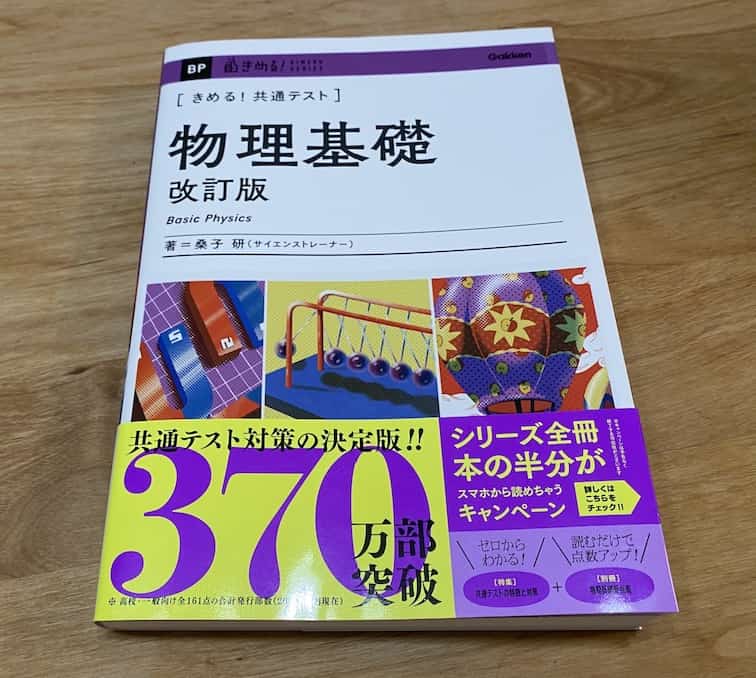
- 『きめる!共通テスト 物理基礎 改訂版』(学研)… 高校物理の参考書です。イラストを多くしてイメージが持てるように描きました。授業についていけない、物理が苦手、そんな生徒におすすめです。特設サイトはこちら。
各種SNS(更新情報をお届け!)
【日本語】X(Twitter)/instagram/Facebook 【英語】BlueSky/Threads
Explore
- 楽しい実験…お子さんと一緒に夢中になれるイチオシの科学実験を多数紹介しています。また、高校物理の理解を深めるための動画教材も用意しました。
- 理科の教材… 理科教師をバックアップ!授業の質を高め、準備を効率化するための選りすぐりの教材を紹介しています。
- Youtube…科学実験等の動画を配信しています。
- 科学ラジオ …科学トピックをほぼ毎日配信中!AI技術を駆使して作成した「耳で楽しむ科学」をお届けします。
- 講演 …全国各地で実験講習会・サイエンスショー等を行っています。
- About …「科学のネタ帳」のコンセプトや、運営者である桑子研のプロフィール・想いをまとめています。
- お問い合わせ …実験教室のご依頼、執筆・講演の相談、科学監修等はこちらのフォームからお寄せください。