The Pro’s Guide: Turn Drugstore Peroxide into Pure Oxygen in Minutes (Tips Not Found in Textbooks!)
I’m Ken Kuwako, your Science Trainer! Every Day is an Experiment.
We all know hydrogen peroxide as that common disinfectant, “Oxydol.” But did you know you can actually extract oxygen—the gas vital for our very existence—from this liquid? Today, I’m sharing a classic science experiment, often done in middle school, that uses simple, everyday materials to generate oxygen. While it seems easy, a few key tricks are necessary for a smooth and successful result. I’ll walk you through the entire process, from prep to cleanup, sharing professional tips that aren’t in the textbook. These pro moves will save you time and dramatically boost your success rate! Ready to dive into the world of science with me?
What You’ll Need
- Hydrogen Peroxide solution (3%) – 7 mL
- Manganese Dioxide (MnO2)
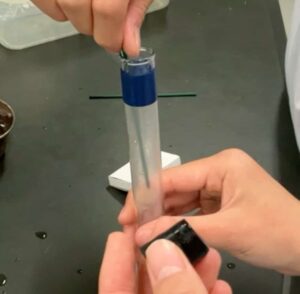
- 3 Test Tubes
- Matches
- Incense Stick (or splint)
- Container for spent materials
- Wet Rag
- Limewater (Calcium Hydroxide solution)
Why Does Hydrogen Peroxide Produce Oxygen? The Science Behind the Experiment
So, why does hydrogen peroxide spontaneously produce oxygen? Hydrogen peroxide is an aqueous solution of a slightly unstable substance called hydrogen peroxide (H2O2). If left alone, it will slowly decompose into water (H2O) and oxygen (O2):
2H2O2⟶2H2O+O2
The black powder, Manganese Dioxide (MnO2), dramatically speeds up this reaction. Manganese dioxide acts as a catalyst, meaning it drives the chemical reaction forward without being consumed or permanently changed itself. Think of it as a pacemaker or a support runner for a marathoner, boosting the reaction’s speed!
Quick and Successful! Experiment Steps and Pro Tips
Pro Tip 1: Use a Single ‘Granule’ of Manganese Dioxide!
Manganese dioxide comes in powder and granular forms, and I highly recommend the granular type.

If you use the powder, its massive surface area causes the reaction with hydrogen peroxide to happen too quickly. You’ll get a violent burst of foam and bubbles, and the reaction will be over almost instantly. Granules, however, allow for a calmer, more sustained reaction, giving you plenty of time to collect the oxygen. You only need one small piece!
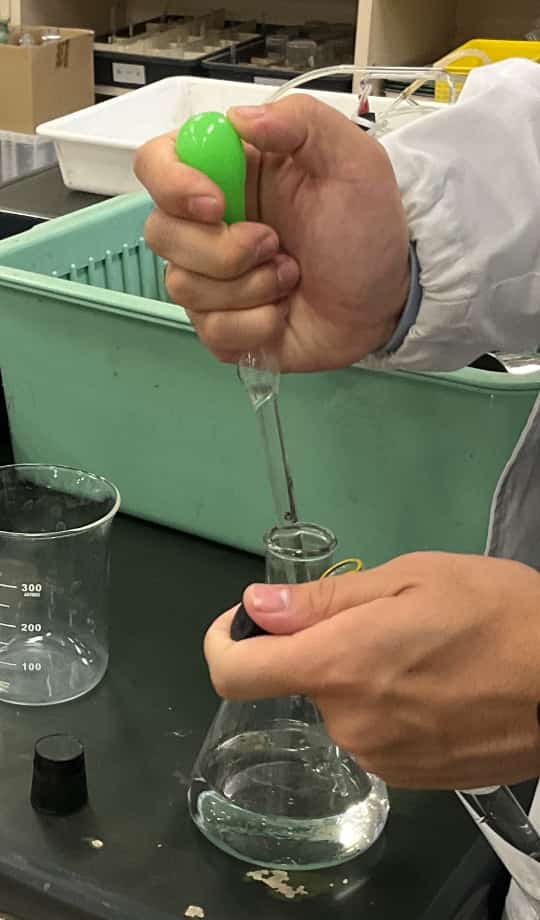
Pro Tip 2: 3% Peroxide is Fine! Prep the Solution Right Before Use
The standard 3% hydrogen peroxide solution available at any drugstore is more than enough to generate a good amount of oxygen. At this concentration, it’s generally safe—just wash your hands quickly if you get some on your skin.

Since hydrogen peroxide breaks down easily, it’s best to prepare the required amount in a beaker right before the lab and have students take only what they need immediately. This keeps the solution fresh and the reaction vigorous.
Pro Tip 3: Reaction Too Slow? ‘Heat it Up!’
Make sure your test tubes are stored in water beforehand.
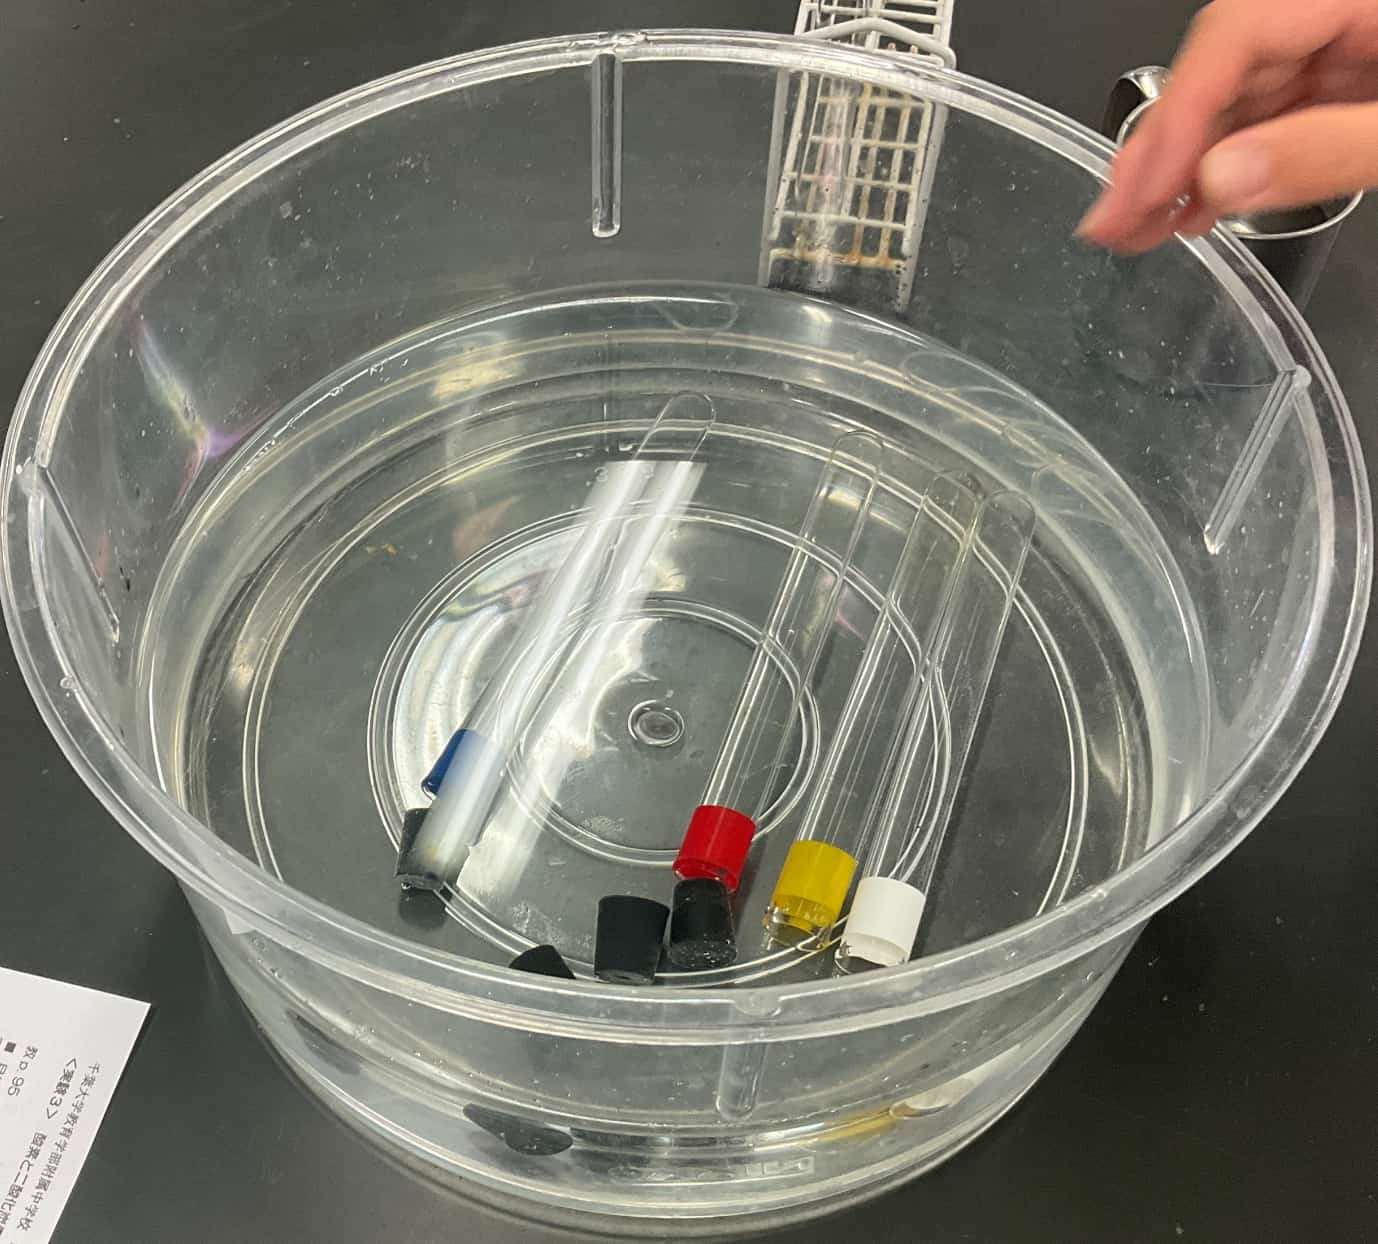
Chemical reactions naturally slow down in cold weather, like during the winter. If you notice the oxygen isn’t coming out very well, try this: prepare a large beaker of hot water and immerse the reaction test tube into it. Increasing the temperature increases the kinetic energy of the molecules, which significantly speeds up the reaction!
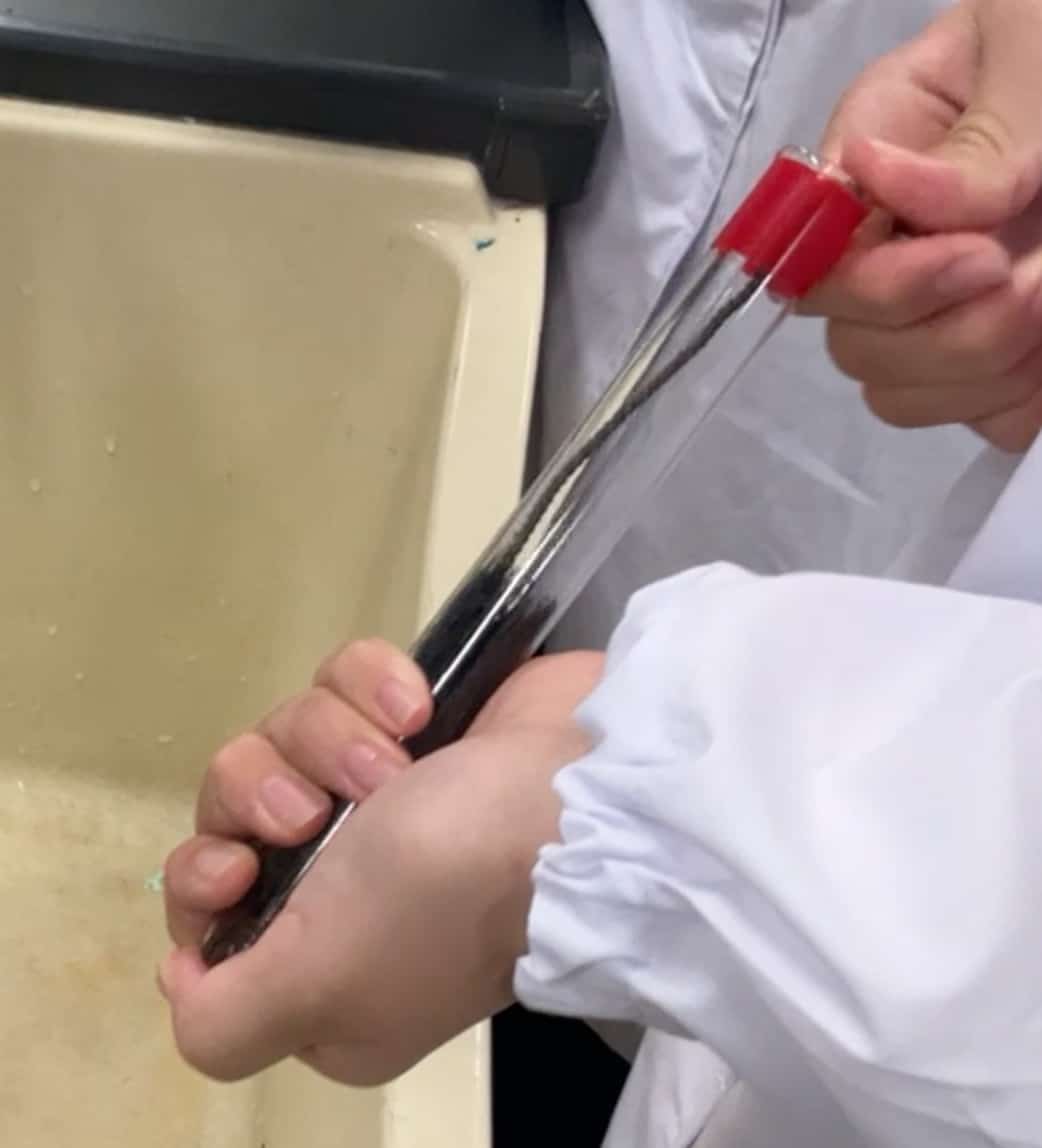
Safety Note: Don’t leave the test tube in a rack while heating; hold it securely with your hand.
Pro Tip 4: Test for ‘Combustion-Supporting’ Power!
This is the climax of the experiment: testing the properties of the collected oxygen! Light your incense stick, then blow out the flame so only a glowing ember remains. Gently insert the glowing stick into the test tube. You’ll hear a little pop as the ember suddenly reignites and flares up with a bright flame! This is due to oxygen’s property of supporting combustion. The reason we breathe in oxygen is the same: to “burn” nutrients in our bodies to produce energy. It truly is the gas of life!
Pro Tip 5: Using Limewater to Prove What the Gas Isn’t
Next, pour some limewater into the third test tube, cap it, and shake. The result will be… nothing. The limewater remains clear.
This is not a failure! Limewater is a reagent used to detect carbon dioxide (CO
2
)—it turns cloudy white in its presence. By remaining clear, you have successfully proven that the gas produced is not carbon dioxide. This is a perfectly valid and important scientific result!
Safe and Easy Cleanup
Since manganese dioxide is a catalyst, it remains unchanged after the reaction. Do not pour it directly down the sink, as it can clog the pipes! Instead, pour the contents of the test tube into a sieve or fine strainer first to capture the manganese dioxide, then rinse the test tube.
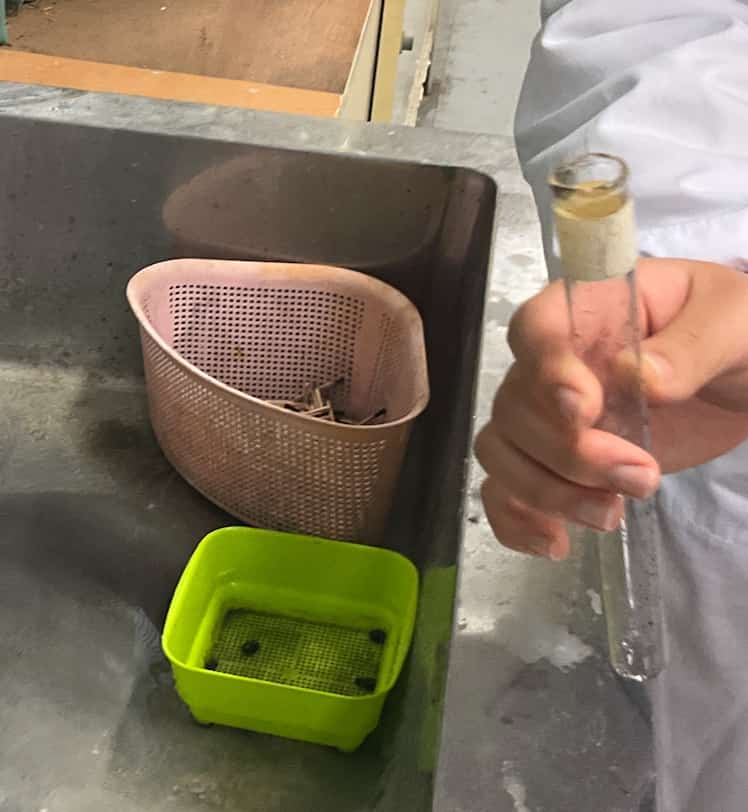
This is also a great time to practice using a test tube brush correctly!
Mastering these tips will allow you to complete the experiment smoothly within a standard 50-minute class period. Up next: experiments on generating carbon dioxide and hydrogen!
Contact and Consulting
Make the wonders and fun of science more accessible! I’ve put together easy-to-understand tips and fun science experiments you can do at home. Feel free to search around!
The content from this blog is now available in a book. Find out more here.
Learn more about the organizer, Ken Kuwako, here.
For all requests (writing, lectures, science workshops, TV consulting, appearances, etc.), please click here.
– I post updates on new articles on X!
![]() Catch our experiment videos on the Science Neta Channel!
Catch our experiment videos on the Science Neta Channel!
NEW 分解問題集 理科
- 7月21日発売!『高校入試 分解問題集 理科』(学研)…難しい問題も小さな問題に分解することで、問題を解くことができます。そんな分解の技術が身につくように深く関わりを持って作りました。
7月のイチオシ実験!
夏でプシュッと爽やか実験!

テレビ番組監修・イベント等のお知らせ
- 7月18日(土)「TIF presents ONE SONG FES. 」(フジテレビ)
- 7月18日(土) 教員向け実験講習会「ナリカカサイエンスアカデミー」
- 7月23日(木)科学監修 19:00〜 THE突破ファイル(日本テレビ)
- 7月30日(水) 監修したテレビ番組放送予定
- 12月26日(土) ナリカサイエンスアカデミー(教員向け実験講習会)開催
書籍のお知らせ
- 『大人のための高校物理復習帳』(講談社)…一般向けに日常の物理について公式を元に紐解きました。特設サイトでは実験を多数紹介しています。※増刷がかかり6刷となりました(2026/02/01)

- 『きめる!共通テスト 物理基礎 改訂版』(学研)… 高校物理の参考書です。イラストを多くしてイメージが持てるように描きました。授業についていけない、物理が苦手、そんな生徒におすすめです。特設サイトはこちら。

各種SNS(更新情報をお届け!)
【日本語】X(Twitter)/instagram/Facebook 【英語】BlueSky/Threads
Explore
- 楽しい実験…お子さんと一緒に夢中になれるイチオシの科学実験を多数紹介しています。また、高校物理の理解を深めるための動画教材も用意しました。
- 理科の教材… 理科教師をバックアップ!授業の質を高め、準備を効率化するための選りすぐりの教材を紹介しています。
- Youtube…科学実験等の動画を配信しています。
- 科学ラジオ …科学トピックをほぼ毎日配信中!AI技術を駆使して作成した「耳で楽しむ科学」をお届けします。
- 講演 …全国各地で実験講習会・サイエンスショー等を行っています。
- About …「科学のネタ帳」のコンセプトや、運営者である桑子研のプロフィール・想いをまとめています。
- お問い合わせ …実験教室のご依頼、執筆・講演の相談、科学監修等はこちらのフォームからお寄せください。