Why Start at 5A? How Analog Ammeters Work—and Why the Digital “Petit Meter” Changes Everything!
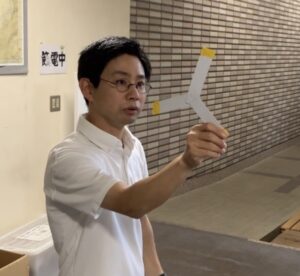
I’m Ken Kuwako, a science trainer. Every day is an experiment.
There are things we cannot see with our eyes, yet they definitely exist. One of them is “electric current.” Turn on a switch and a light comes on. A motor starts spinning. But what exactly is electric current?
After learning circuit diagrams, the next step is learning how to use an ammeter. In the third lesson on electric circuits, we first explored what electric current actually is. Using small light bulbs and LED bulbs, we tested what happens when the connections from the positive and negative terminals of a battery are switched.
The result was fascinating. The small bulb worked the same way in either direction, but the LED bulb changed — it lit up in one direction and turned off when reversed. At this point, students began to realize, “Maybe something is flowing in only one direction?” When we tried the same experiment with a motor, the direction of rotation changed when the connections were reversed. From this, students discovered that electric current has a direction. However, at this stage, we still do not know exactly which way it flows.
Another question naturally comes up: “How much electric current is flowing?” This is where the ammeter enters the story.
Meeting the tool that measures the “amount” of electric current
Since ammeters also appear in their textbooks and workbooks, I explained how to use an analog ammeter. Our school also has mini digital ammeters called “Petit Meters,” so I told the students that this would be their one and only chance to practice using an analog meter. One of the fascinating things about science is that measurement tools continue to evolve with the times.
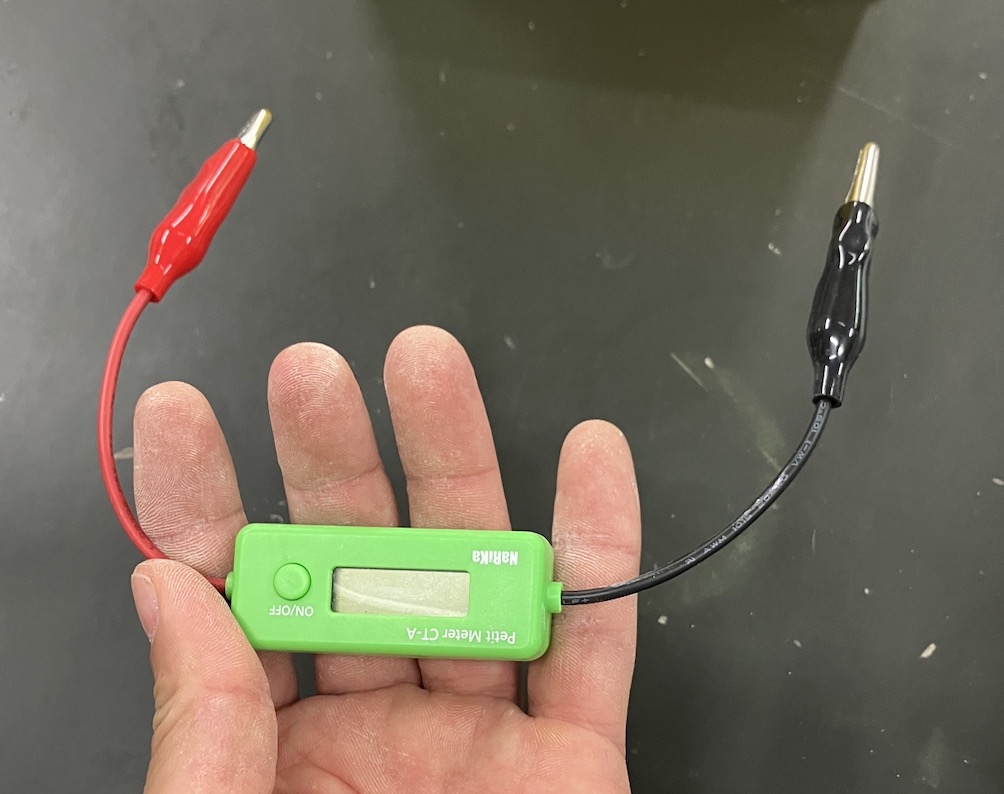
DC Ammeter Petit Meter CT-A Compact Digital Ammeter
Once again, the key is to “use your hands and try it yourself.” First, I had each group bring out a circuit kit. This time, each group shared one set.
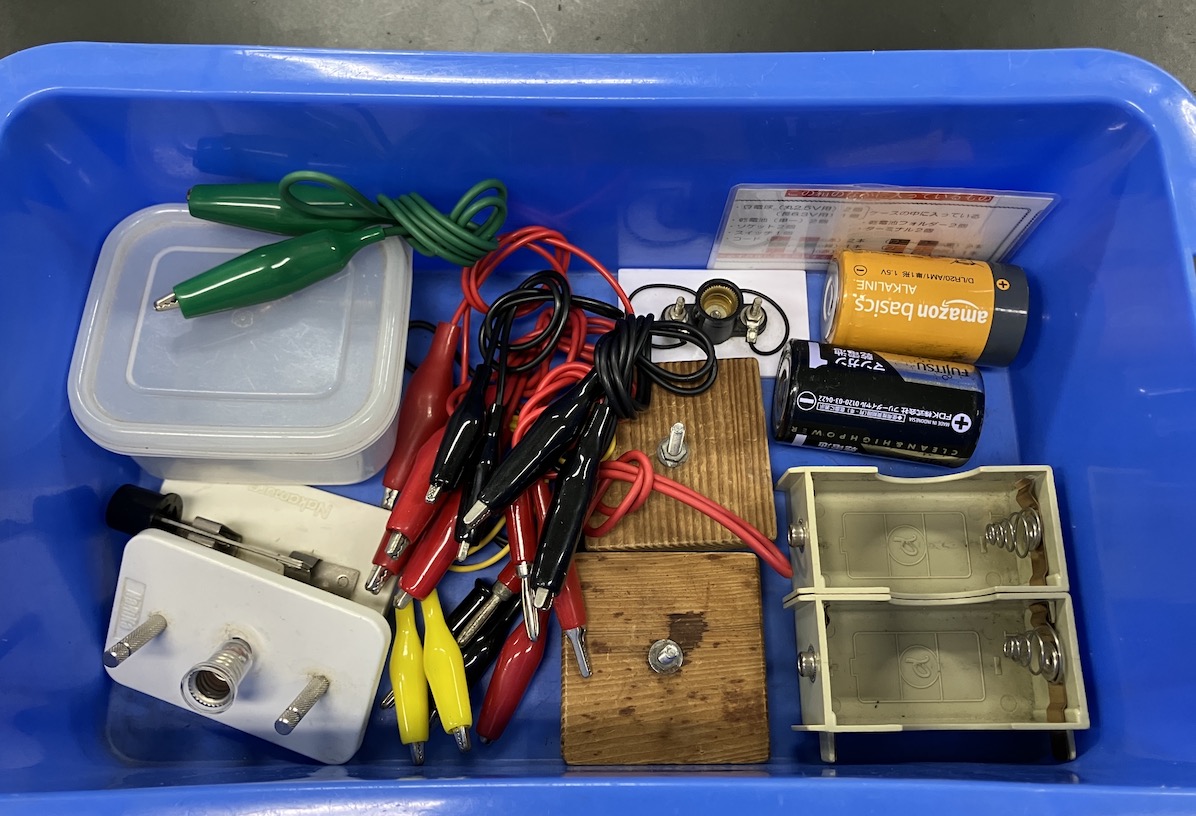
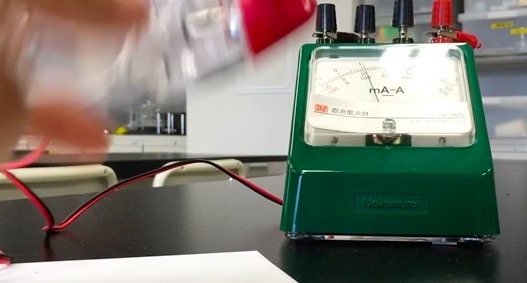
Using an analog ammeter, students actually built circuits and confirmed how to connect the ammeter correctly — placing it in series within the circuit.
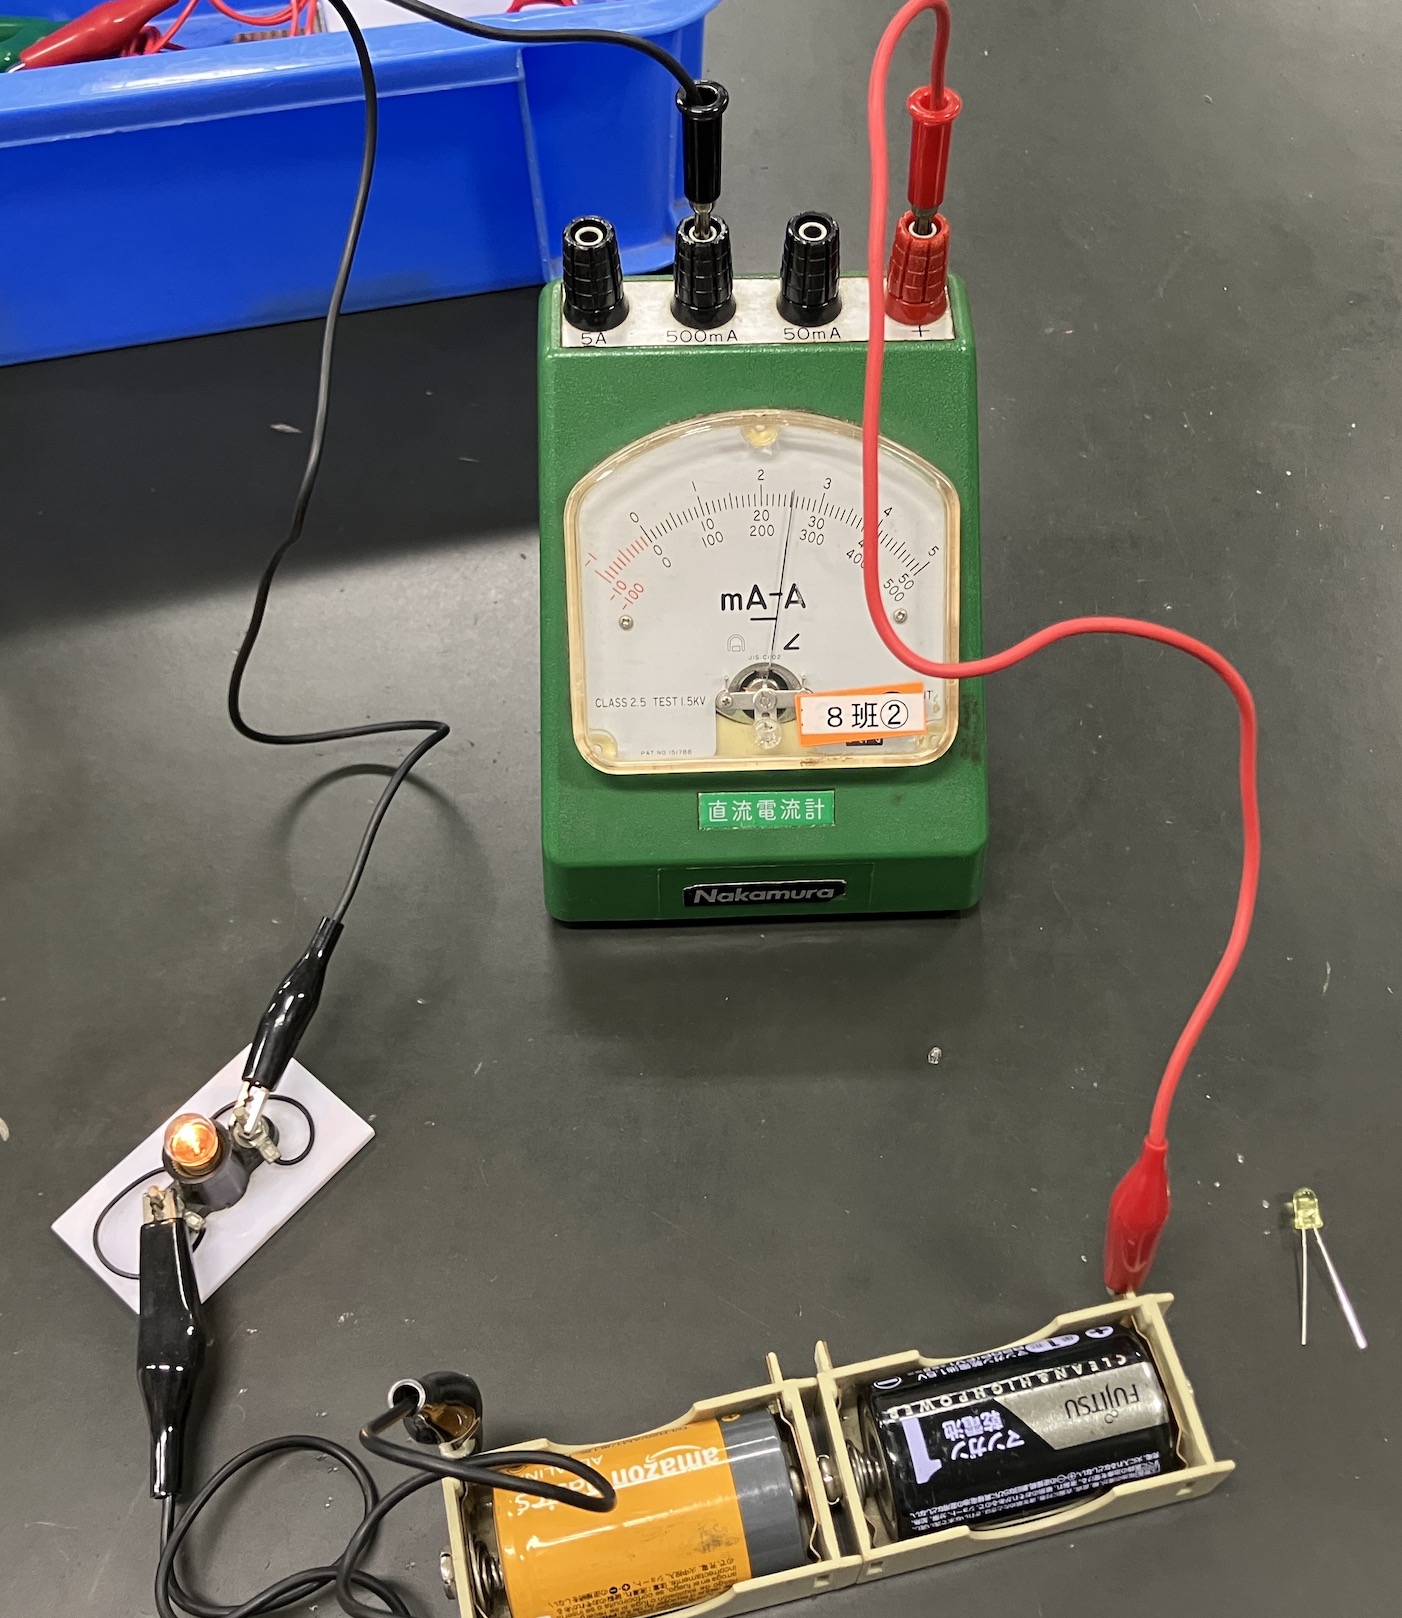
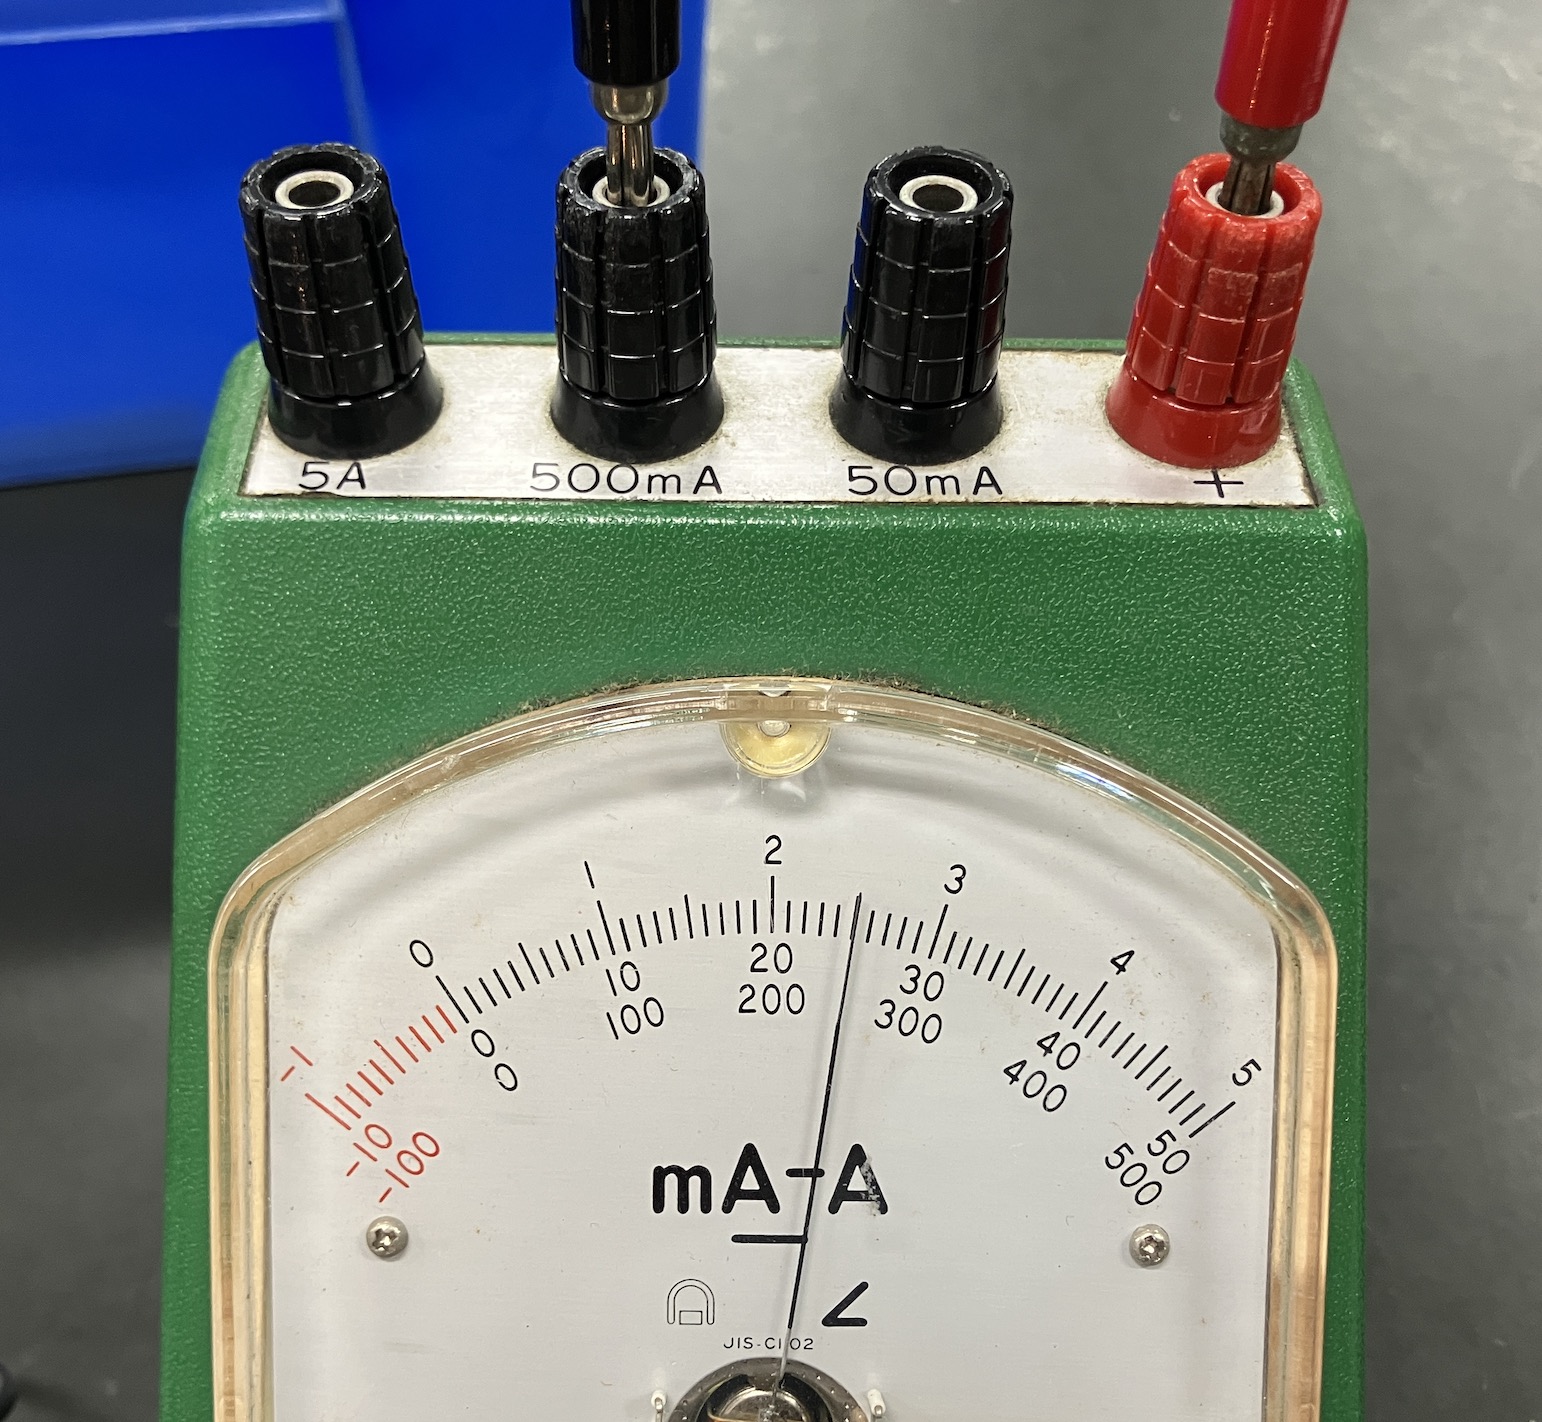
I also explained how to use the negative terminals: always start from the largest range, 5A, then move down to 500mA and 50mA while checking the readings. I also taught them to read down to one-tenth of the smallest scale division.
After that, I handed out the Petit Meter ammeters and explained that we would use these from now on. With the Petit Meter, there is no need to struggle with reading scales — students simply read the value displayed on the screen. Some students who had struggled with the analog meter looked relieved.
Experiencing the “power of electric current” with a hand-crank generator!
One activity I highly recommend is connecting a hand-crank generator to an ammeter. Instead of using a battery, students create electricity using their own strength. This helps them truly feel, “Wow, electric current actually has this much power!”
First, we connect the generator to the largest range of the ammeter, 5A, and turn the handle. No matter how hard students try, the needle only moves slightly. But when we change the connection to 500mA or 50mA, everything changes. There is one important rule here: turn the handle slowly.
Even with just a small turn, the needle suddenly jumps up dramatically. At this moment, students naturally start wondering, “What would happen if I turned it as hard as possible?” The answer becomes clear: the needle would hit the maximum point and the meter could break.
The “proper technique” for protecting delicate sensors
The 50mA terminal of an ammeter is designed to be extremely sensitive because it measures very small currents. It is like placing a heavy suitcase on a kitchen scale made for measuring ingredients. It could break instantly. That is why starting with the largest range (5A) is such an important procedure.
This is not just a rule to memorize. It is a smart way to protect the measuring instrument from unknown currents. Through experiences like this, students begin to understand “why” they need to do something. Knowledge stops being simple memorization and becomes something they truly understand.
One real experience can be more powerful than a hundred times of memorization. I highly recommend trying it.
Contact and Requests
Bring the wonders and excitement of science closer to everyday life! I share fun science experiments you can do at home, along with simple explanations and tips. Feel free to explore and search for more!
・The contents of “Science Idea Notebook” have been published as a book. Details are here
・Information about Ken Kuwako, the creator, is here
・For various requests (writing, lectures, science workshops, TV supervision, appearances, etc.), please see here
・Updates and new articles are shared on X!
![]() Science Idea Channel shares experiment videos!
Science Idea Channel shares experiment videos!
6月のイチオシ実験!
レモンやオレンジで風船を割ろう!インパクトが抜群のリモネン風船の実験
テレビ番組監修・イベント等のお知らせ
- 6月3日(水)20:30〜 「
バカリズムのちょっとバカりハカってみた!」(テレビ東京)を科学監修・出演します。テーマは「 そばの出前は何人前まで運べるのか、限界を測ってみた」です。 - 6月4日(木) 7:00〜 「THE突破ファイル」(日本テレビ)について科学監修しました。
- 6月14日(日) 千葉大学インスタレーション「探究」にて講師を務めます
- 6月26日(金) 公開研究会「脱作業化!デジタル化と段階的指導で実現する オームの法則の探究」
- 6月28日(日) ダビンチマスターズ@昭和女子
- 7月18日(土) 教員向け実験講習会「ナリカカサイエンスアカデミー」の講師をします。お会いしましょう。
書籍のお知らせ
- 『大人のための高校物理復習帳』(講談社)…一般向けに日常の物理について公式を元に紐解きました。特設サイトでは実験を多数紹介しています。※増刷がかかり6刷となりました(2026/02/01)

- 『きめる!共通テスト 物理基礎 改訂版』(学研)… 高校物理の参考書です。イラストを多くしてイメージが持てるように描きました。授業についていけない、物理が苦手、そんな生徒におすすめです。特設サイトはこちら。

各種SNS(更新情報をお届け!)
X(Twitter)/instagram/Facebook(日本語)
Explore
- 楽しい実験…お子さんと一緒に夢中になれるイチオシの科学実験を多数紹介しています。また、高校物理の理解を深めるための動画教材も用意しました。
- 理科の教材… 理科教師をバックアップ!授業の質を高め、準備を効率化するための選りすぐりの教材を紹介しています。
- Youtube…科学実験等の動画を配信しています。
- 科学ラジオ …科学トピックをほぼ毎日配信中!AI技術を駆使して作成した「耳で楽しむ科学」をお届けします。
- 講演 …全国各地で実験講習会・サイエンスショー等を行っています。
- About …「科学のネタ帳」のコンセプトや、運営者である桑子研のプロフィール・想いをまとめています。
- お問い合わせ …実験教室のご依頼、執筆・講演の相談、科学監修等はこちらのフォームからお寄せください。