Transform Your Lessons! Effortless & Crystal-Clear Mitosis Observation with Safranin Solution
I am Ken Kuwako, a science trainer. Every day is an experiment.
When you hear the phrase “mysteries of life,” do you picture the vastness of outer space or the depths of the ocean? Actually, an incredible drama is unfolding right beneath our feet, inside a single tiny onion seed. One cell becomes two, two become four… The moment you witness this baton-pass of life—cell division—with your own eyes is an experience you never forget.
In science class, we want students to witness this process under a microscope. For that, I highly recommend observing “Somatic Cell Division in Onion Roots” using Safranin Hydrochloric Acid (by Narika). While this experiment might look intimidating to prepare, it is actually quite simple. By using Safranin Hydrochloric Acid, you can skip the tedious step of “heating with hydrochloric acid,” making preparation a breeze and ensuring beautiful results within a single class period. I found myself getting just as excited as my students, shouting, “Look! You can see the chromosomes separating in the nucleus!”
In this post, I will share the exact method I used, the preparation steps, and key tips for a successful middle school science lesson.
Preparation (Start one week in advance)
The secret to a successful experiment starts with growing healthy roots!
Onion seeds (at least 60, to be safe)
Petri dishes (or small plates)
Tissue paper or cotton wool
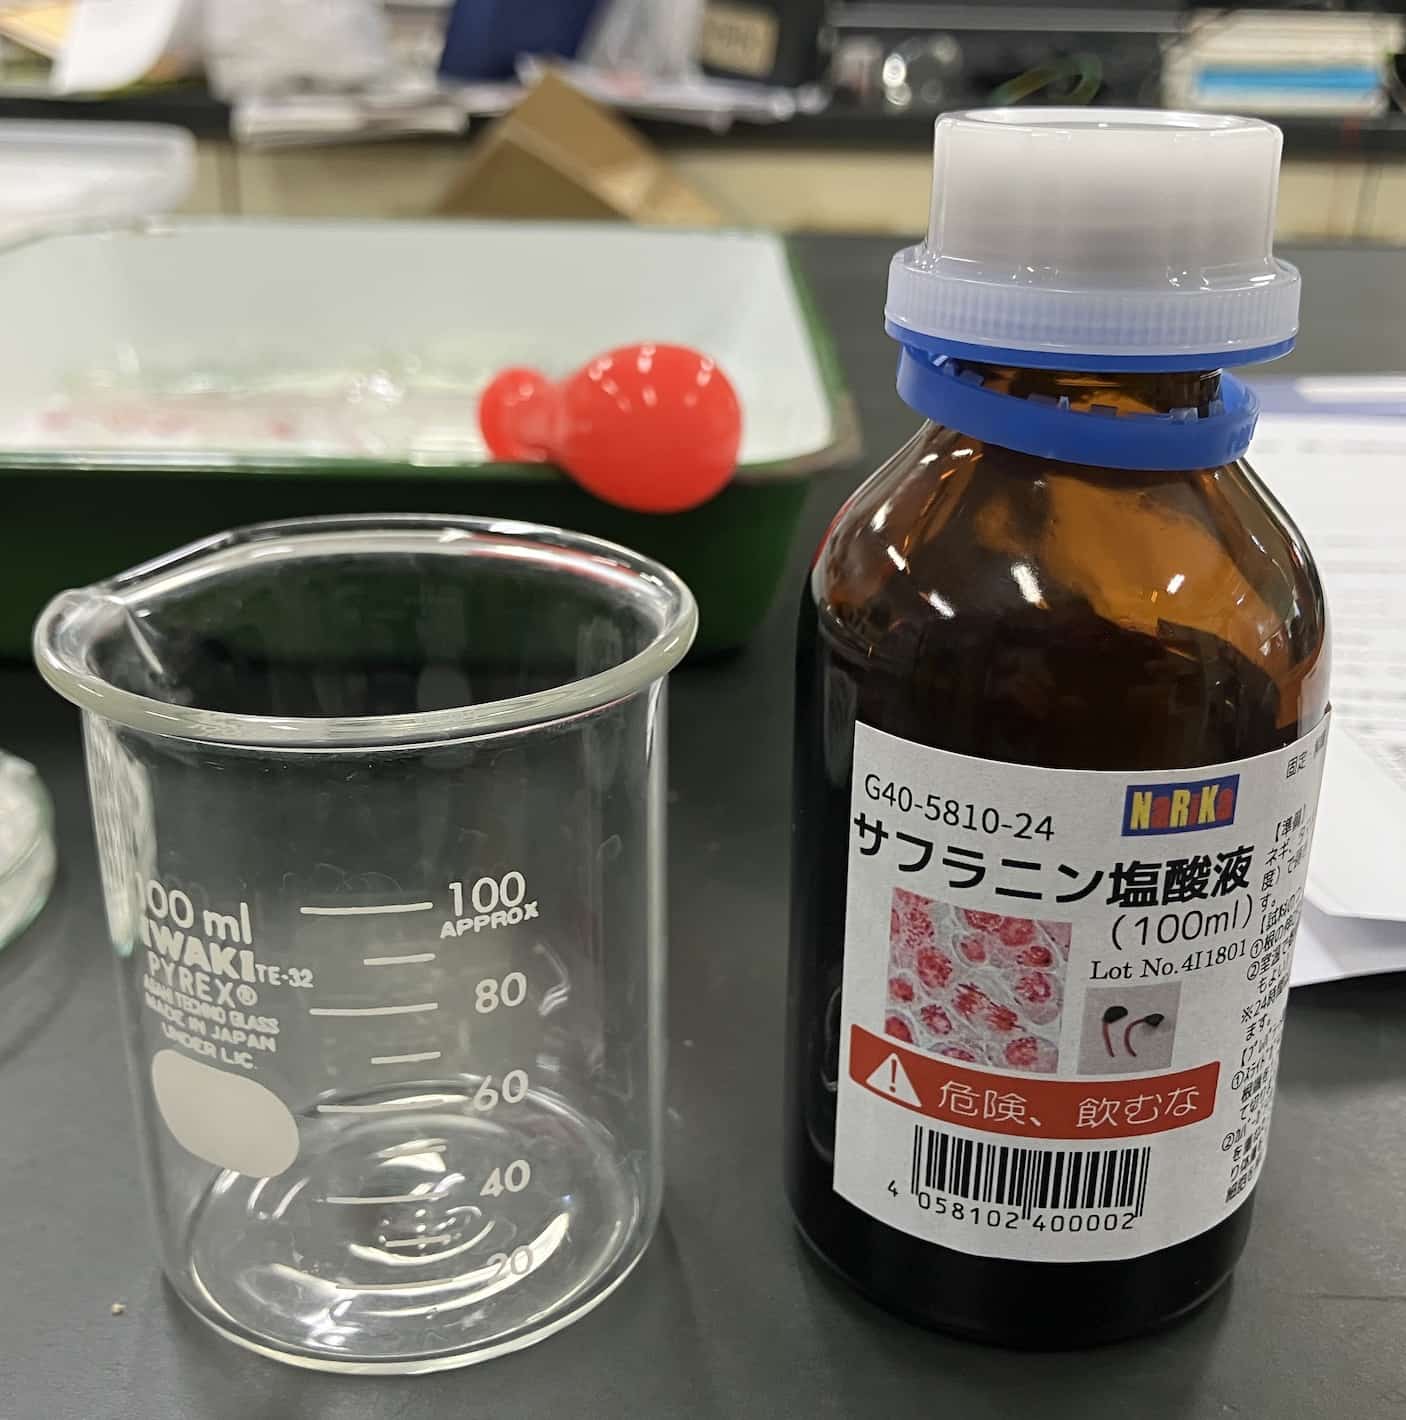
Safranin Hydrochloric Acid (by Narika) Available on Amazon here
Slides and cover slips (at least one per student)
Tweezers
Toothpicks (flat-tipped ones)
Water, droppers, and tissues
Glycerin (optional, for long-term storage)
Getting Ready
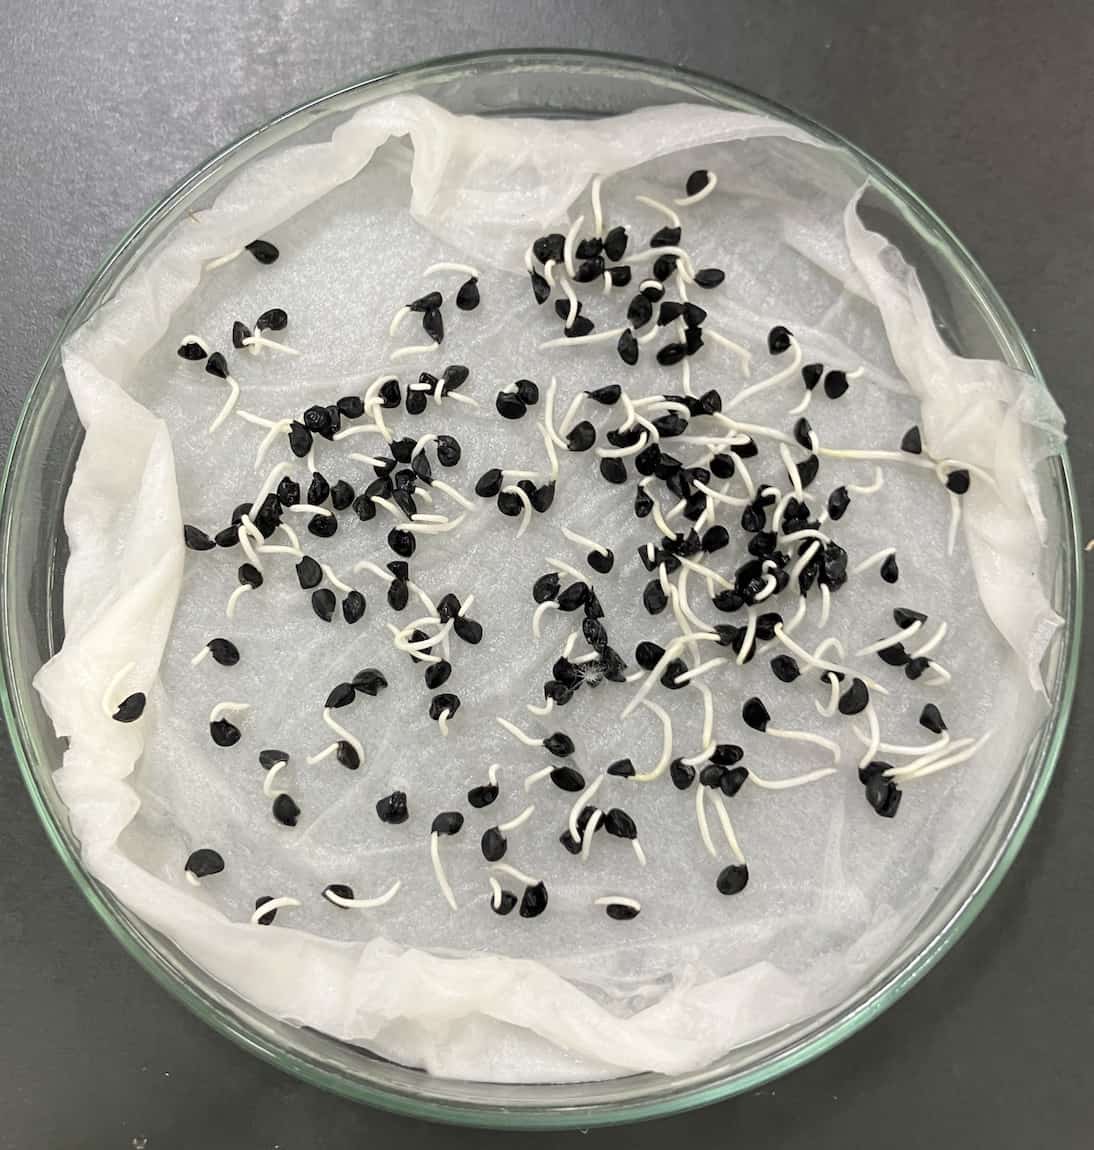
How to Germinate the Seeds (Day 1 to 5)
The key to sowing is to line the seeds up on tissue or cotton wool and moisten them with water in a petri dish. If you add too much water, the seeds won’t be able to breathe and might rot. Aim for a “just damp” consistency. Using cotton wool is particularly recommended for beginners as it keeps the moisture levels more stable.
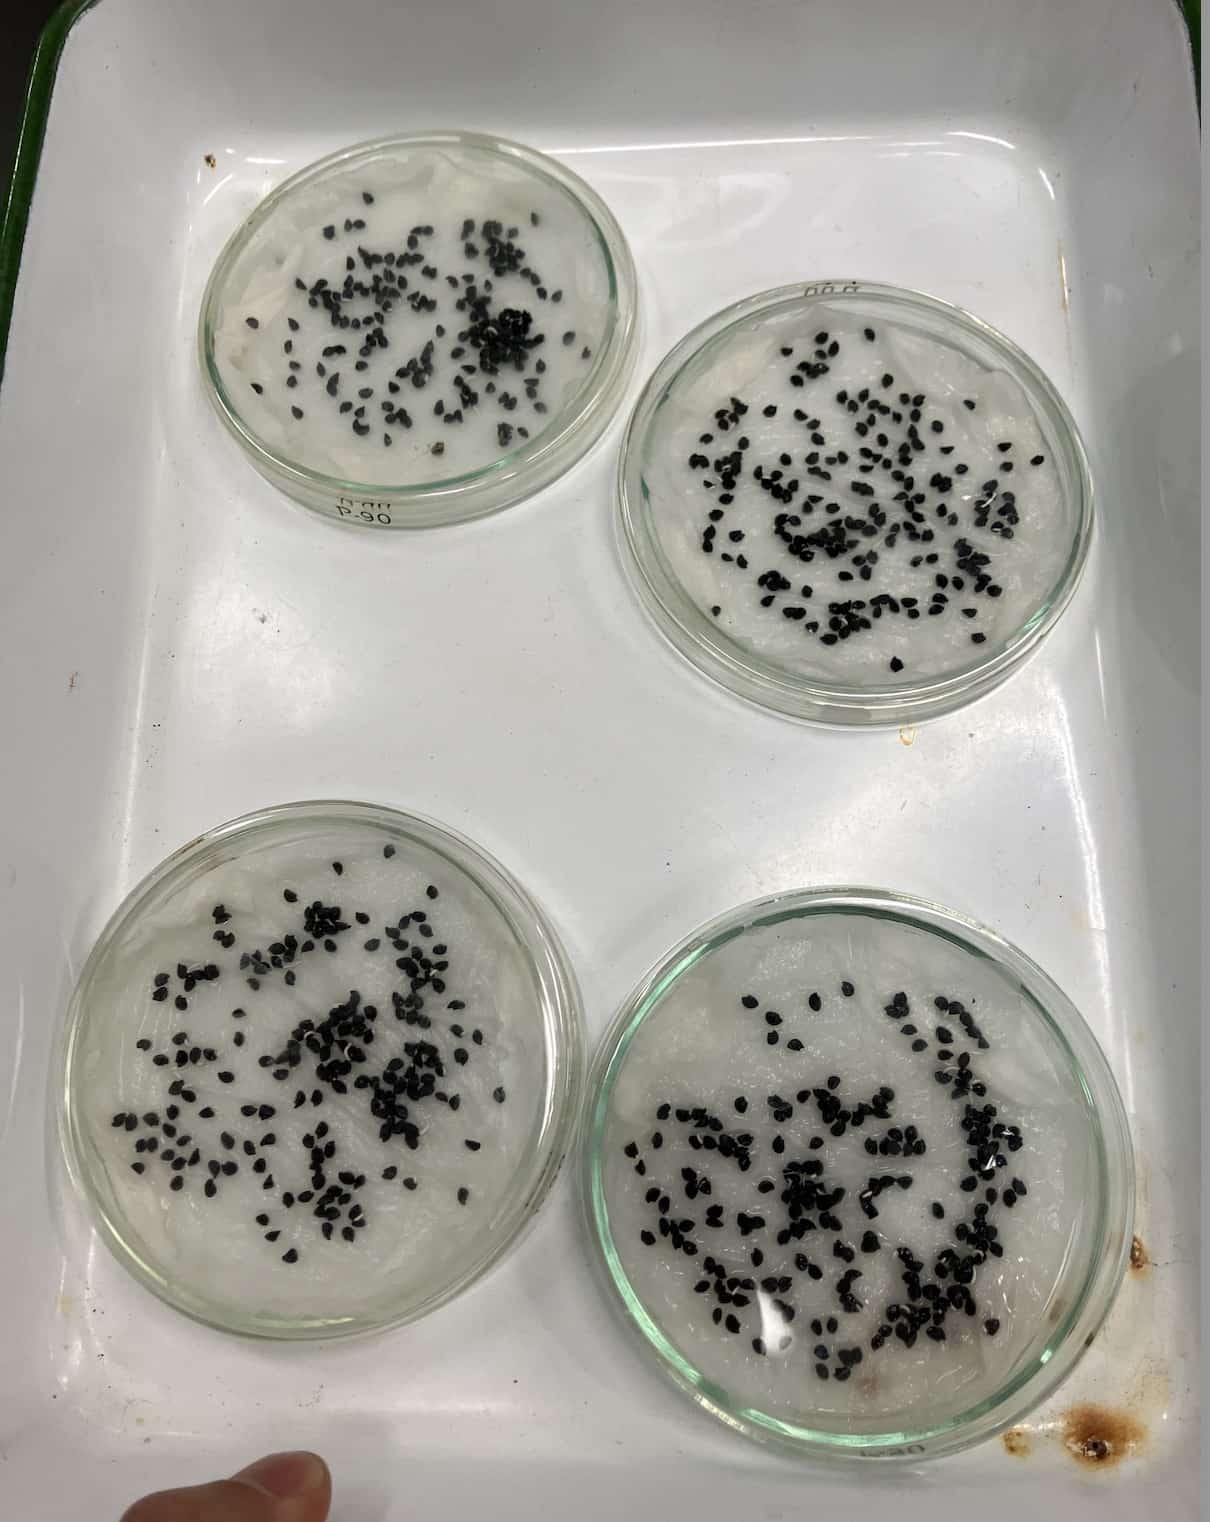
If kept at room temperature, the sprouts (roots) will grow to about 5mm in 4 to 5 days. In my case (during March), about 30 seeds reached 5mm by day four, and almost all were the ideal length by day six. That 5mm mark is the sweet spot for observation.

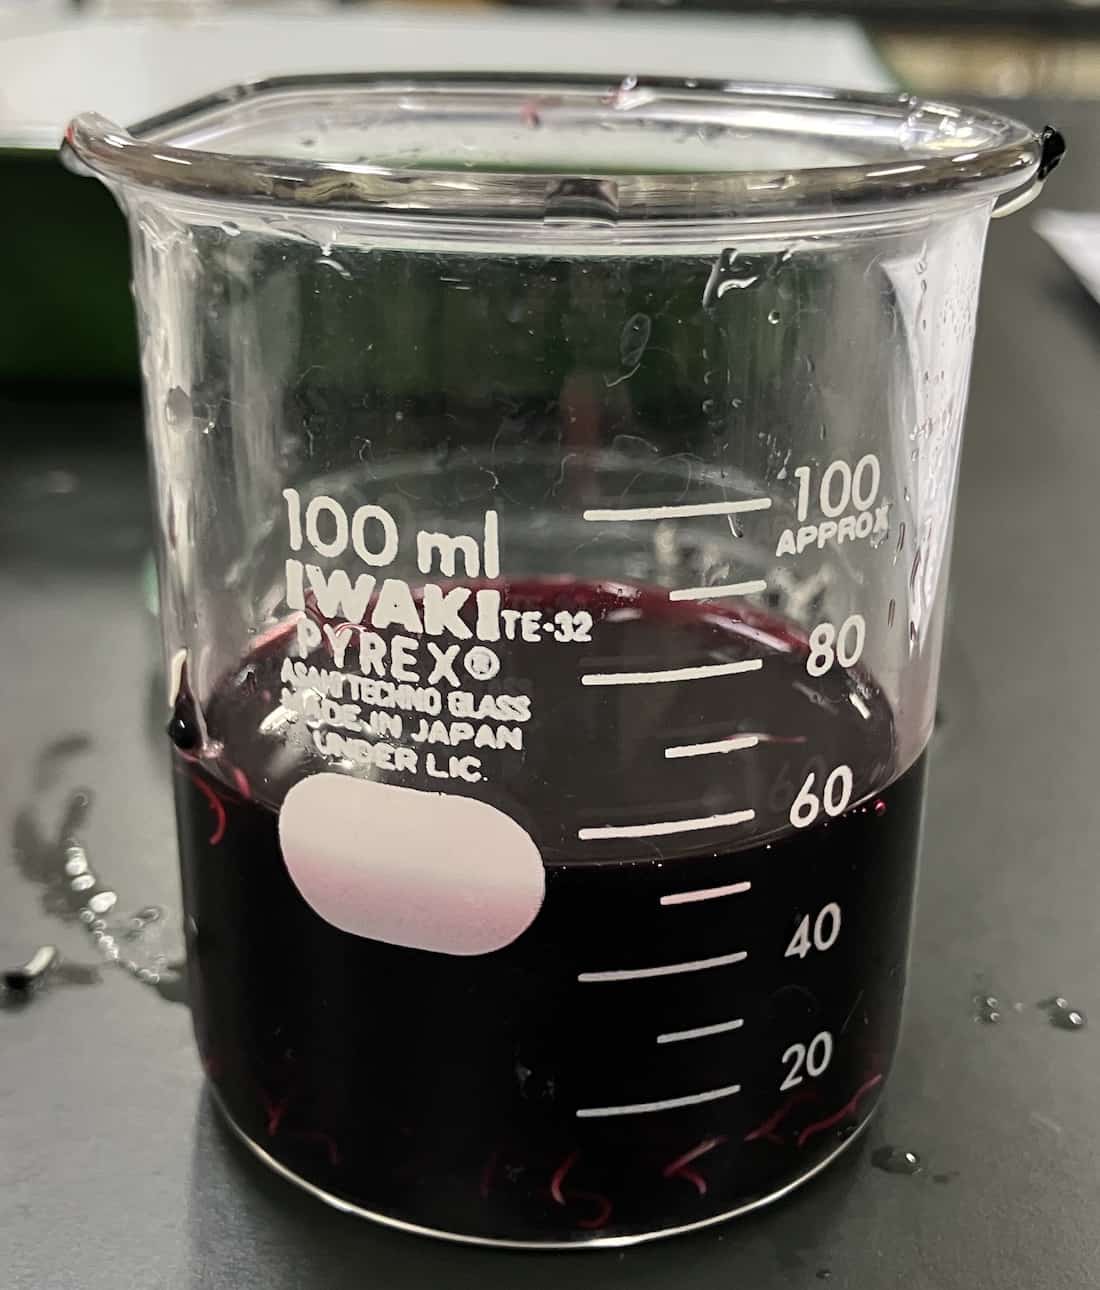
The Day Before: Staining with Safranin Hydrochloric Acid
The day before your lesson, soak the sprouted roots in the Safranin Hydrochloric Acid. Usually, observing cells requires two steps: “dissociation” (breaking the cells apart) and “staining.” This solution is a superstar because it does both simultaneously at room temperature. After a full day of soaking, the chromosomes inside the nucleus will stand out vividly.
Experiment Day: Creating the Slide (The Squash Method)
It’s showtime! Distribute the stained seeds to each group and follow these steps to create the slides:
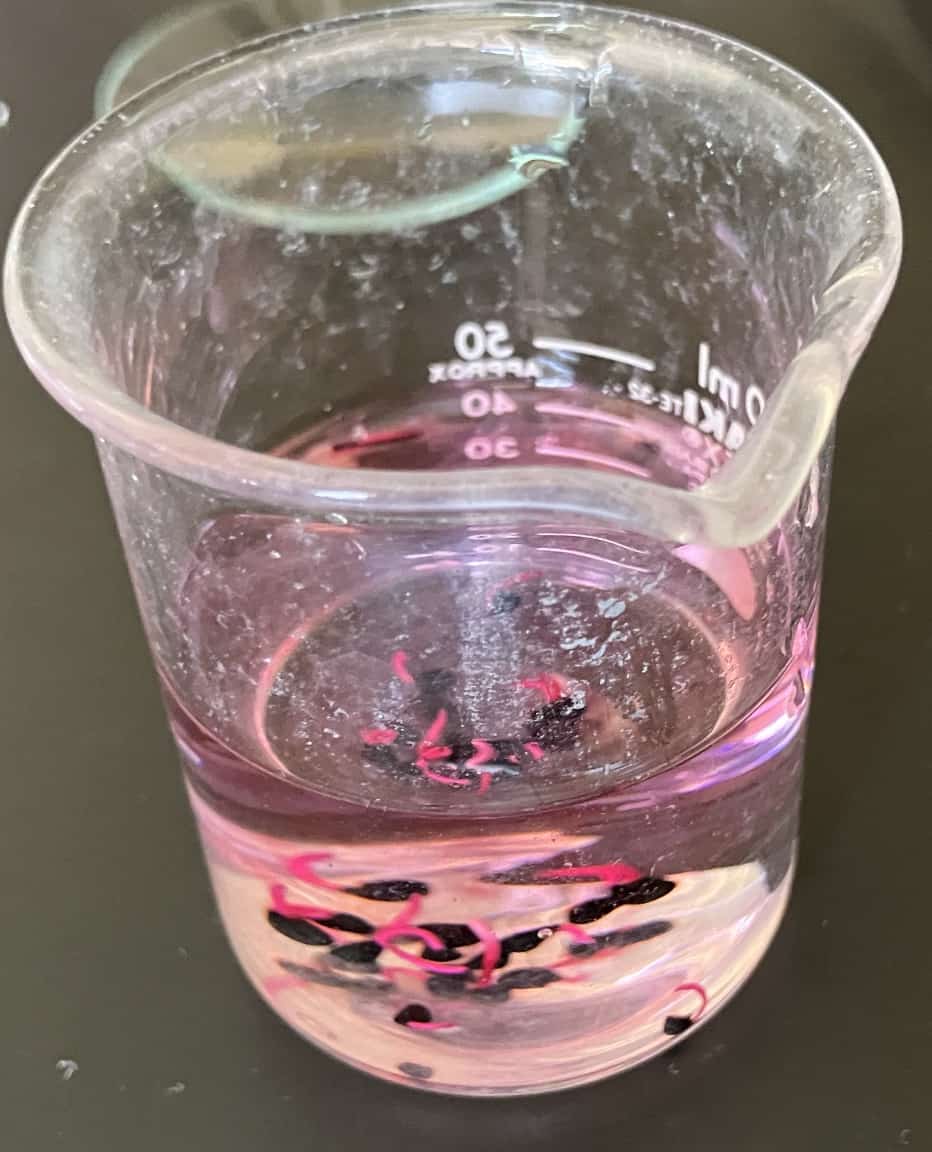
1. Soften the sprouts in water
Place the seeds in a beaker or dish with water for about 5 minutes.
Do not stir! These sprouts are delicate and will snap easily.
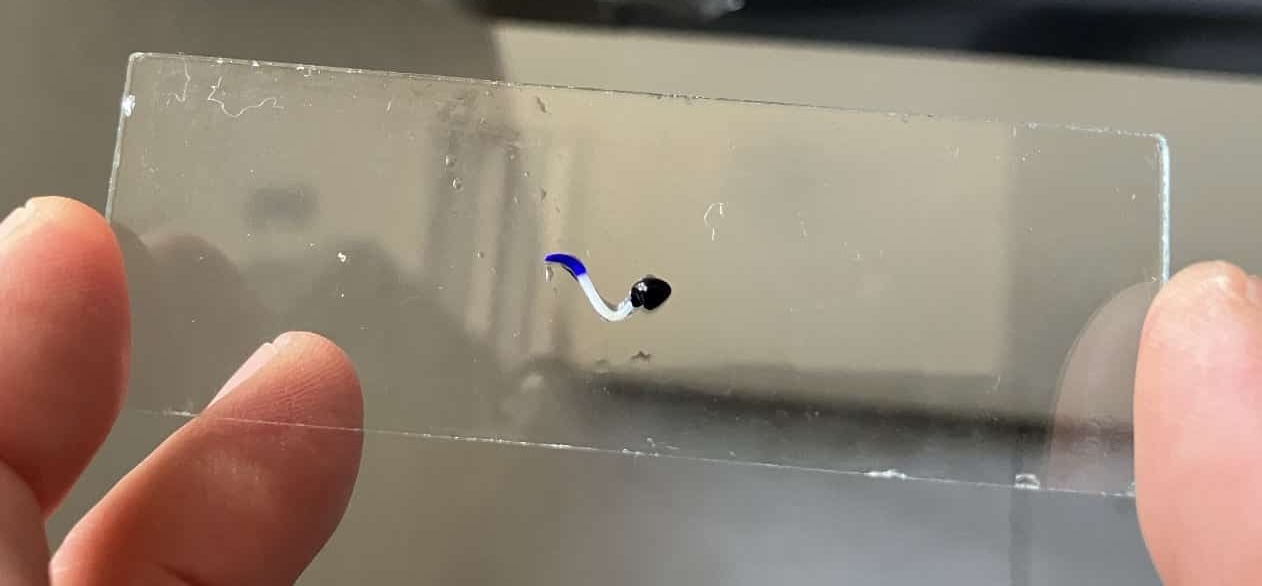
2. Transfer the sprout to the slide
Gently pick up a sprout with tweezers and place it on the glass slide.
Cell division is most active at the very tip of the root. Use the edge of a cover slip to skillfully cut off just the top 1mm.
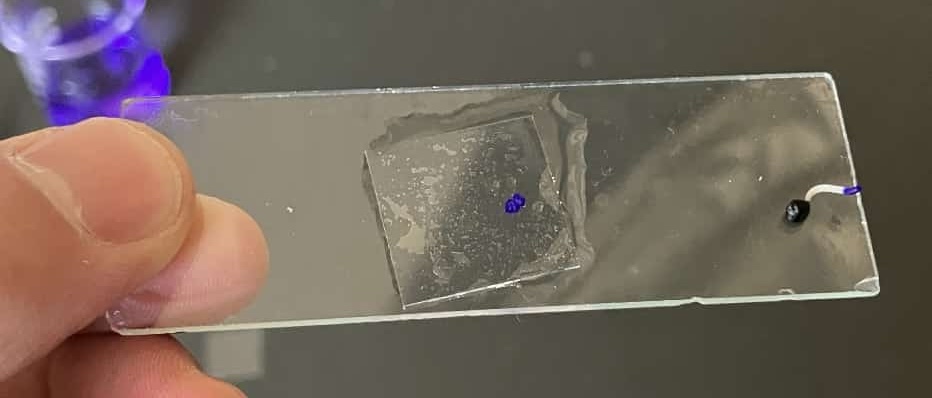
3. Cover and Squash
Gently place the cover slip over the tip. Lightly tap the top with the back of a toothpick to spread the cells.
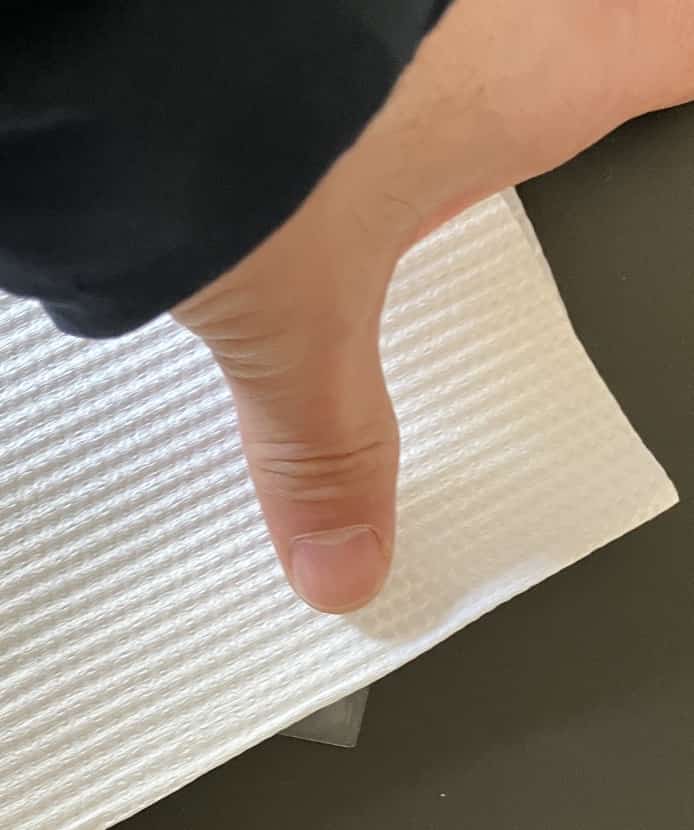
Once spread, place a tissue over the cover slip and press down firmly and vertically with your finger.
The goal is to spread the sample so thin that the original shape is no longer visible to the naked eye. If the cells are overlapping, the view through the microscope will be too dark to see anything!
Note: Adding a drop of glycerin before placing the cover slip prevents drying and allows for long-term storage.
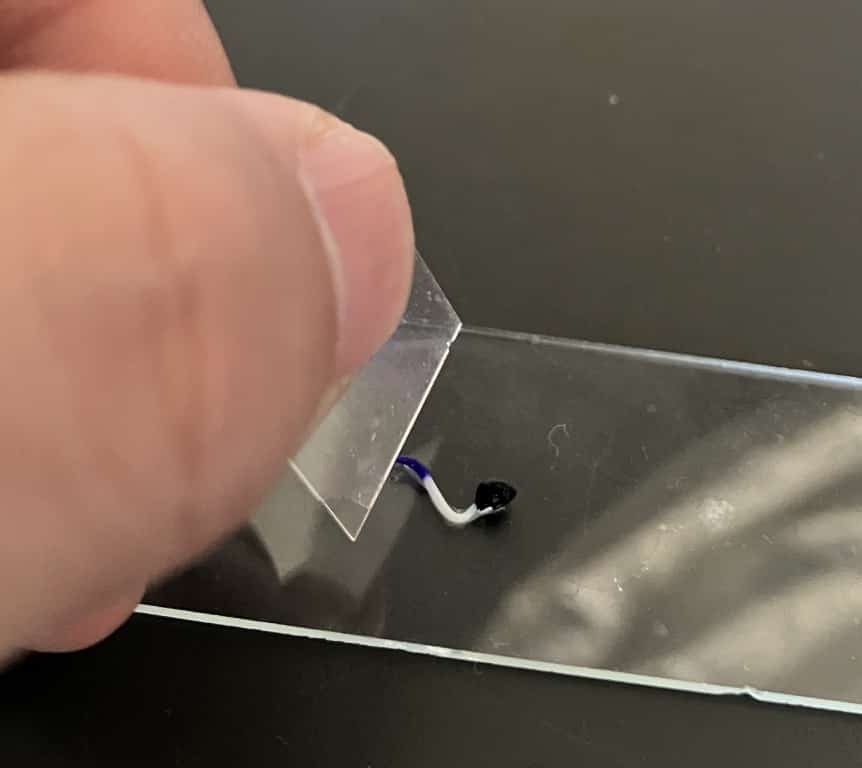
The Squash Method
Place the seed…
Cut it with the cover slip and move the unnecessary parts aside.
Tap with a toothpick, then give it a final squash.
Tips for Observation and Moments of Wonder
When looking through the microscope, start with low magnification to find a dense cluster of cells. Then, zoom in and go on a “treasure hunt” for cells where the chromosomes are dynamically moving.
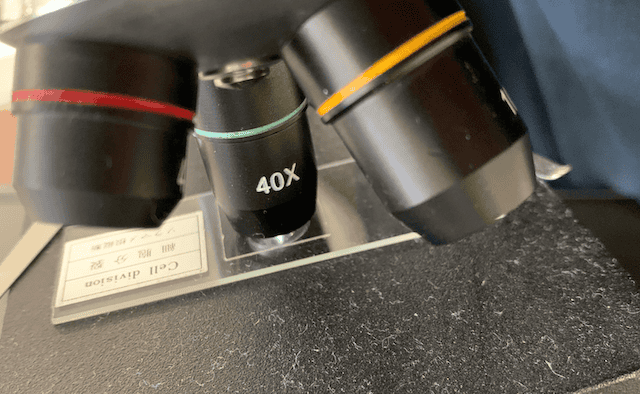
4x objective × 10x eyepiece = 40x Total

40x objective × 10x eyepiece = 400x Total
“Is this the prophase?” “Oh, the chromosomes are lined up in the middle, so it’s metaphase!” Comparing the diagrams in a textbook to the living cells right in front of you is the exact moment knowledge transforms into a real, lived experience.
Conclusion: The Key to Success is “Practice” and “Volume”
The biggest trick to making this experiment work is mastering the pressure of the squash. This only comes with practice! To ensure every student succeeds, prepare plenty of sprouts so everyone can try making at least 2 or 3 slides. I usually aim for at least two seeds per student in a group.
Making the slide with your own hands and finding the chromosomes with your own eyes carves the memory much deeper than just reading a book. It takes a little prep work, but the wonder and learning that follow are worth every second.
If you simply don’t have the time to prepare, using commercially available permanent slides is always an option.
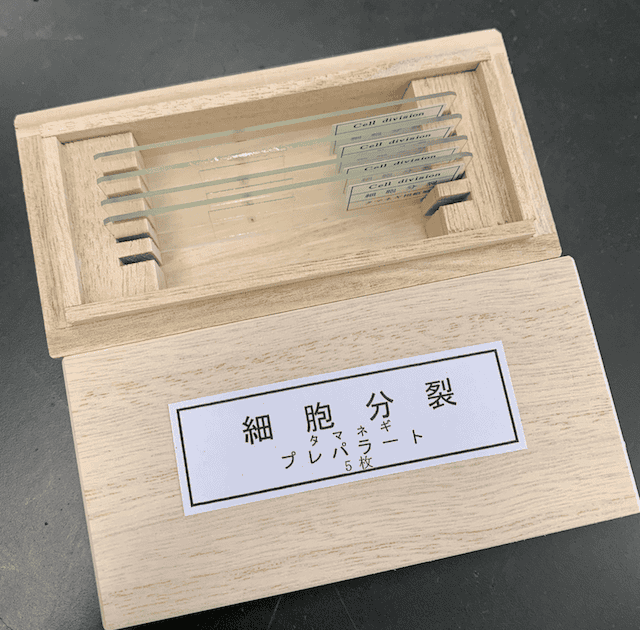
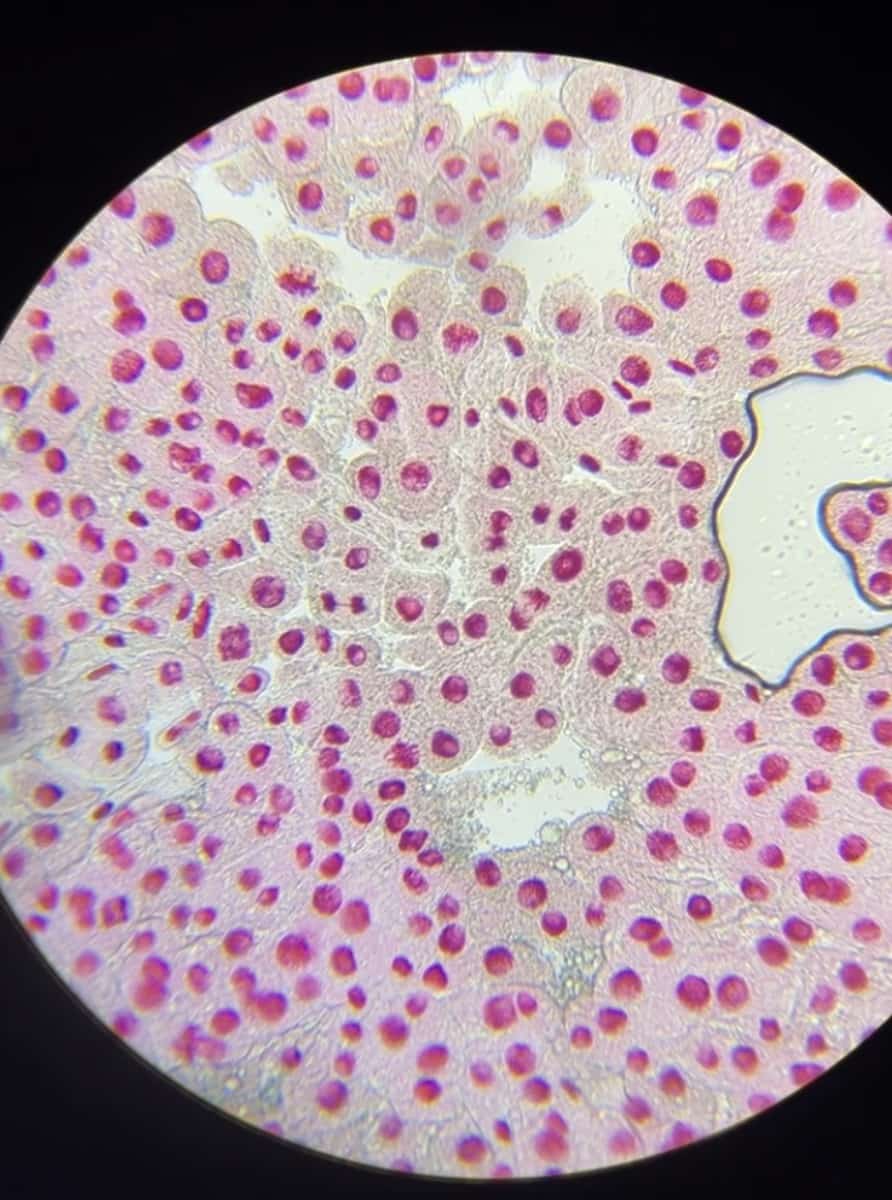
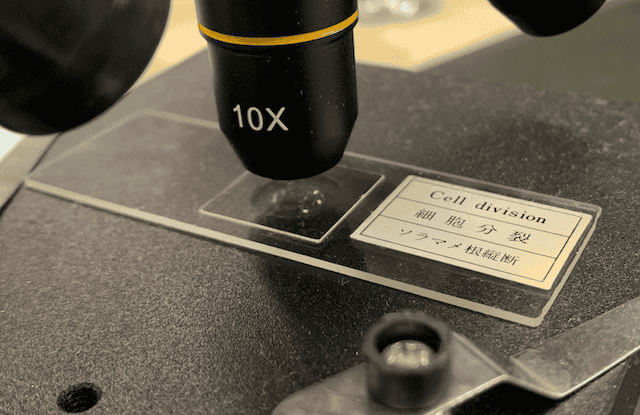
The ones made by pros are certainly beautiful. Here is what they look like at 10x…
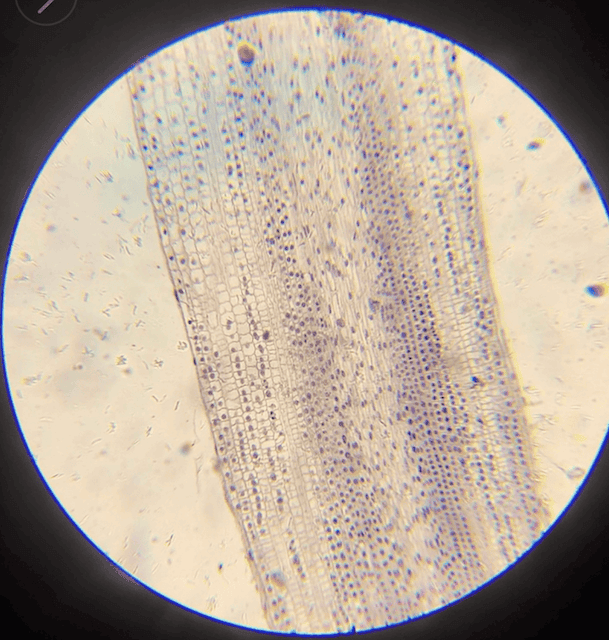
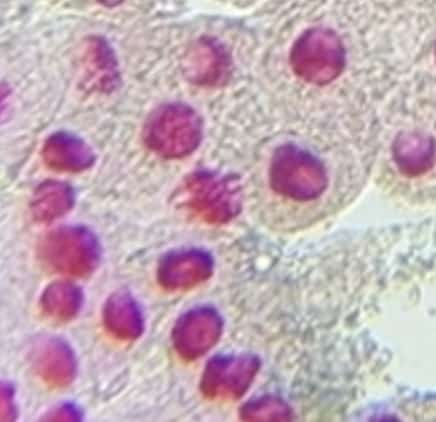
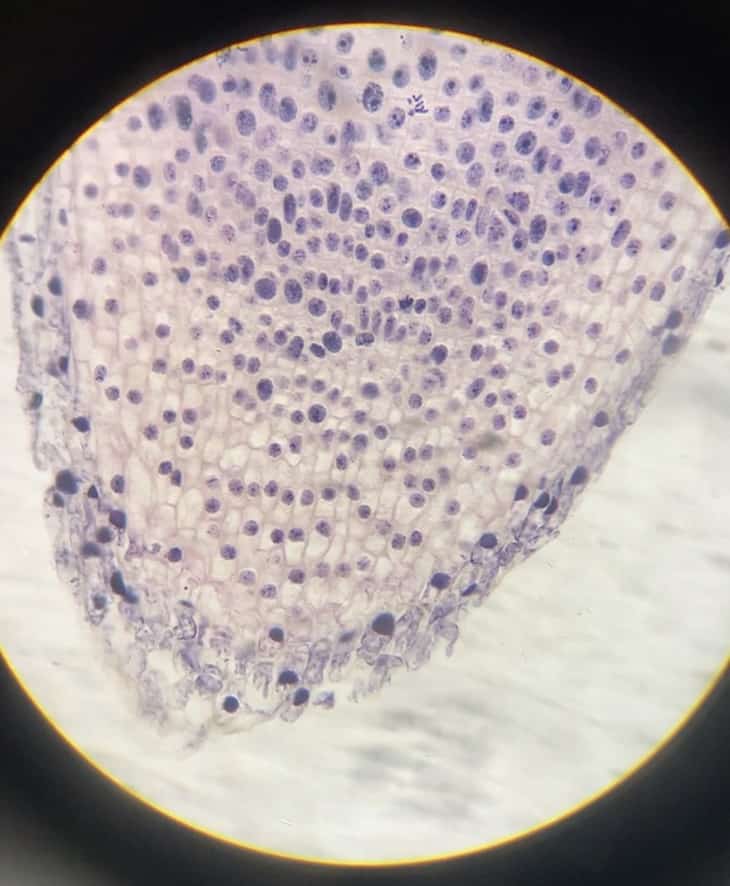
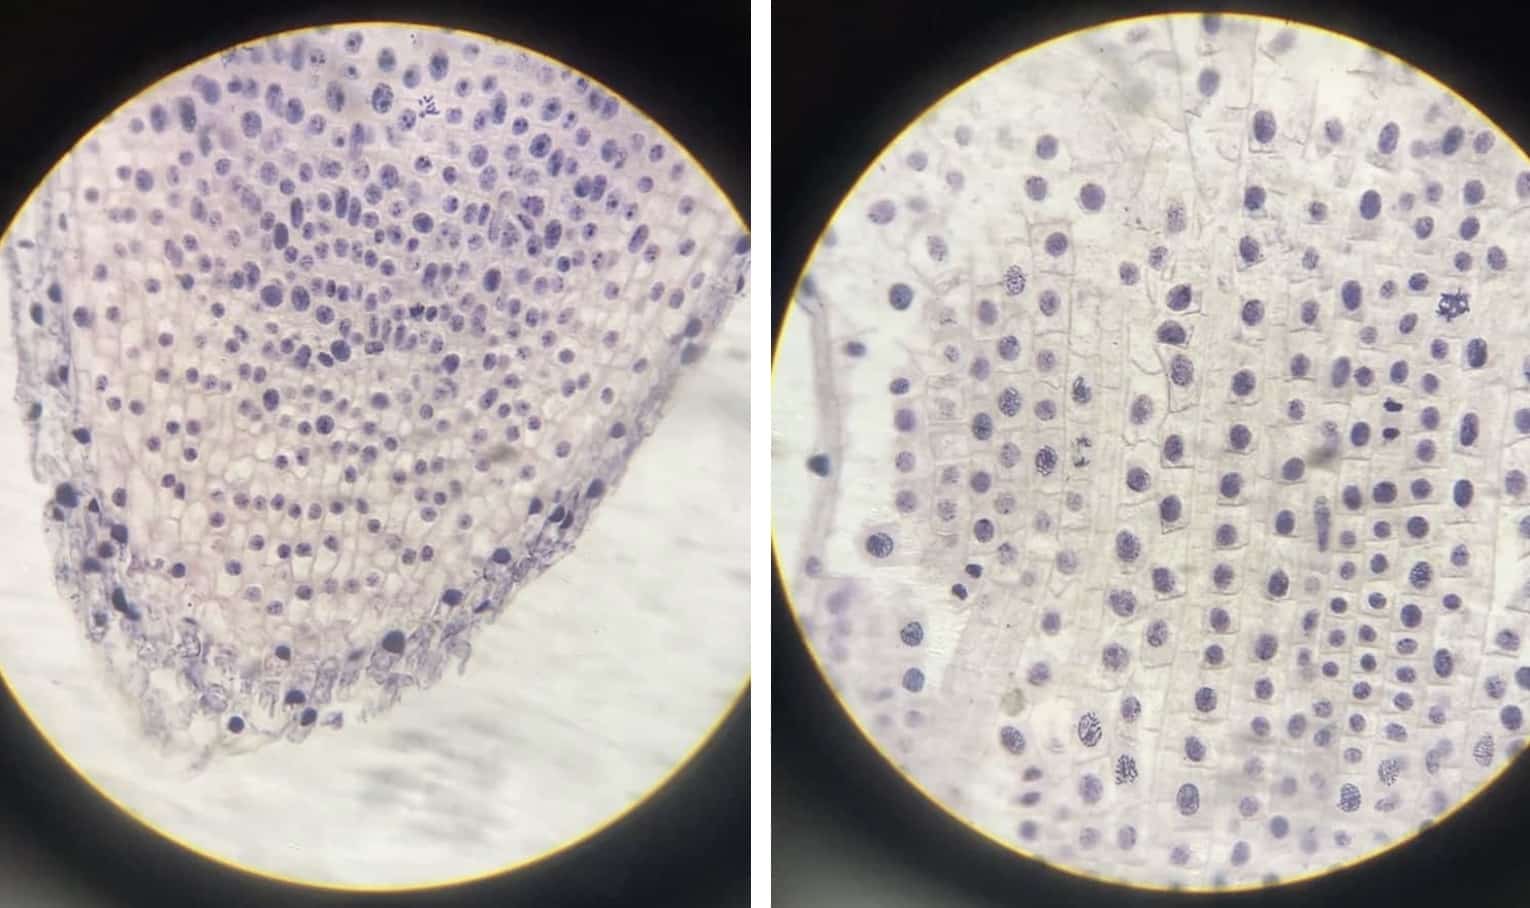
If you look closely, you can see the cell sizes differ between the center and the outer edges. Let’s crank it up to 400x.
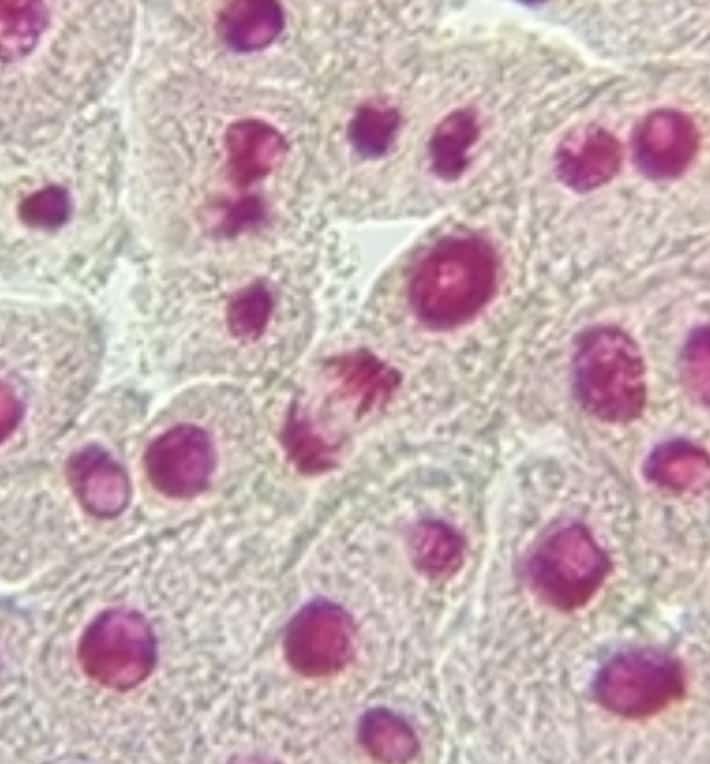
This is the area near the root tip where growth is most vigorous.
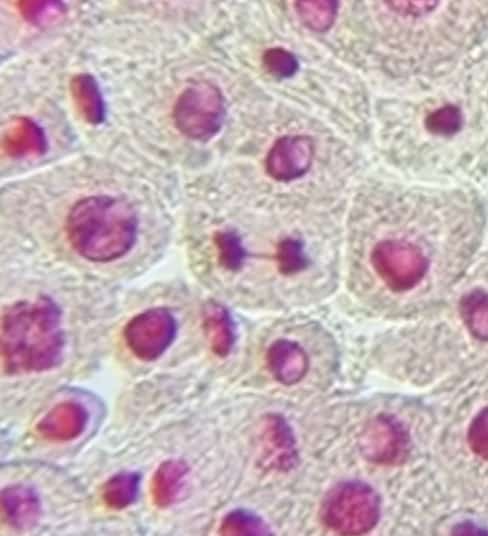
On the other hand, here is a spot slightly further from the tip.
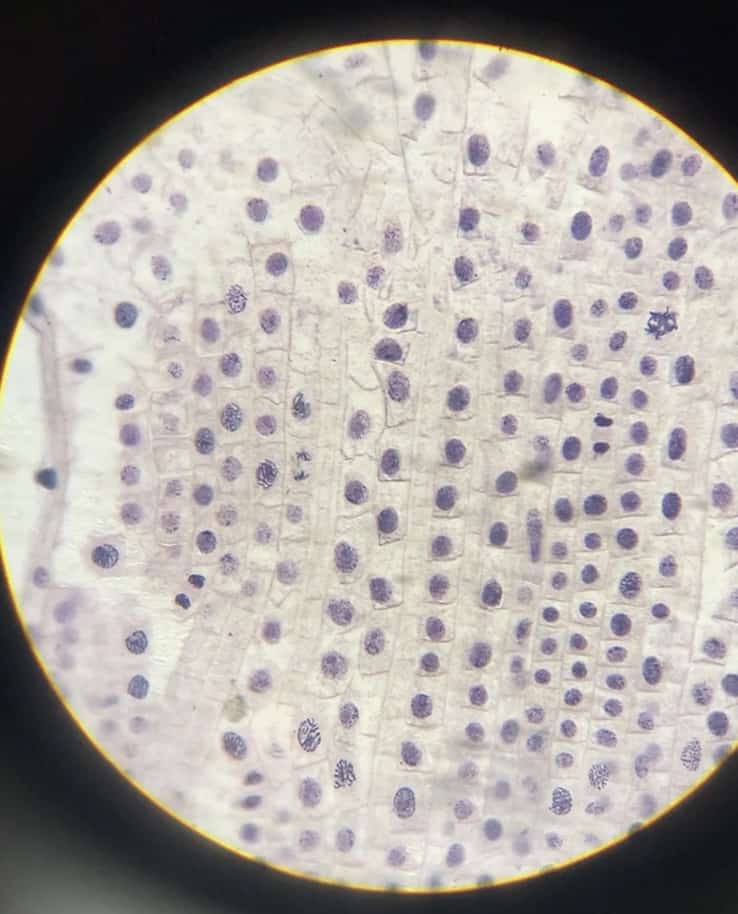
You can clearly see cells in the middle of dividing with the nucleus losing its shape. Even at the same magnification, the size, number, and state of division change depending on the location… discovering these nuances is the true joy of observation.
Inquiries & Requests
Bringing the wonders of science closer to you! I share fun science experiments you can do at home and easy-to-understand tips. Feel free to explore!
・About the administrator, Ken Kuwako: Click here
・For requests (writing, speaking, workshops, TV supervision, etc.): Click here
・Follow me on X (formerly Twitter) for updates!
![]() Check out experiment videos on the Science Neta Channel!
Check out experiment videos on the Science Neta Channel!
NEW 7/21(火)発売! 分解問題集
- 『高校入試 分解問題集 理科』(学研)…難しい問題も小さな問題に分解することで、問題を解くことができます。そんな分解の技術が身につくように深く関わりを持って作りました。
7月のイチオシ実験!
夏でプシュッと爽やか実験!

テレビ番組監修・イベント等のお知らせ
- 7月18日(土)26:20〜27:20 「TIF presents ONE SONG FES. 」(フジテレビ)
- 7月18日(土) 教員向け実験講習会「ナリカカサイエンスアカデミー」の講師をします。お会いしましょう。
- 7月30日(水) 監修したテレビ番組放送予定
- 12月26日(土) ナリカサイエンスアカデミー(教員向け実験講習会)開催
書籍のお知らせ
- 『大人のための高校物理復習帳』(講談社)…一般向けに日常の物理について公式を元に紐解きました。特設サイトでは実験を多数紹介しています。※増刷がかかり6刷となりました(2026/02/01)

- 『きめる!共通テスト 物理基礎 改訂版』(学研)… 高校物理の参考書です。イラストを多くしてイメージが持てるように描きました。授業についていけない、物理が苦手、そんな生徒におすすめです。特設サイトはこちら。

各種SNS(更新情報をお届け!)
【日本語】X(Twitter)/instagram/Facebook 【英語】BlueSky/Threads
Explore
- 楽しい実験…お子さんと一緒に夢中になれるイチオシの科学実験を多数紹介しています。また、高校物理の理解を深めるための動画教材も用意しました。
- 理科の教材… 理科教師をバックアップ!授業の質を高め、準備を効率化するための選りすぐりの教材を紹介しています。
- Youtube…科学実験等の動画を配信しています。
- 科学ラジオ …科学トピックをほぼ毎日配信中!AI技術を駆使して作成した「耳で楽しむ科学」をお届けします。
- 講演 …全国各地で実験講習会・サイエンスショー等を行っています。
- About …「科学のネタ帳」のコンセプトや、運営者である桑子研のプロフィール・想いをまとめています。
- お問い合わせ …実験教室のご依頼、執筆・講演の相談、科学監修等はこちらのフォームからお寄せください。

