Turning Fear into “Wow!”: A Complete Guide to Pig Eye Dissection (Prep to Cleanup)
I’m Ken Kuwako, your Science Trainer. Every day is an experiment.
Have you ever stopped to wonder about the mystery of “sight”? The fact that you’re reading this article right now is because your eyes are capturing light and sending that information to your brain. But have you ever truly imagined the mechanism inside that amazing “organ” we call the eye?
Textbooks teach us about the “lens” (the crystalline lens) and the “retina” (the screen), but the words alone don’t really click, do they? That’s why today, we’re introducing a fascinating and slightly strange experiment: the pig eye dissection, where you can witness the mechanism of “seeing” with your own eyes.
Some students might hesitate, thinking, “Wait, dissect an eye!?” But the moment they are presented with the real thing, that nervousness quickly transforms into an “Aha!” of intellectual curiosity. Let’s uncover the secrets of nature’s sophisticated “camera” by examining the pig eye, which has almost the same structure as a human eye.
Please note that this article contains photos taken during the pig eye dissection. Viewer discretion is advised for those who are sensitive to such images. Also, some of these photos were provided by Professor F, who used a camera capable of special close-up shots to capture and share many of these images. Thank you very much!
Getting Nature’s “Camera”: Sourcing the Materials
The “pig eyes” we use for this experiment closely resemble the structure of human eyes. For this reason, they are invaluable for medical studies and science experiments like this one. We purchased ours from a supplier called “Sobu Kyoiku.” Other companies like “Tokyo Shibaura Organ Co., Ltd.” also seem to handle them. While pig hearts are sometimes available for purchase online, pig eyes are much rarer on the internet, so it’s best to consult with educational supply companies or your school’s usual vendors.
Here is the company I order from:

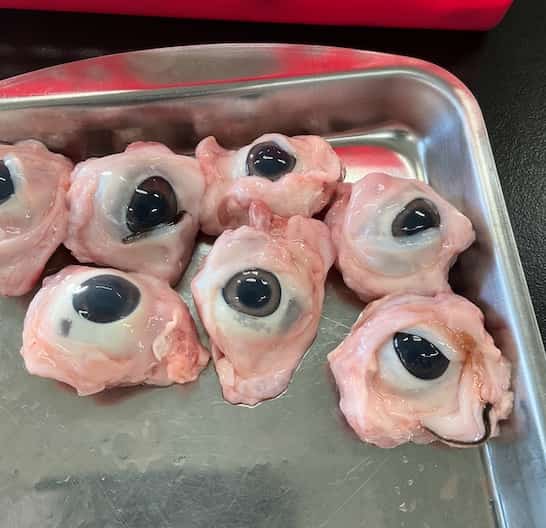
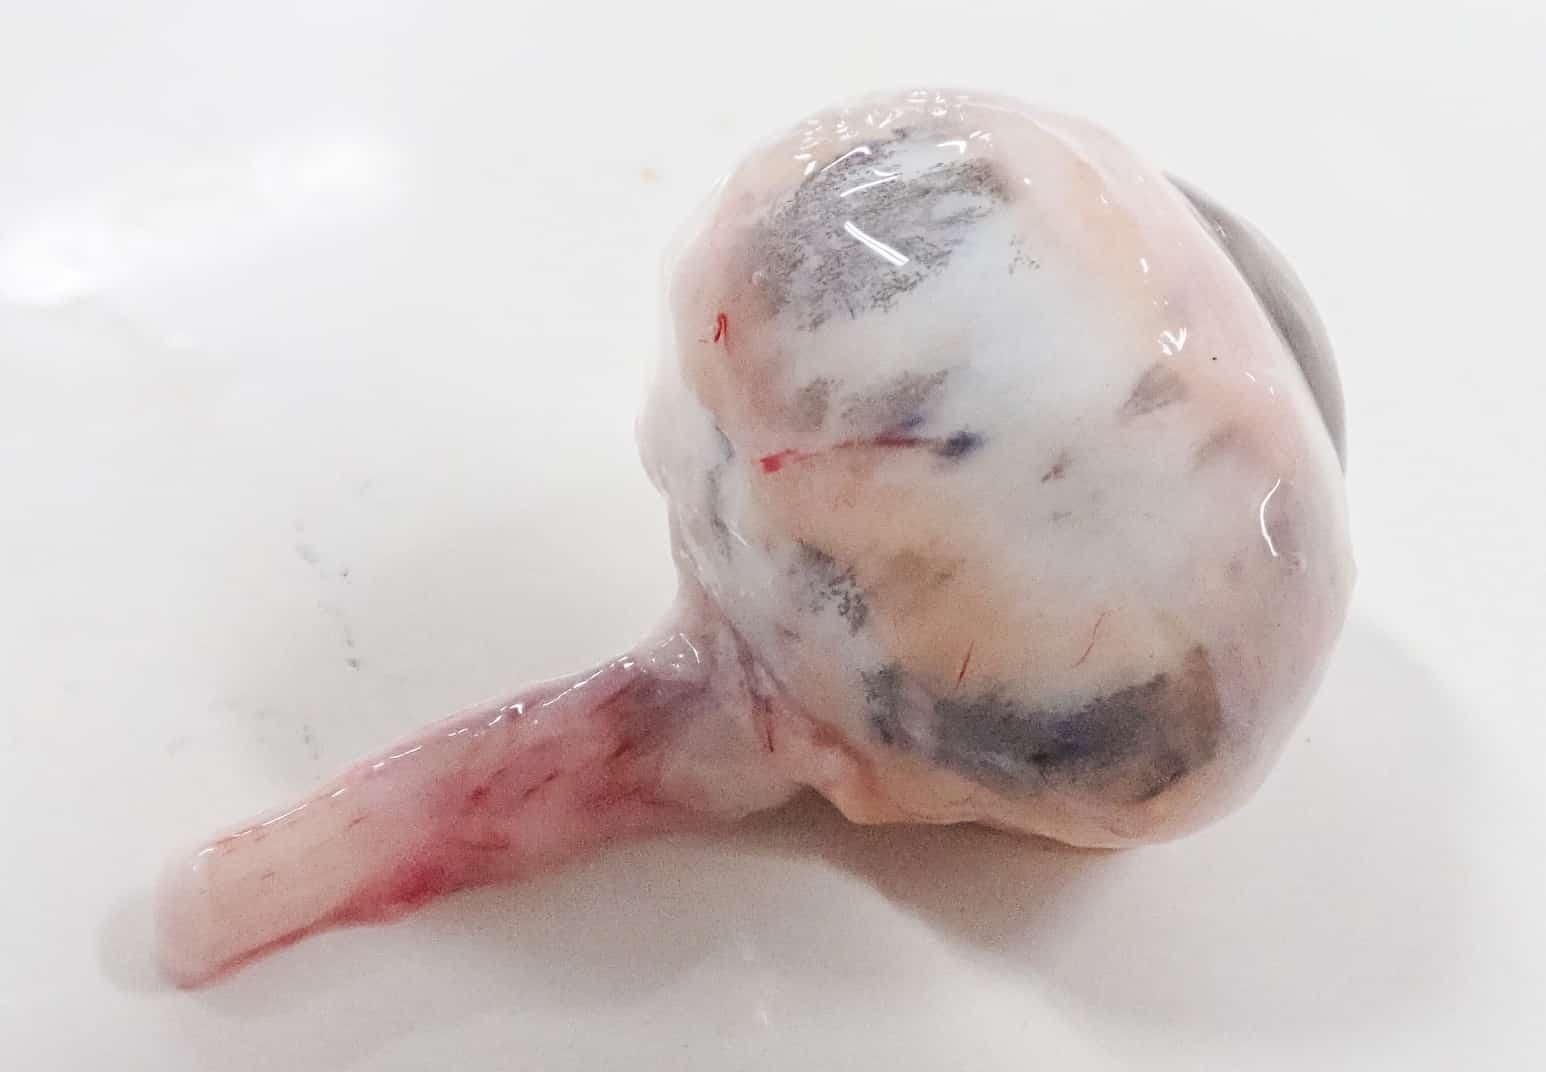
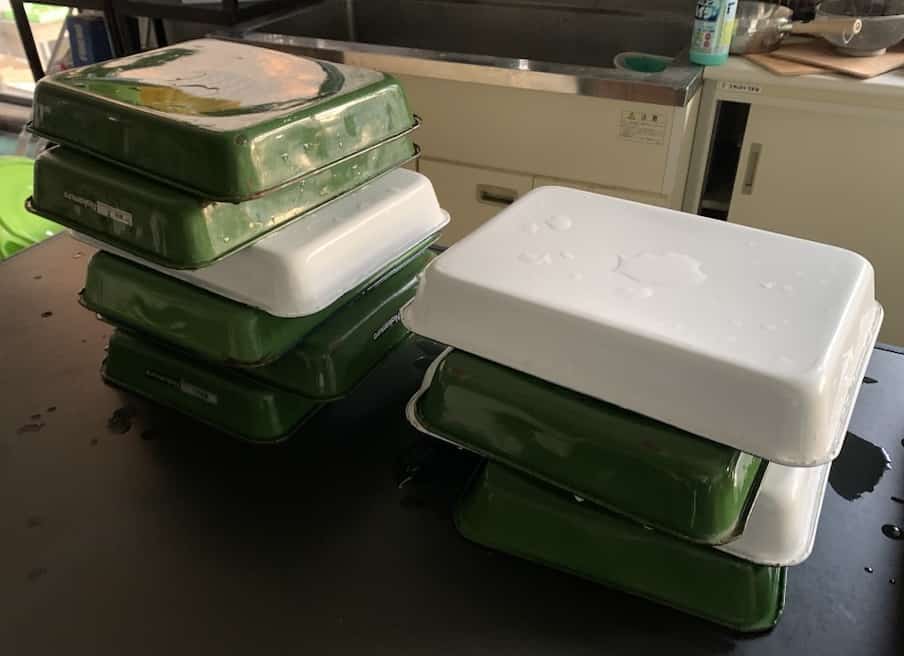
They arrive in bags. When transferred to a tray, they look like this:
Why Do Eyes Move? The Secret of the Ocular Muscles: Dissection Prep
Preparing for the dissection is a crucial process that determines the success of the lesson. The pig eye is densely covered with powerful muscles (ocular muscles) that allow the eyeball to move up, down, left, and right. The fact that you can freely move your gaze is thanks to these very muscles.
To ensure the experiment runs smoothly, we remove these muscles beforehand.
● Pre-Preparation Process:
- Prepare 40 pig eyes for one class + 5 spares, for a total of 45 eyes.
- A team of 5 people worked on this the day before (Time required: about 1 hour).
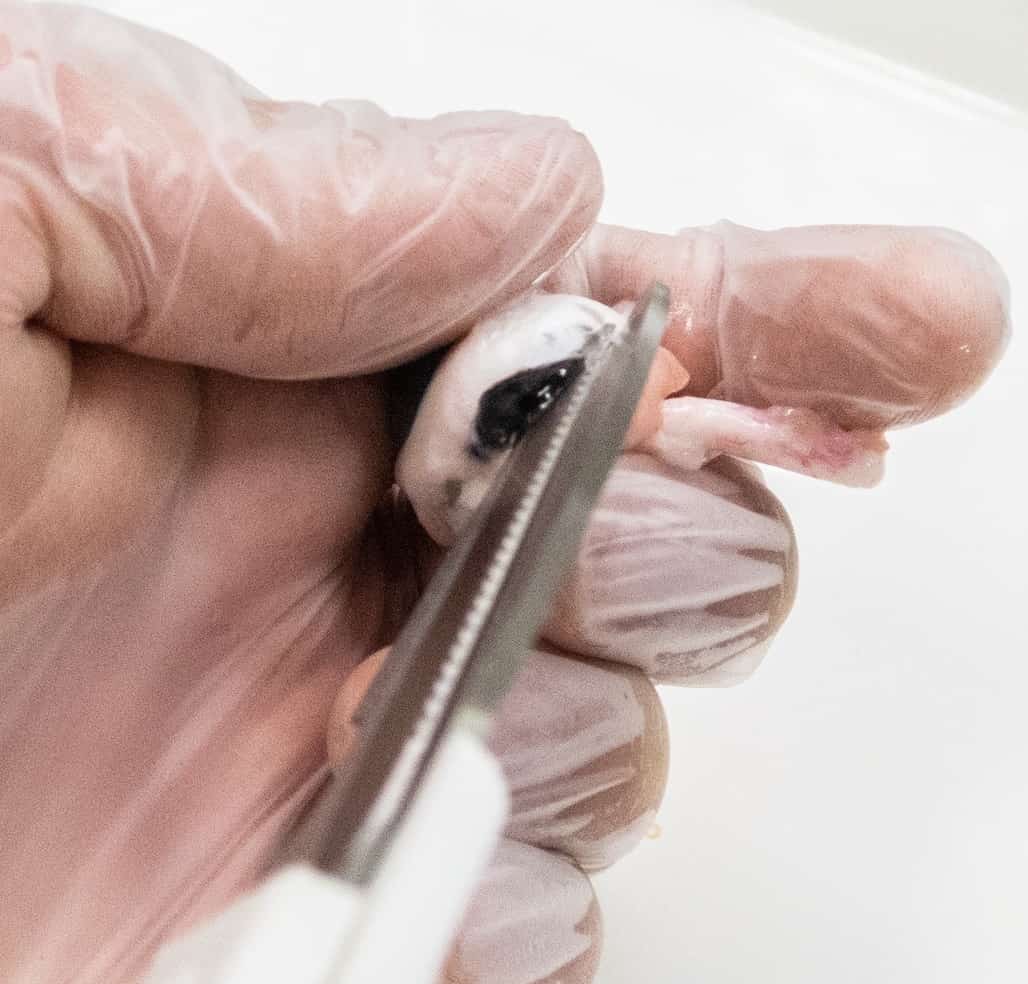
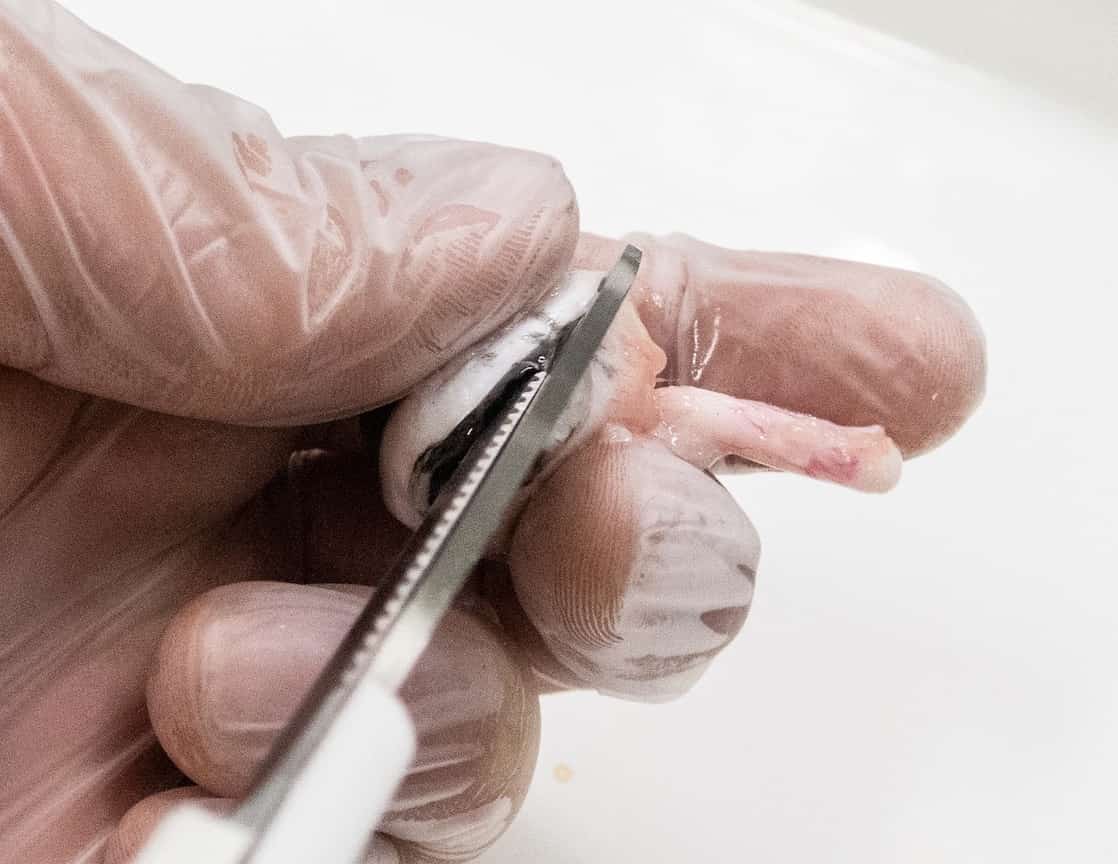
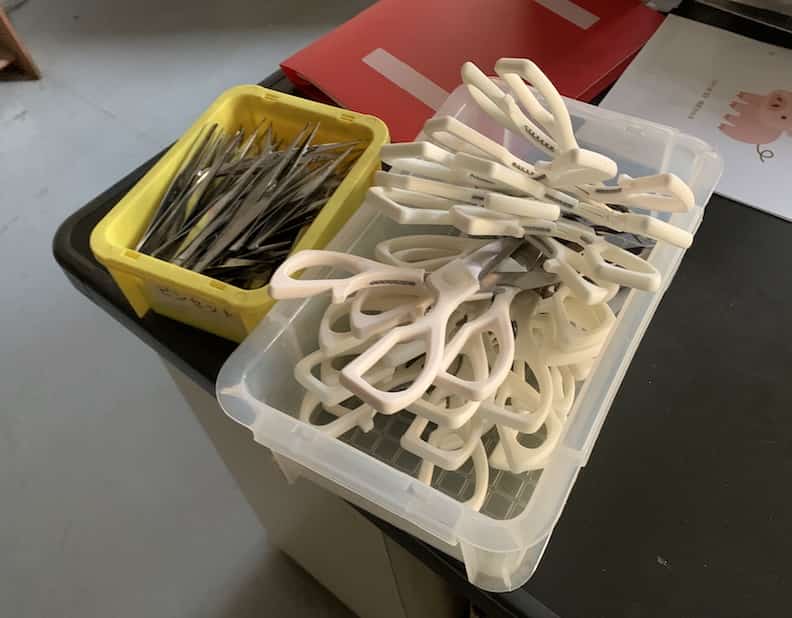
- Cut the muscles around the eye using kitchen shears.
- The muscles are surprisingly tough and require delicate work.
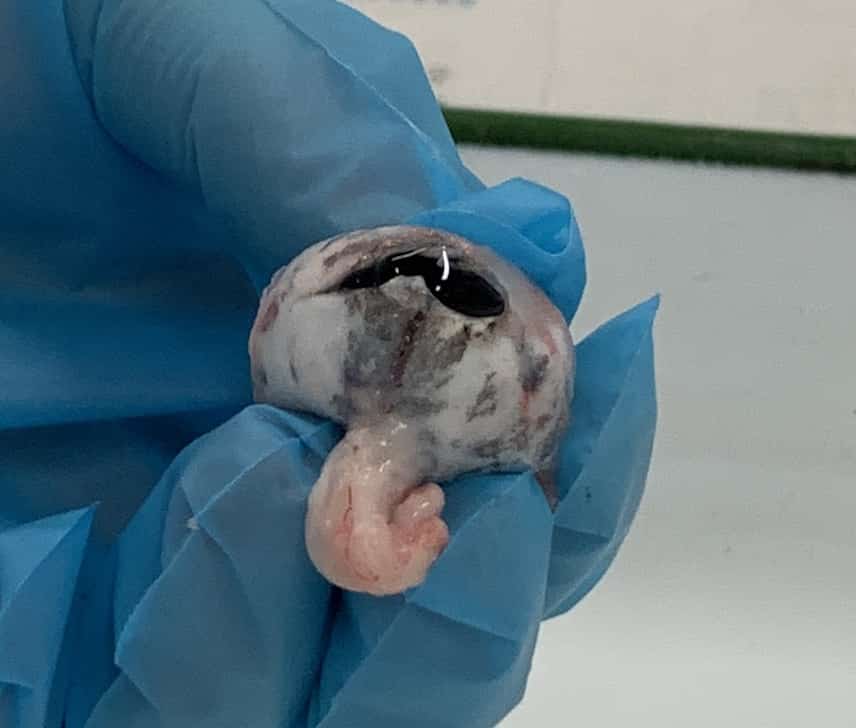
The muscles are firmly attached to the eyeball, making the job quite challenging! But thanks to teamwork, the five of us were able to finish in about an hour. This preparation phase alone offers a moment to appreciate the mystery of biology: “All these muscles were needed to move that tiny eyeball!” Here is how cleanly they are removed:
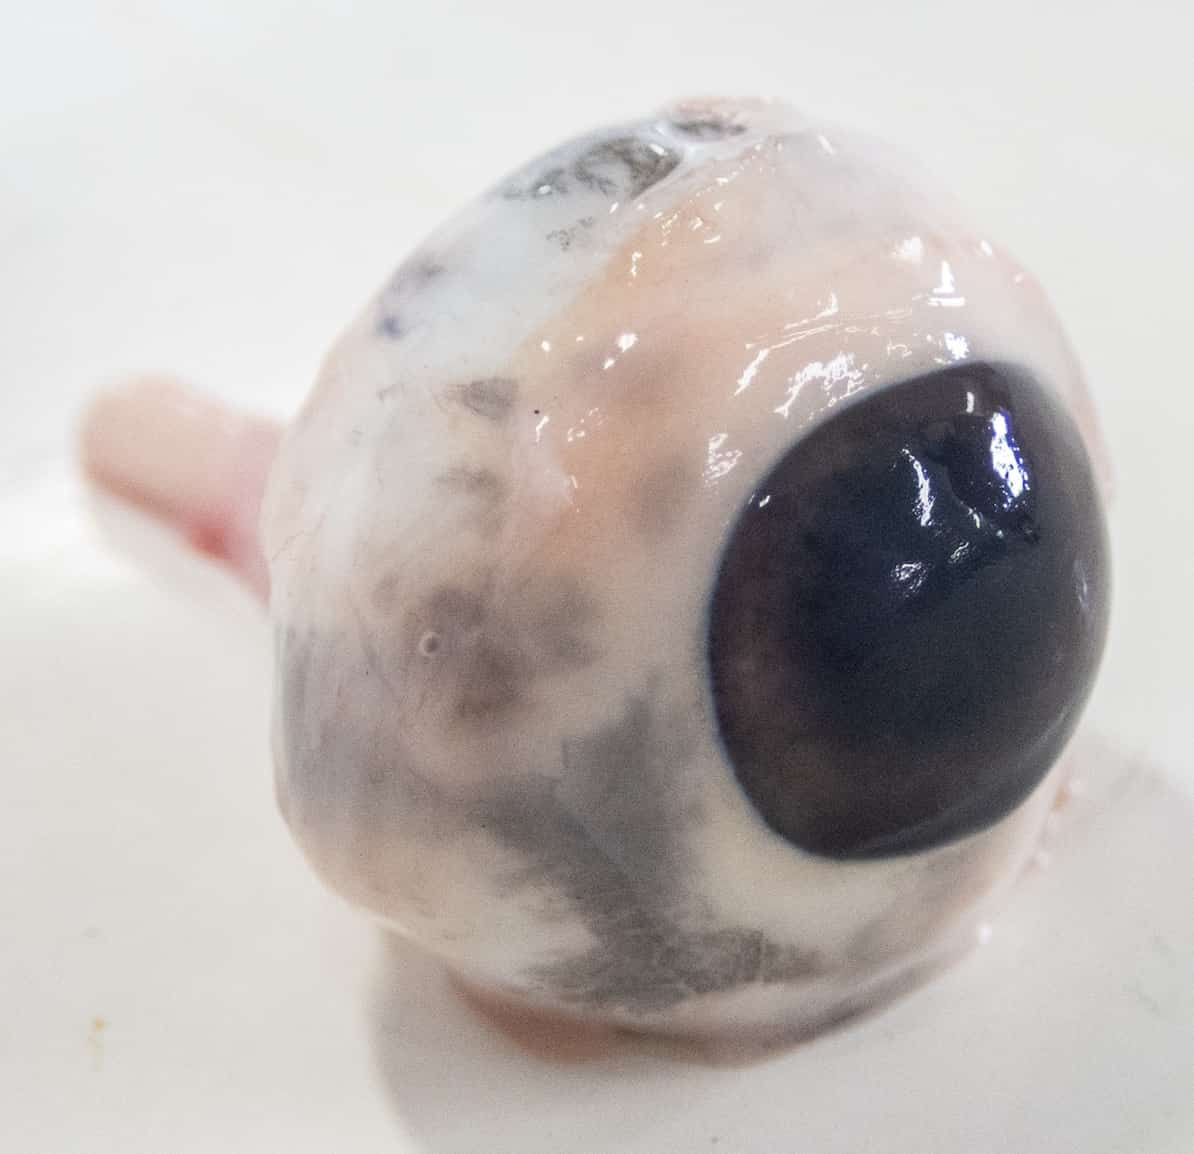
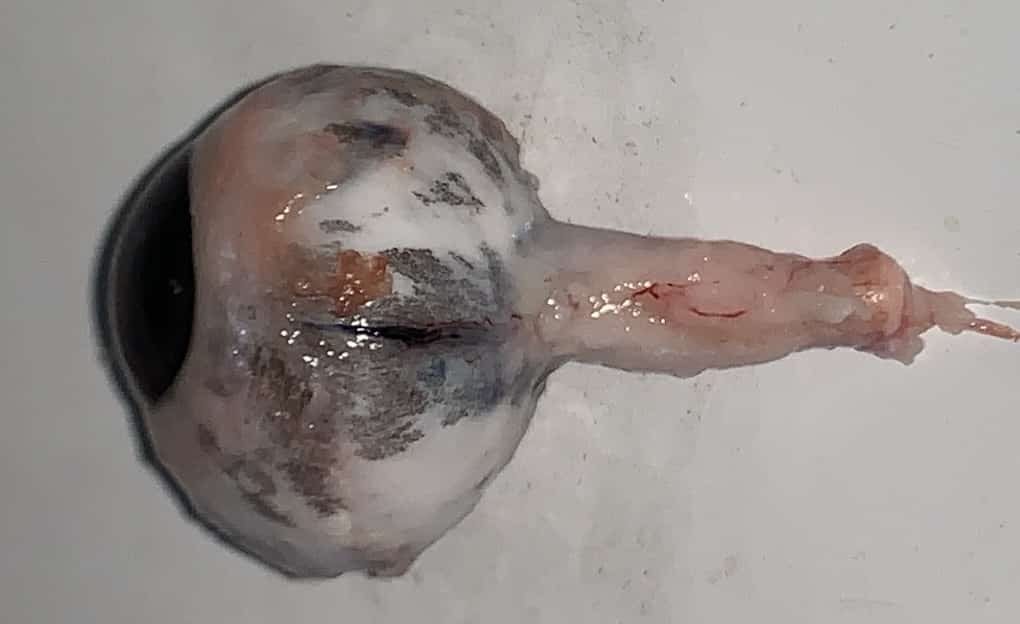
This concludes the initial prep work.
The Dissection Begins! Meeting the Lens of Life: The Crystalline Lens
Materials for the Day of the Lesson
- Newspaper (2 sheets per desk)
- Kitchen Shears (for students)
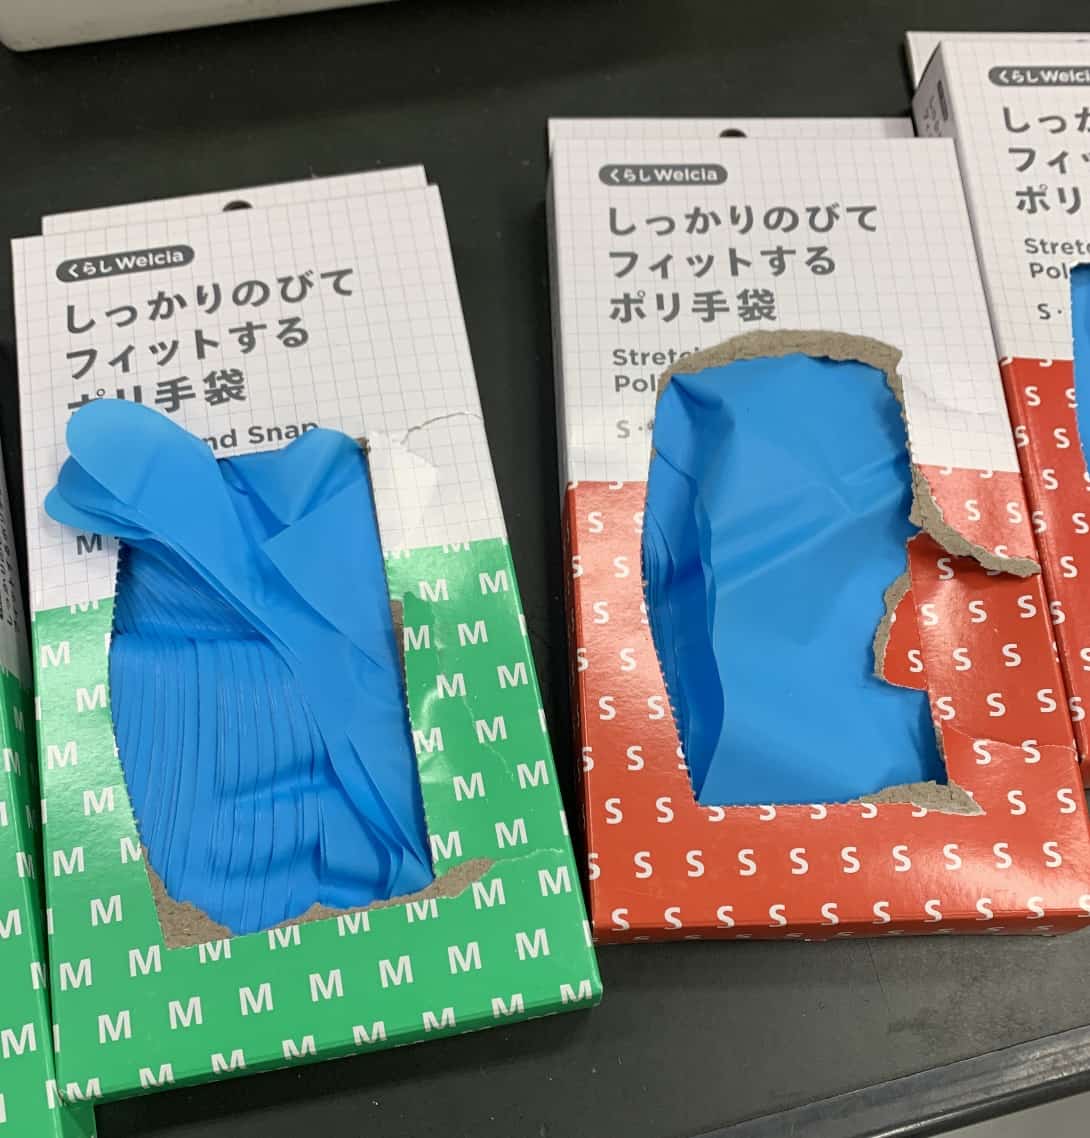
- Thin Rubber Gloves
- Trash Bag
- Tray (dissection platform)
- Sketch Paper and Writing Tools
Lesson Flow: The Mechanism of “Seeing”
On the day of the lesson, we covered the experiment desks with two sheets of newspaper. We also prepared thin rubber gloves and trash bags.
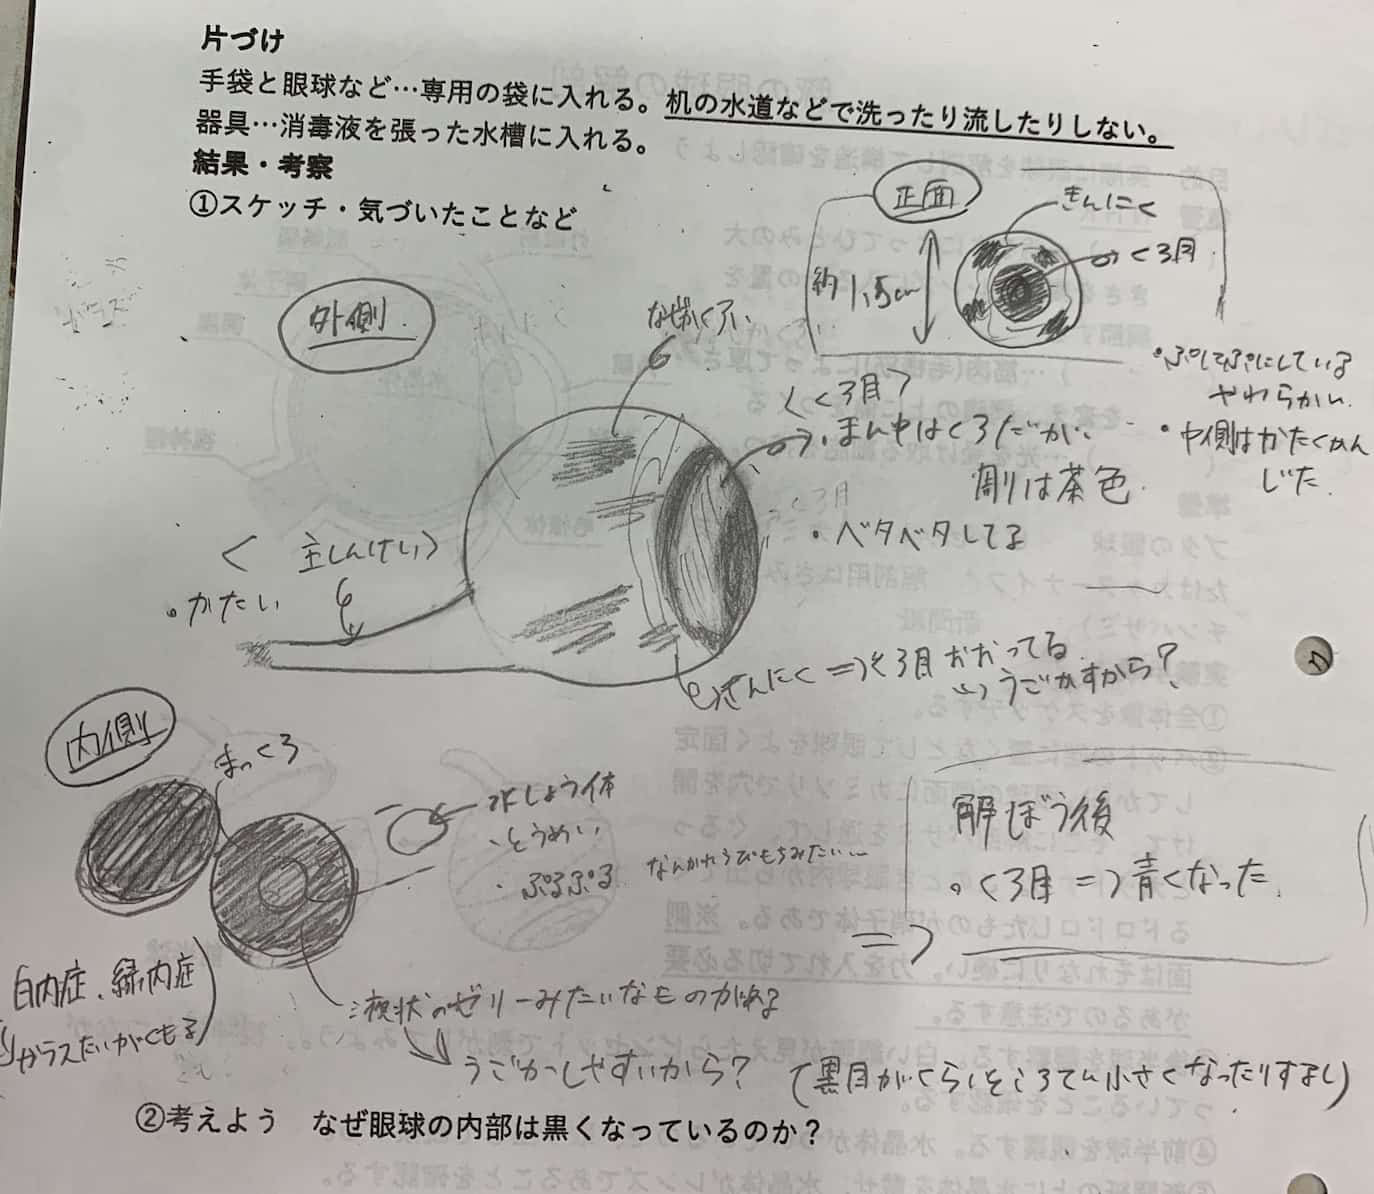
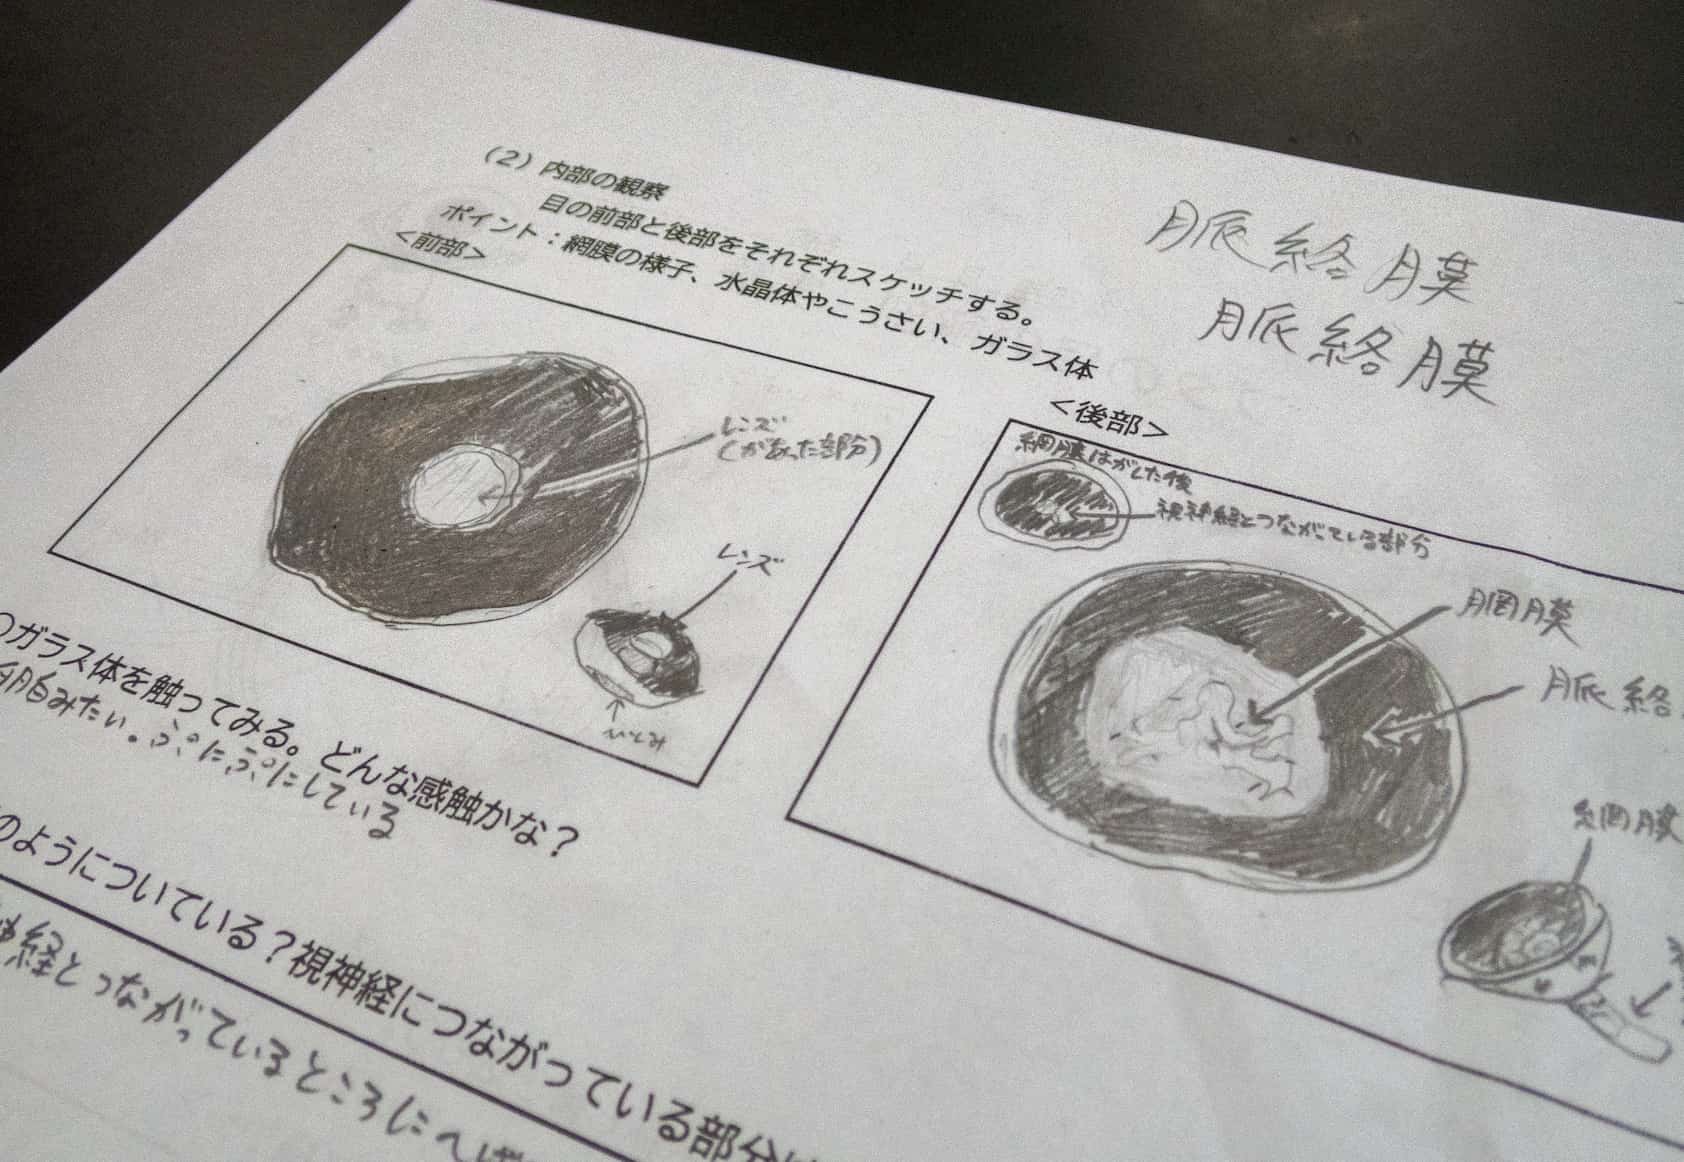
1. Start with “Observation”: Sketching First, the students sketch the eye’s overall appearance. We emphasized “observation and recording,” not just cutting. The goal is to create their own “Eye Dissection Diagram,” which they will annotate with new discoveries after the dissection.
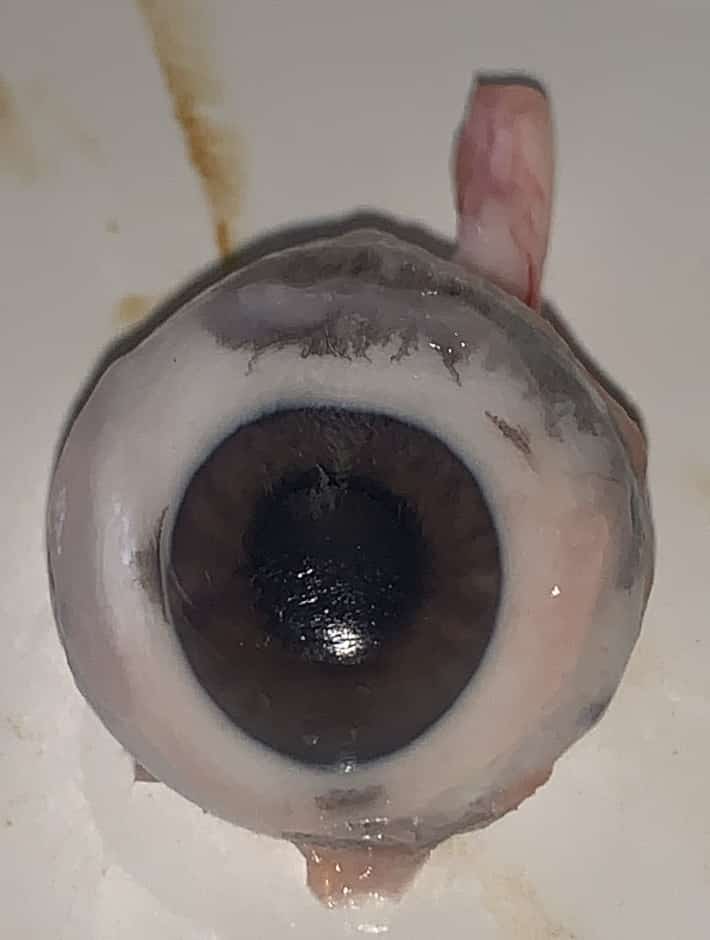
2. Into the Eyeball: Cutting Vertically Next, we cut the eye in half vertically, using only kitchen shears. The eyeball is protected by a tough, white outer wall called the “sclera,” which is surprisingly elastic. Apply pressure with the tip of the kitchen shears to pierce the side of the eyeball and create an initial hole.
Once the hole is made, insert the shear blade and cut all the way around to separate the eye.
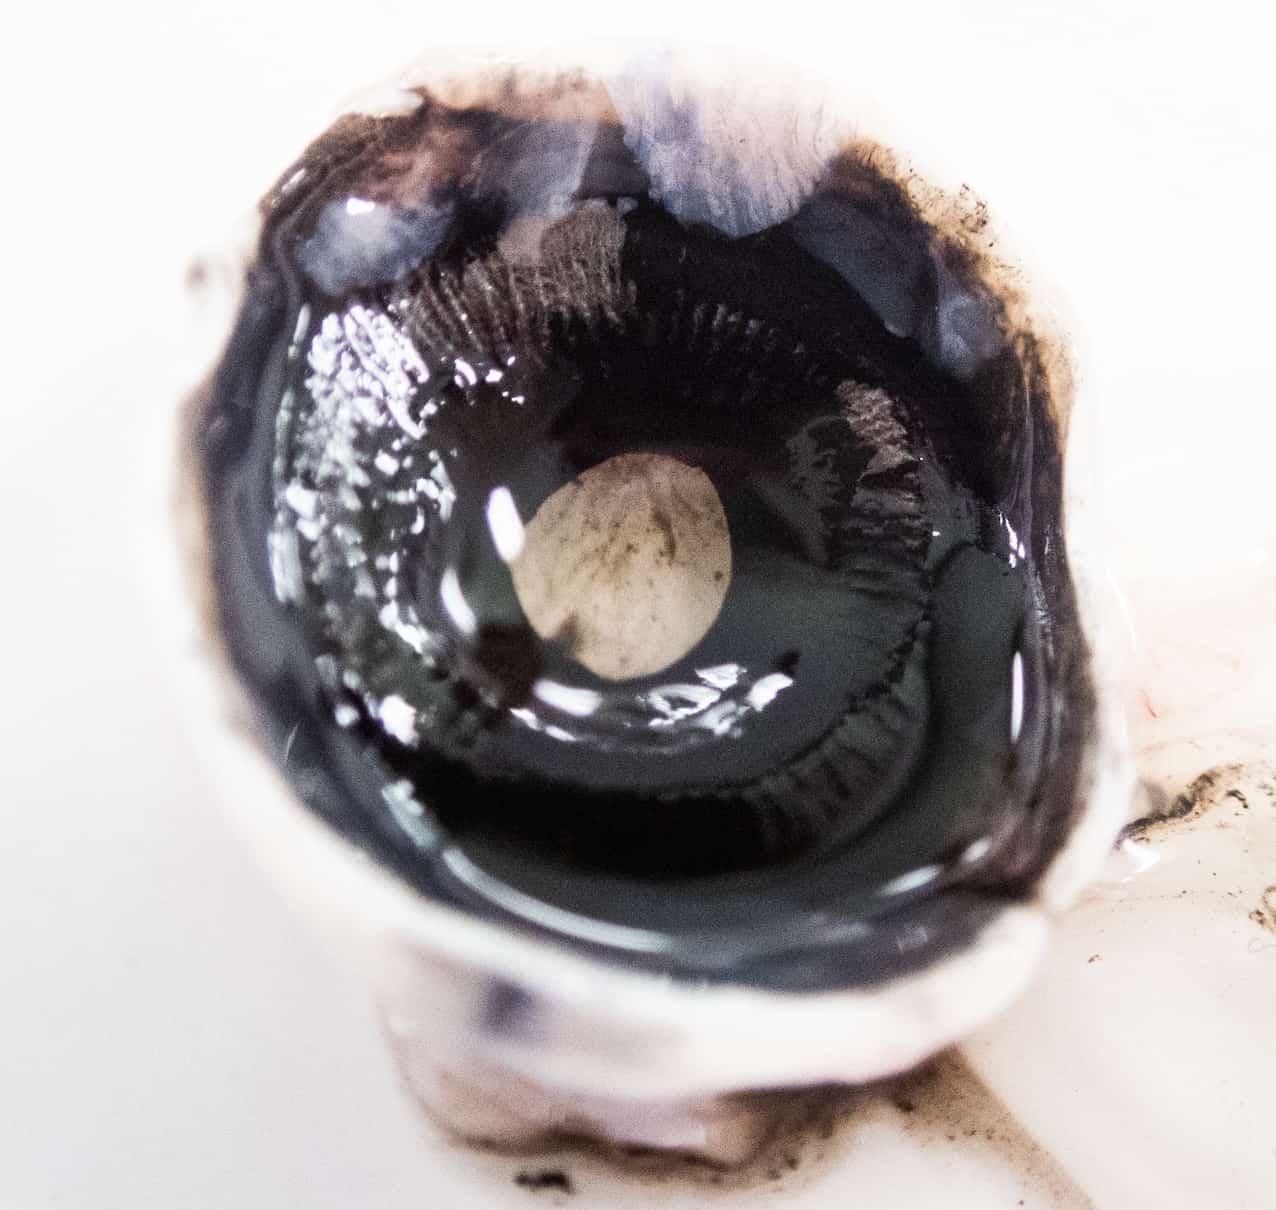
3. Exposing the Inner Structure of the “Camera” It’s cut in half! Now, what’s inside?
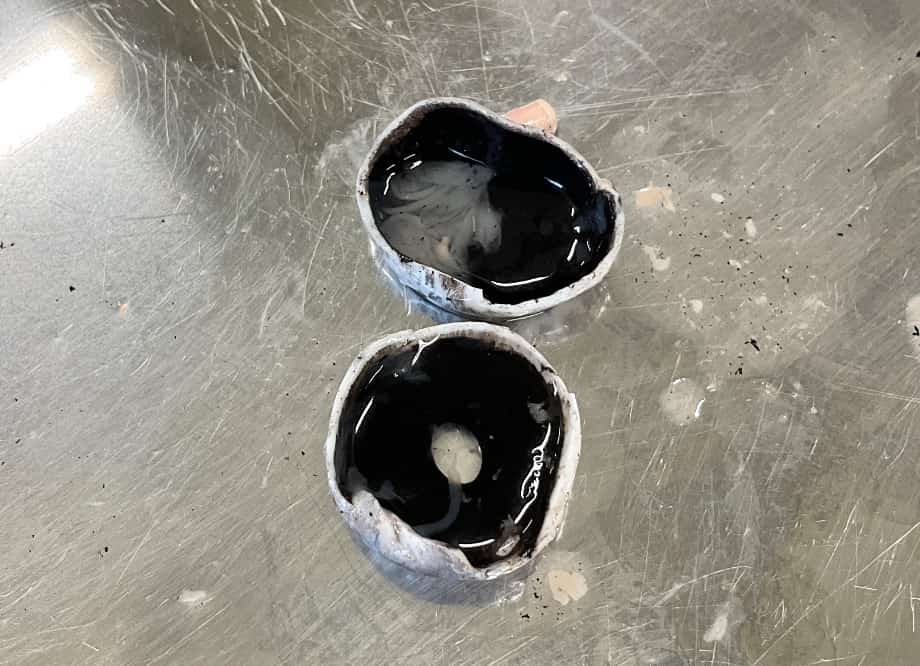
The thin, white membrane lining the inside of the posterior half is the “retina.”

This is the part that corresponds to the “film” or “image sensor” of a camera, where light-sensing cells are arrayed. Light information is converted into electrical signals here.
The thick, transparent, jelly-like substance that comes out is the “vitreous humor.” It plays the important role of maintaining the internal pressure and preserving the eyeball’s spherical shape.
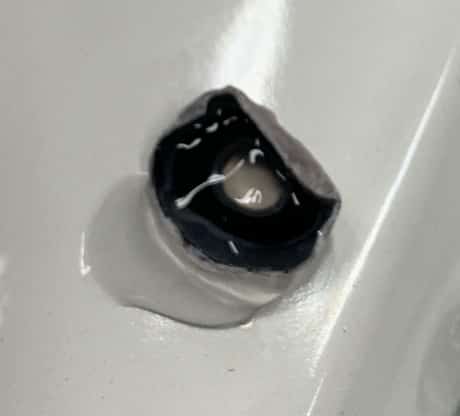
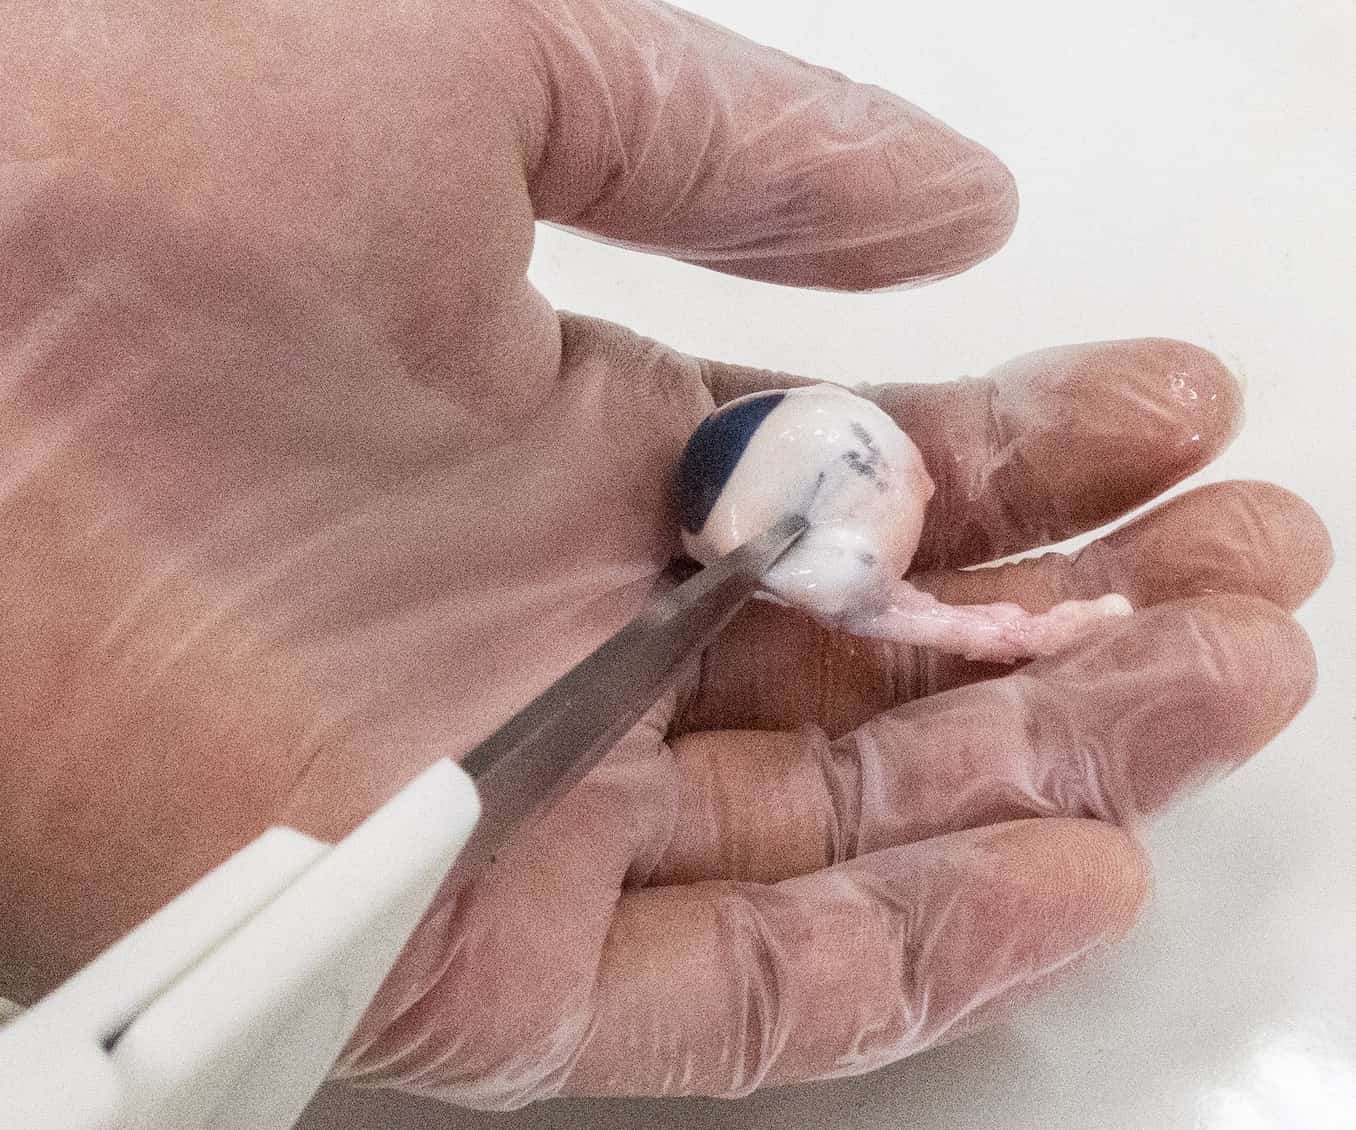
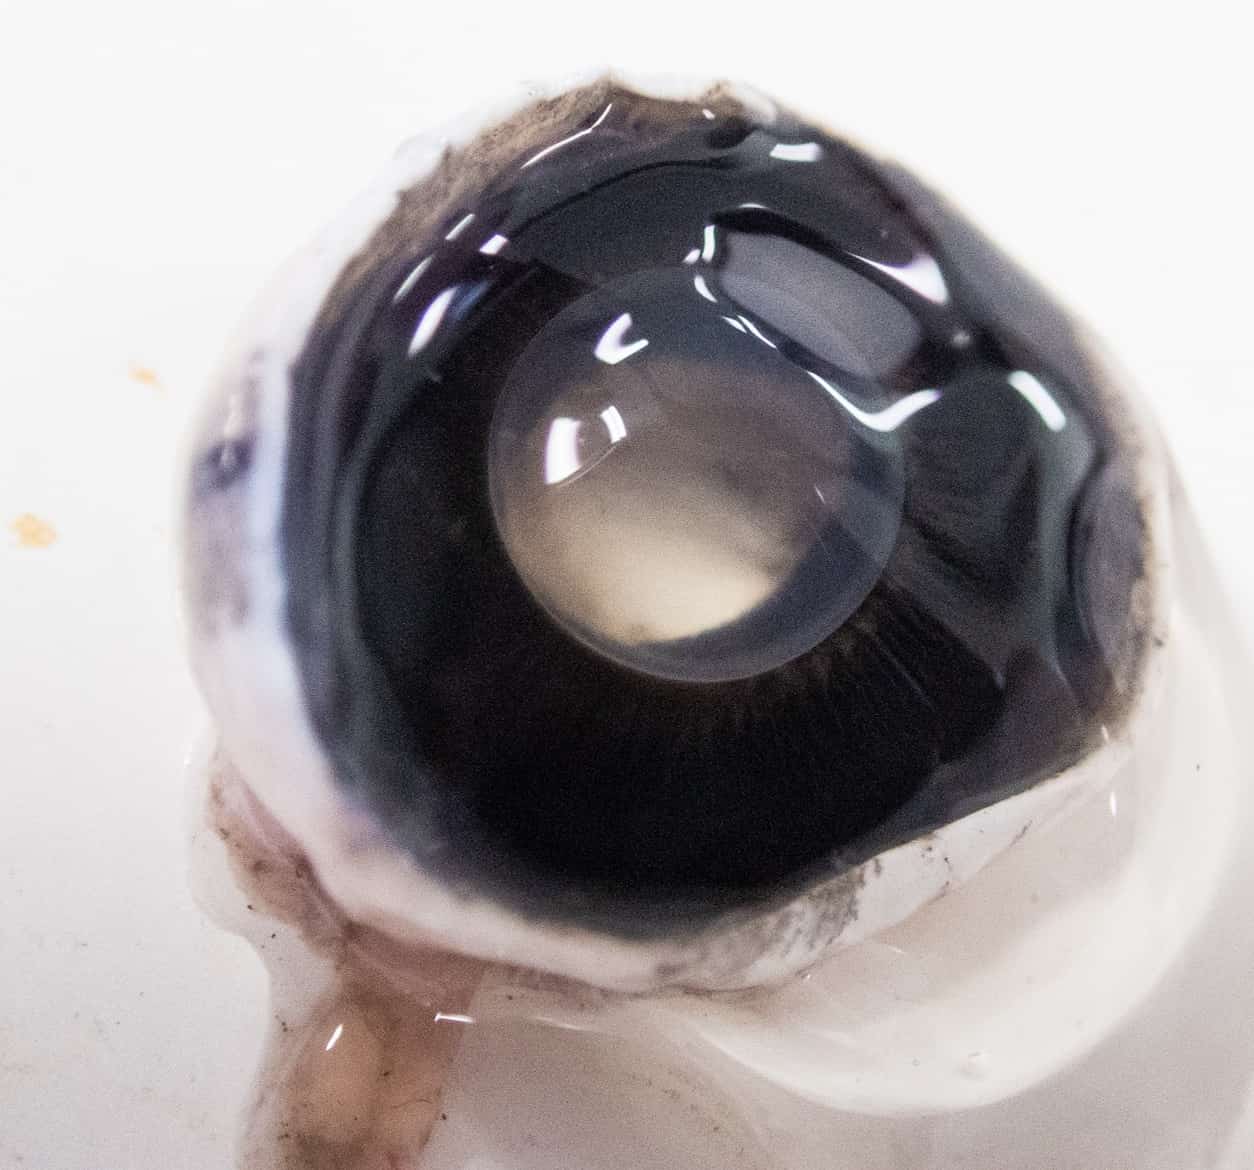
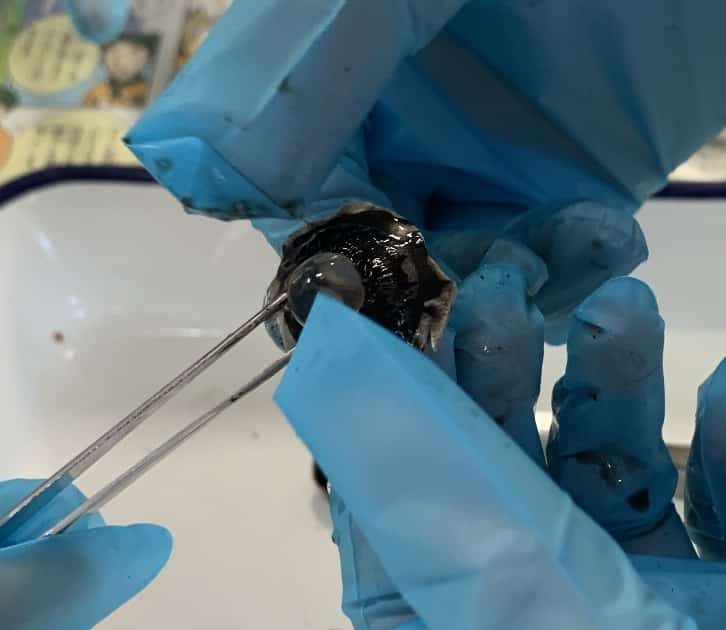
4. The Miraculous Lens: The Crystalline Lens And right in the center of the vitreous humor is a transparent, marble-like sphere. This is the “crystalline lens,” the eye’s natural “lens”! Carefully remove it with your fingers or forceps.
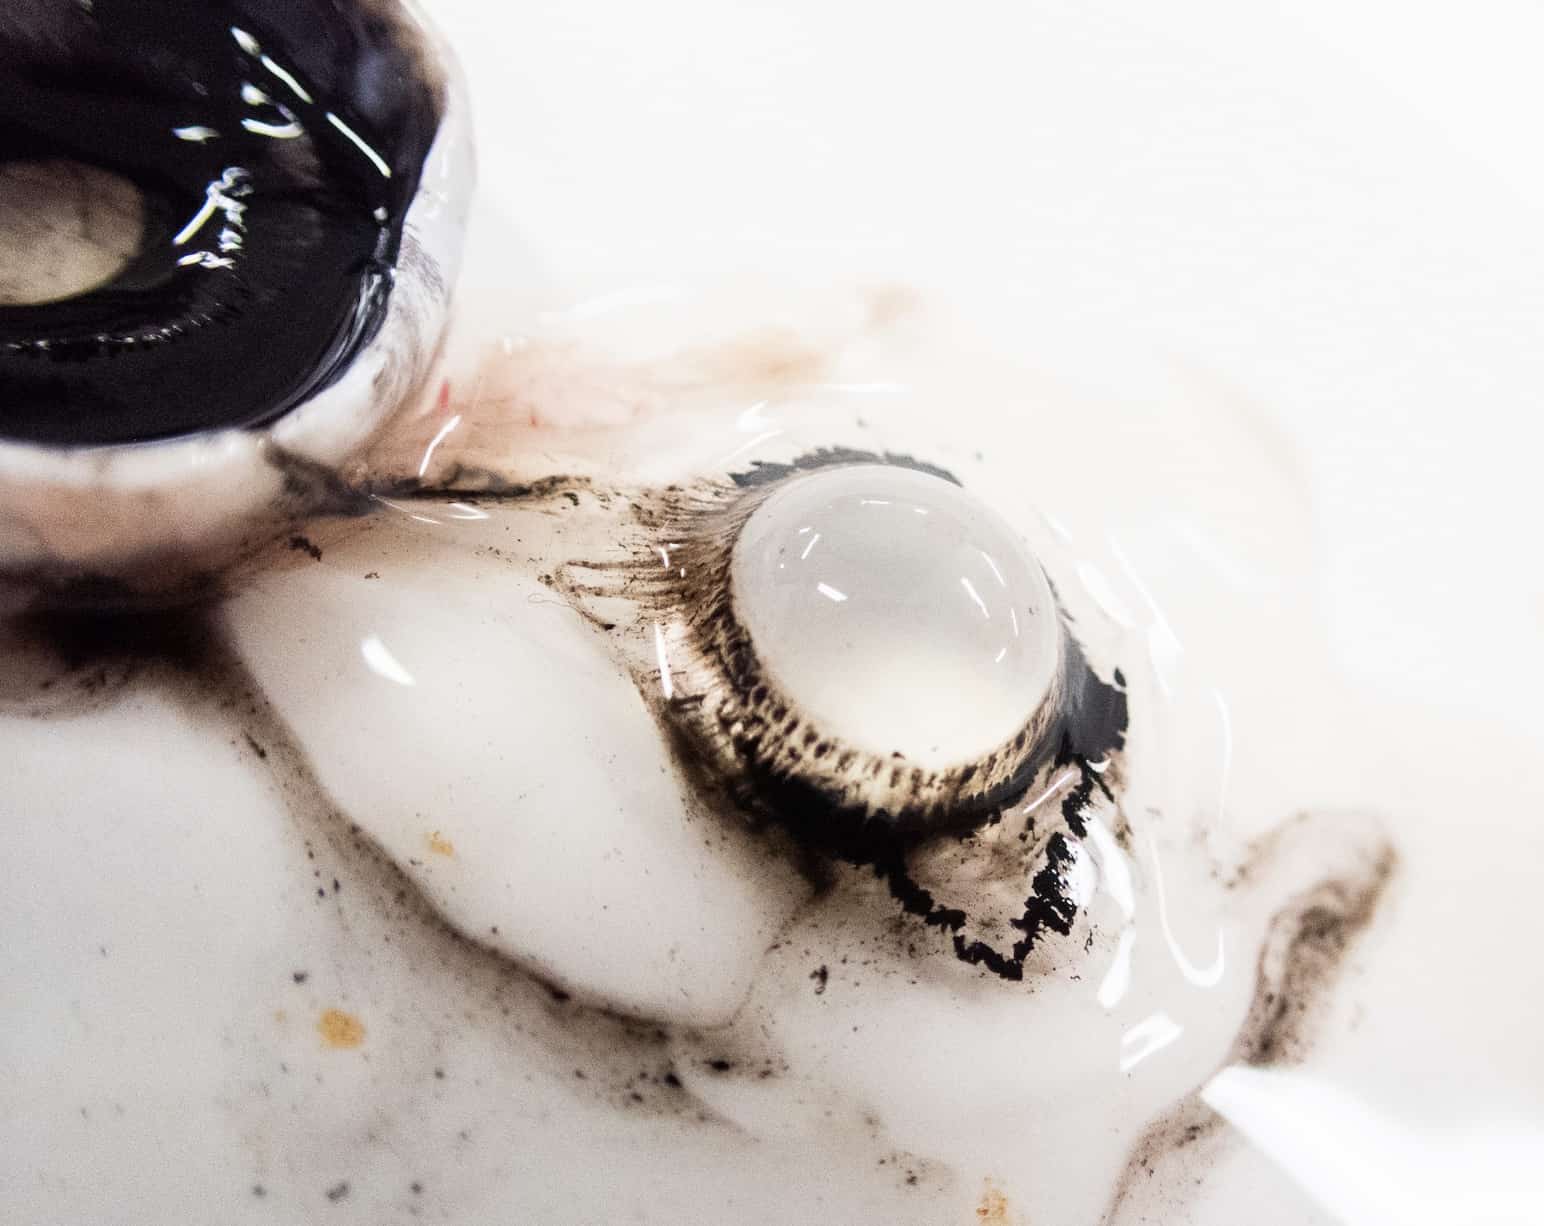
The crystalline lens is more than just a lens. The human (and pig) eye changes the thickness of this lens using the surrounding muscles (ciliary body) to instantly focus on objects both far away and up close. It’s a natural “autofocus function”!
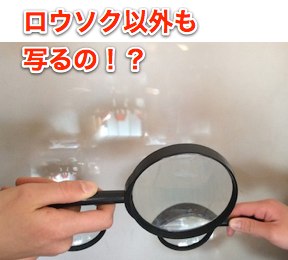
As proof, place the removed crystalline lens on a piece of newspaper.
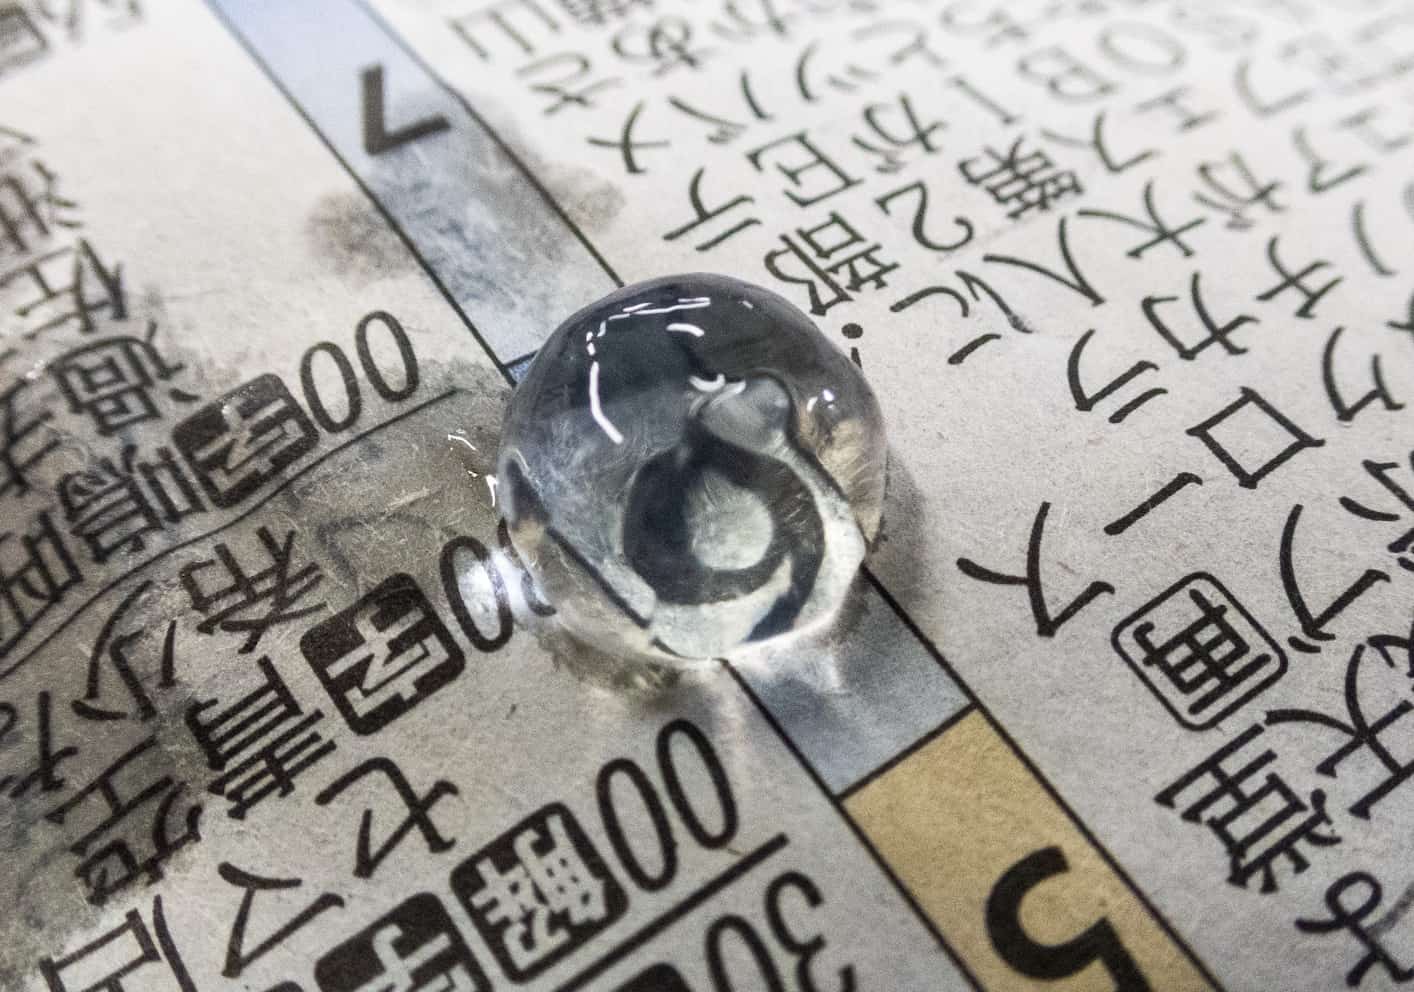
See? The letters are magnified! This is the part that performs the vital job of “focusing” inside our eyes. This moment usually gets the biggest “oohs” and “aahs” from the students.
Here is a video of the dissection:
The Experiment Isn’t Over Until You “Clean Up”
Since this experiment involved working with life, cleanup must be done quickly and respectfully.
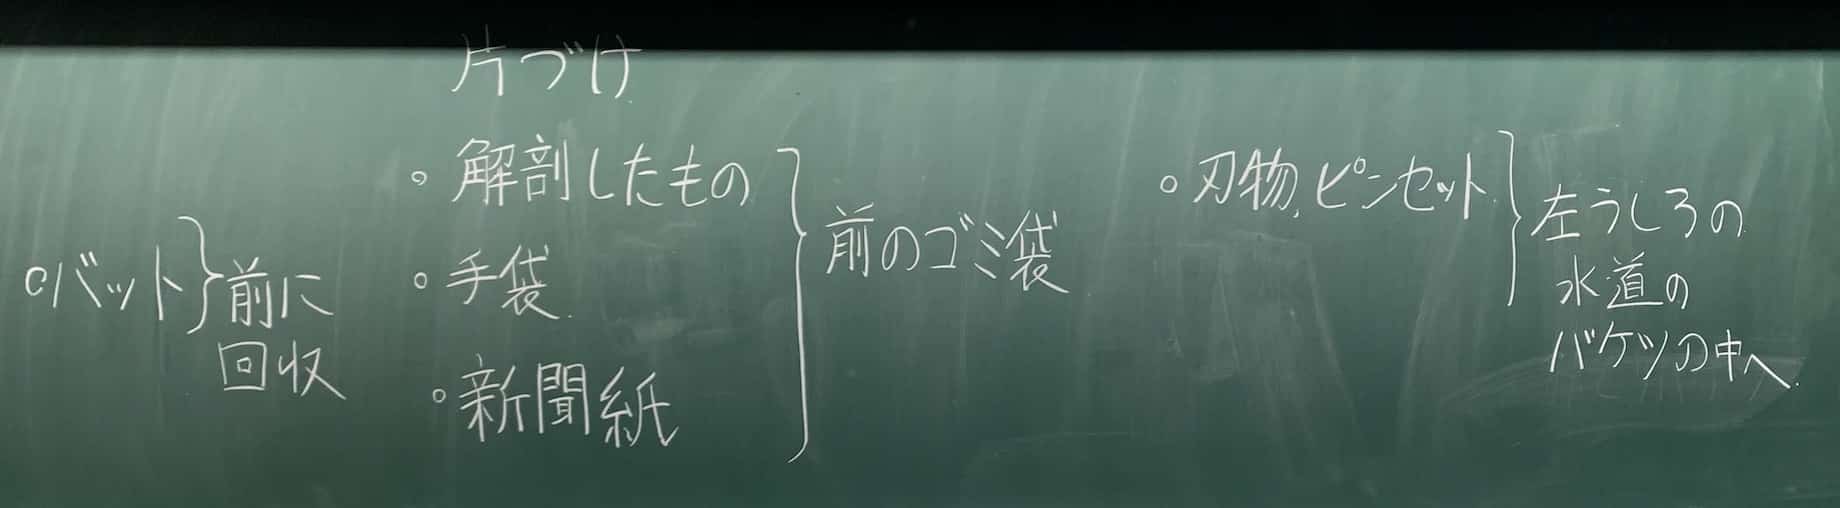
- Used tools (shears, trays) go into a bucket containing bleach solution (the teacher will thoroughly wash them later).
- All dissected eyes, gloves, and newspaper go into the trash bag.
- Wipe the trays thoroughly with newspaper. If the next class will use them, follow up with a wipe down using damp newspaper. If there is time, wash them with water.
It’s helpful to review the overall flow to ensure efficient preparation and cleanup, even between class periods.
Here is an example of instructions for the students:
Conclusion: A “Realization” Beyond the Textbook
Through the pig eye dissection, we took a journey behind the function of “sight.” The jelly-like “vitreous humor” maintains the eye’s shape, the “crystalline lens” acts as the focusing lens, and the image is cast upon the “retina,” the screen… The moment the knowledge learned from a textbook connects with the real feel, weight, and texture of the actual organ, the students’ eyes light up with curiosity.
I highly recommend doing the pig heart dissection alongside this one, as it helps students recognize the connection between the “circulatory system,” which transports oxygen and nutrients, and the “sensory organs,” which receive information! I hope that through this hands-on dissection activity, students deepen their interest in the “mechanisms of living things” and foster their curiosity for science.
Please also take a look at the pig heart dissection:
Inquiries and Requests
Bring the wonder and fun of science closer to home! We summarize fun science experiments you can do at home and provide easy-to-understand tips. Feel free to search around! ・About the administrator, Ken Kuwako: click here ・For various requests (writing, lectures, experiment workshops, TV supervision/appearances, etc.): click here ・Article updates are posted on X!
![]() We stream experiment videos on our Science Trick Channel!
We stream experiment videos on our Science Trick Channel!
7月のイチオシ実験!
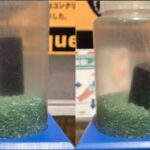
夏でプシュッと爽やか実験!

テレビ番組監修・イベント等のお知らせ
-
時速200kmで走るランボルギーニが、長さ12mのテーブルクロスを一瞬で引き抜く——そんな常識破りの実験が、ふたたびテレビの世界で大きな話題になりました。しかも今回は「視聴者が選ぶワクワク実験ランキング」で、なんと堂々の第1位を獲得したのです。Tverでまだ見ることができるのでぜひご覧ください。

- 7月18日(土) 教員向け実験講習会「ナリカカサイエンスアカデミー」の講師をします。お会いしましょう。
- 12月26日(土) ナリカサイエンスアカデミー(教員向け実験講習会)開催
書籍のお知らせ
- 7月16日発売 『高校入試 分解問題集 理科』(学研)…難しい問題も小さな問題に分解することで、問題を解くことができます。そんな分解の技術が身につくように深く関わりを持って作りました。
- 『大人のための高校物理復習帳』(講談社)…一般向けに日常の物理について公式を元に紐解きました。特設サイトでは実験を多数紹介しています。※増刷がかかり6刷となりました(2026/02/01)

- 『きめる!共通テスト 物理基礎 改訂版』(学研)… 高校物理の参考書です。イラストを多くしてイメージが持てるように描きました。授業についていけない、物理が苦手、そんな生徒におすすめです。特設サイトはこちら。

各種SNS(更新情報をお届け!)
【日本語】X(Twitter)/instagram/Facebook 【英語】BlueSky/Threads
Explore
- 楽しい実験…お子さんと一緒に夢中になれるイチオシの科学実験を多数紹介しています。また、高校物理の理解を深めるための動画教材も用意しました。
- 理科の教材… 理科教師をバックアップ!授業の質を高め、準備を効率化するための選りすぐりの教材を紹介しています。
- Youtube…科学実験等の動画を配信しています。
- 科学ラジオ …科学トピックをほぼ毎日配信中!AI技術を駆使して作成した「耳で楽しむ科学」をお届けします。
- 講演 …全国各地で実験講習会・サイエンスショー等を行っています。
- About …「科学のネタ帳」のコンセプトや、運営者である桑子研のプロフィール・想いをまとめています。
- お問い合わせ …実験教室のご依頼、執筆・講演の相談、科学監修等はこちらのフォームからお寄せください。
- Why Doesn’t Your Stomach Digest Itself? What a 170-Year-Old Accident Revealed (Video: “The Marvel of Human Digestion”)

- How Buildings Fight Back Against Earthquakes: From Liquefaction to Sloshing Dampers, Fully Explained [Miraikan]
- See the Invisible: The Mysterious Phase Shift Hiding in Coils

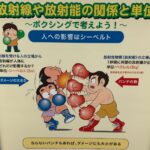
- Punches Aren’t Damage: Understanding Becquerels and Sieverts Through Boxing
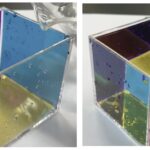
- Pour Water and a Cube Appears! The CMY Water Cube That Reveals the Magic of Color Subtraction
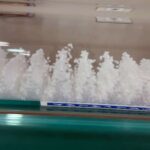
- The Mysterious Device That Makes Styrofoam Float in Midair — Visualizing Sound Waves with a Kundt’s Tube
- The Switch Is Off, But It Won’t Stop! Capturing the Mystery of Coil Oscillations with a Sensor (EasySense V-Hub)
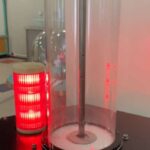
- Eddy Currents Launch Metal Rings Into the Air — The Electromagnetic Magic of Tsukuba Expo Center
- Caught in the Lab: Does Current Actually Hesitate? A Coil’s 0.0005-Second Story