Catch the Bending Light! Four Pins Reveal the Hidden Path of Light (Can You See Through the Trick Photo?)
Hi, I’m Ken Kuwako, your Science Trainer. Every Day is an Experiment!
Have you ever noticed a straw in a glass of water looking like it’s bent or broken? Or the bottom of a swimming pool appearing shallower than it really is? These are all fascinating phenomena caused by light undergoing refraction, which simply means light is bending as it passes from one medium to another.
But let’s be honest, visualizing the path of invisible light can be tough. Diagrams in textbooks often don’t click with students. That’s why today, I’m going to show you an amazing experiment to “capture” the invisible path of light and make it visible!
We’ll be using a standard science lab item, a glass block. But the real secret that makes this experiment click with students is the addition of an ordinary, everyday item: the sewing pin!
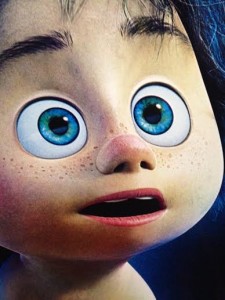
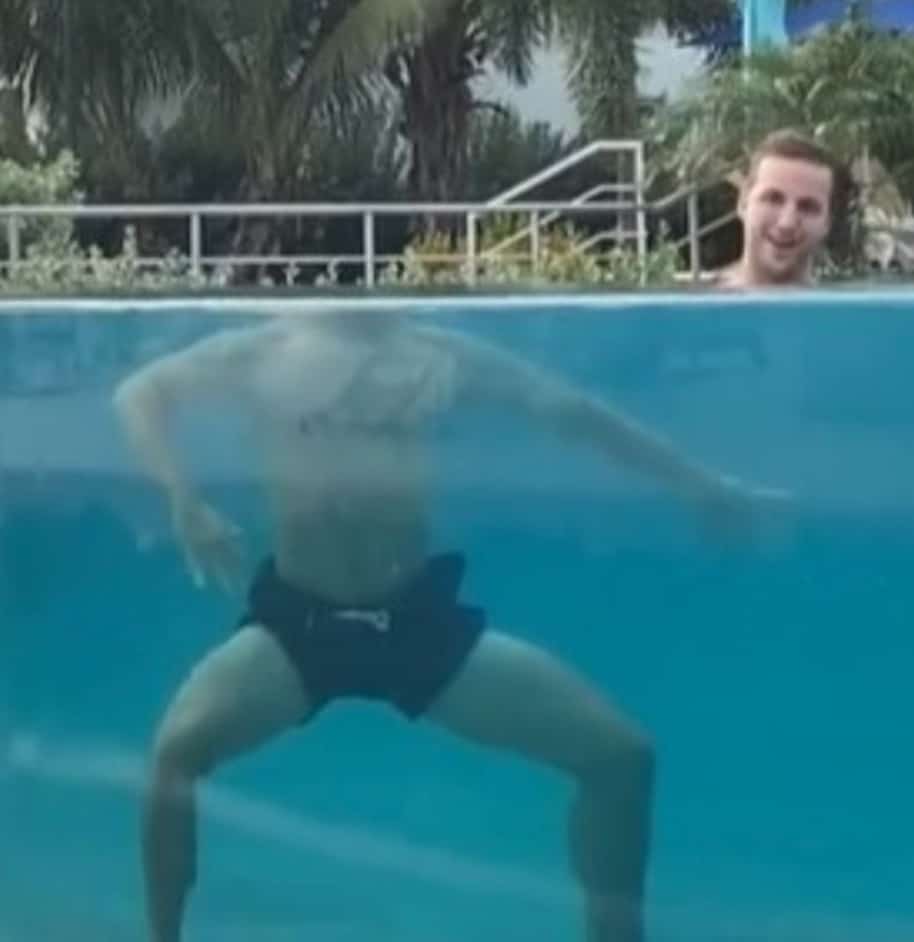
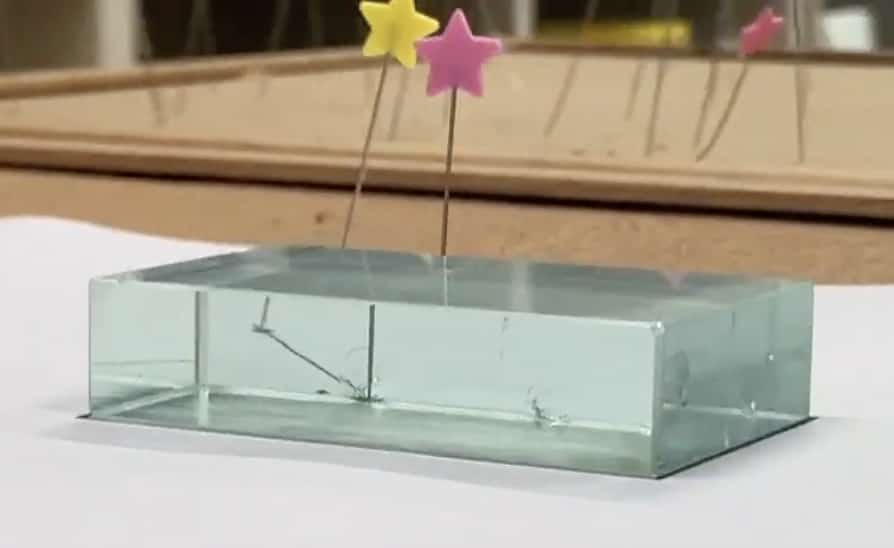
If you’re thinking, “Wait, a pin? How?”—that’s a great start! In today’s experiment, we’ll solve the mystery of why light bends, and in the process, figure out how those mind-bending trick photos, like the one below where a head seems detached from a neck, are possible.
(P.S. I learned this highly effective technique from my colleague, Mr. S, which greatly deepened my understanding. It’s a fantastic experiment!)
🔨 What You’ll Need
Glass Block (Rectangular Prism): One per student or group.
Drawing Paper (A4 size or similar): White paper makes the light path easiest to see.
Sewing Pins (or Push Pins): 4 pins per student/group (plus plenty of spares!).
Light Source (Optional): A laser pointer works, but a device that shows the beam as a line is best.
Pencil and Ruler
(Optional) Blackout Curtains/Dark Room: Making the room dark helps the light path show up clearly.
🧪 Experiment Procedure: Making the Invisible Path of Light Visible
Let’s follow these steps to conduct an engaging and hands-on experiment. You can download the accompanying worksheet here:
Light Refraction Worksheet (PDF)
Worksheet
Since the work is a bit detailed, watching a video first is highly recommended:
1. Trace the Path of Light with Pins
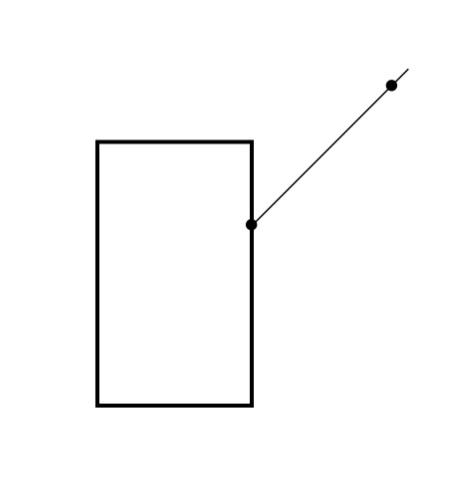
First, place the glass block on the drawing paper and carefully trace its outline with a pencil. Then, remove the block and stick two pins (Pins 1 and 2) anywhere on the paper (like the black dot in the image). These pins will act as your “light source” or the object you are viewing.
Put the glass block back exactly inside the pencil outline. Now, look through the side of the glass block at the two pins you just placed.
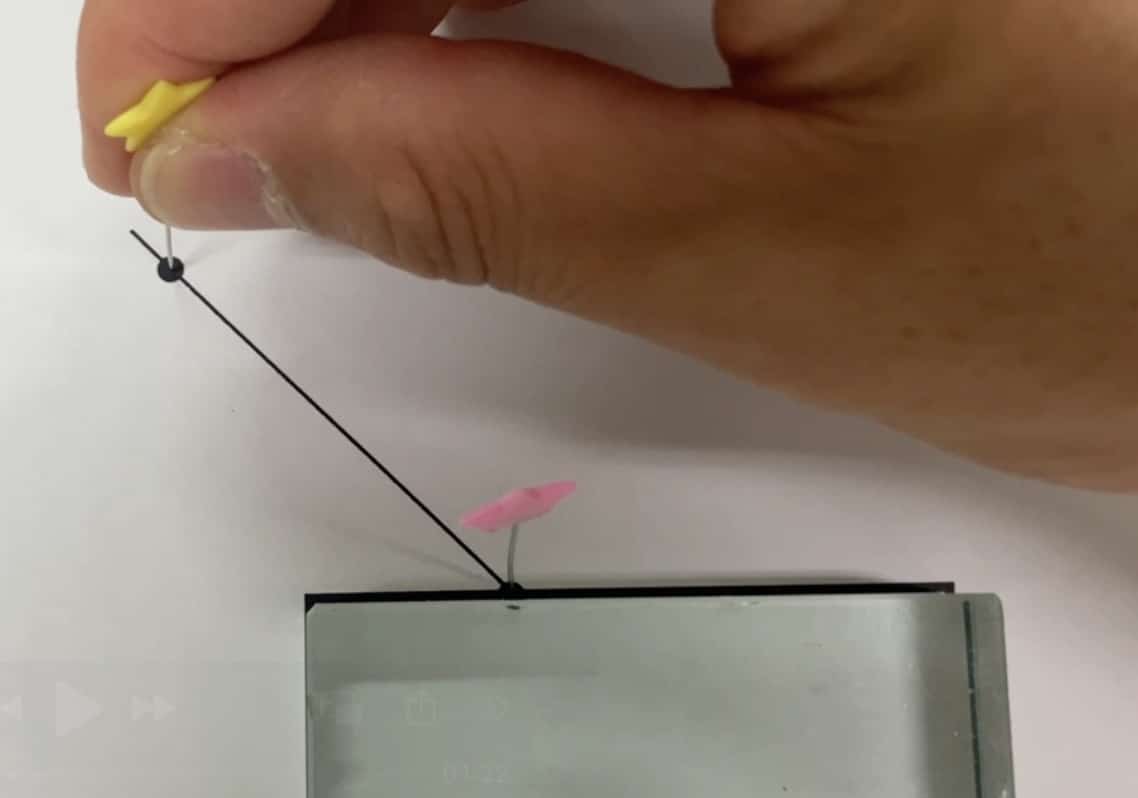
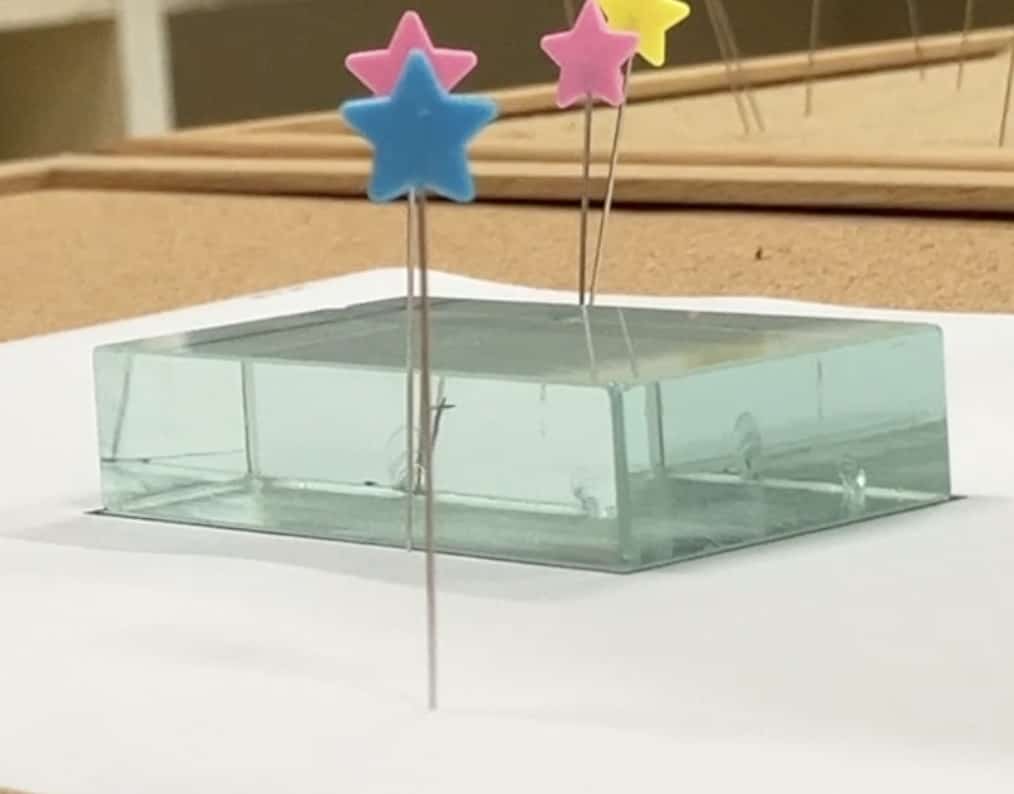
This is the most crucial step! Slowly shift your eye until the two pins (Pins 1 and 2) appear to merge perfectly and look like a single pin when viewed through the glass.
Once they are perfectly aligned, stick a third pin (Pin 3) along that line of sight. (Stick it close to the glass edge nearest to you.)
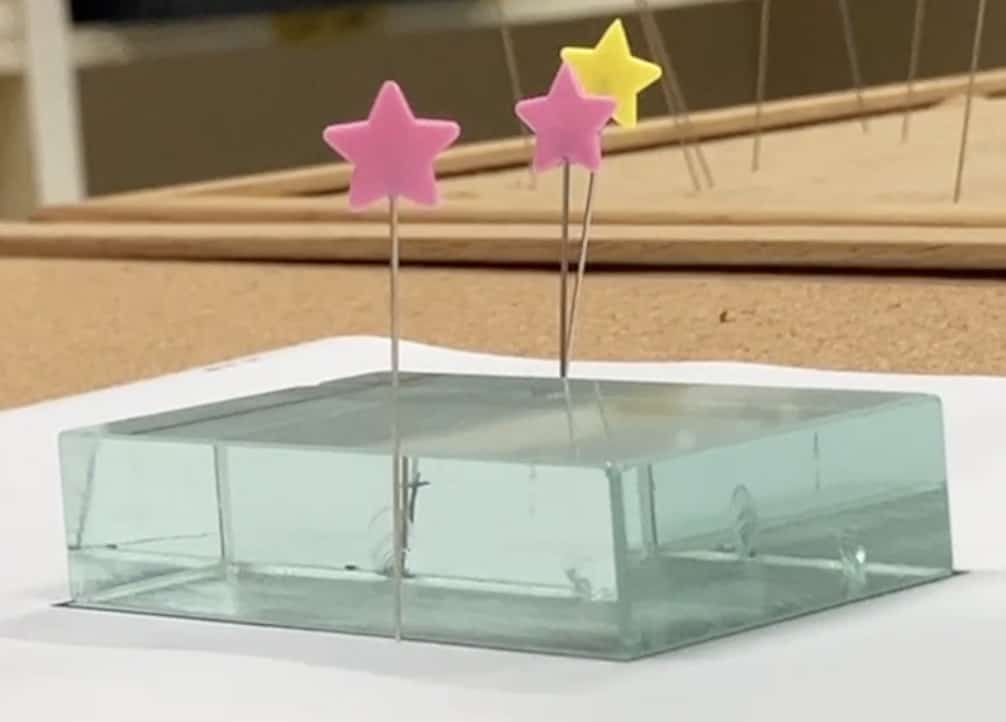
Finally, maintaining that same line of sight, stick a fourth pin (Pin 4) in front of the third pin. Now, your eye (Pins 4 and 3) and the image through the glass (Pins 2 and 1) are all perfectly aligned!
2. Connect the Dots and Confirm Refraction!
Gently remove the glass block and all four pins. You should have four pinholes remaining on your paper.
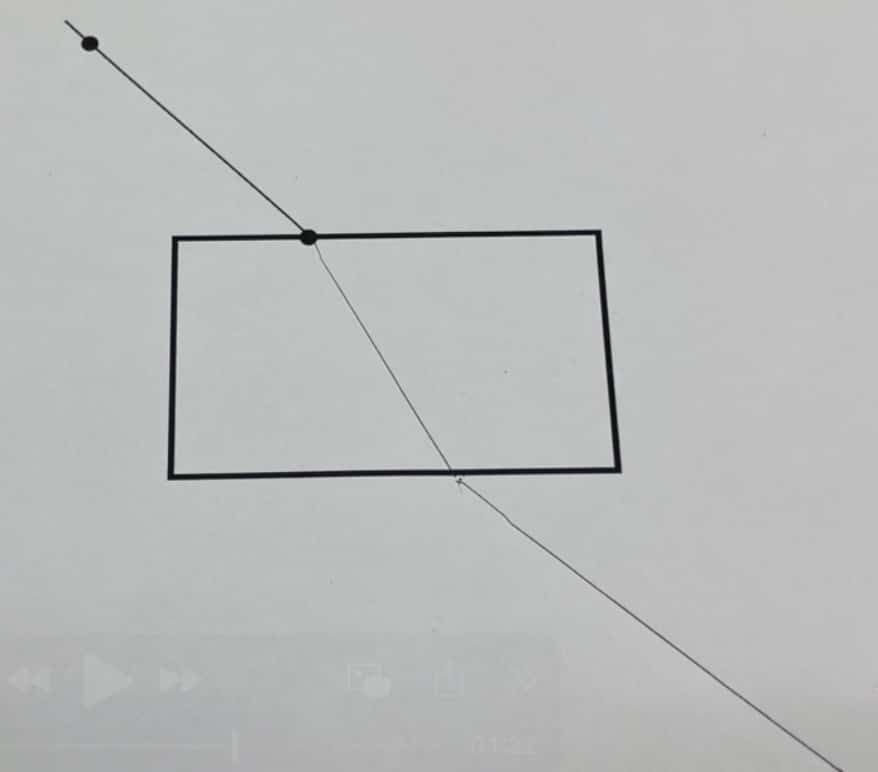
First, use a ruler to connect the back two points (Pins 1 and 2). This line represents the light traveling from the source to the glass. Next, connect the front two points (Pins 3 and 4). This line represents the light traveling from the glass to your eye. Finally, connect the two lines across the interior of the glass block outline.
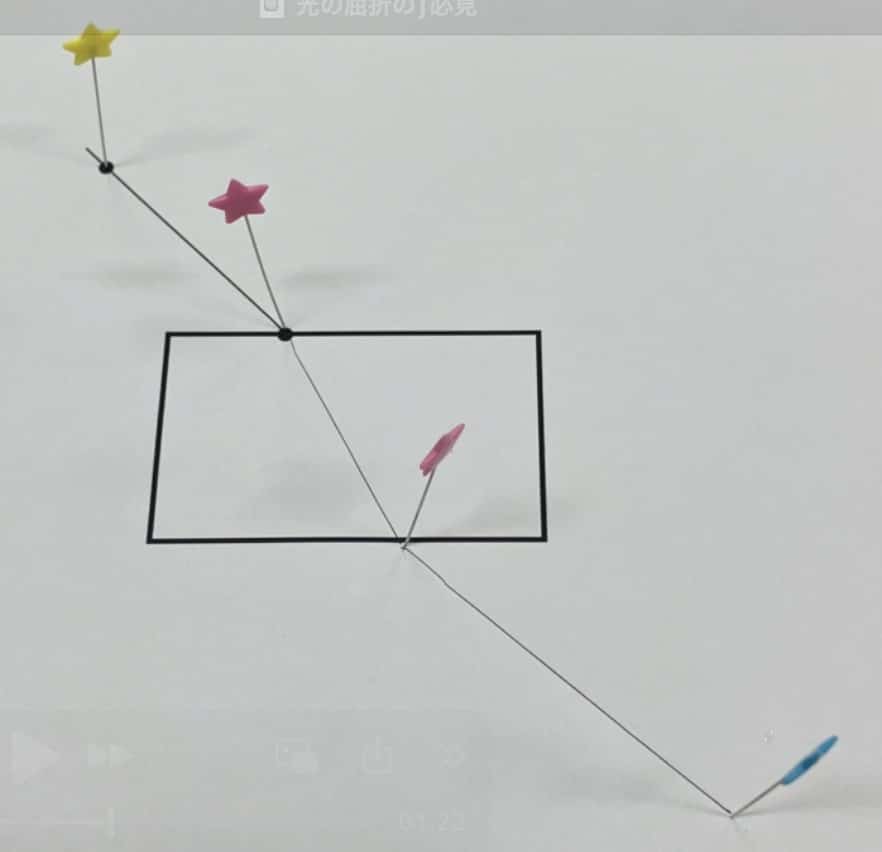
What do you see? The path of light should have a noticeable “kink”—it sharply bends both when entering and exiting the glass! This is the moment you have captured the invisible path of light refraction using simple pins!
3. The Grand Finale: Checking Your Work
For the final step, dim the classroom lights and use your light source (like a laser) to shine a beam along the reverse path you just created (from Pin 4 to Pin 3).
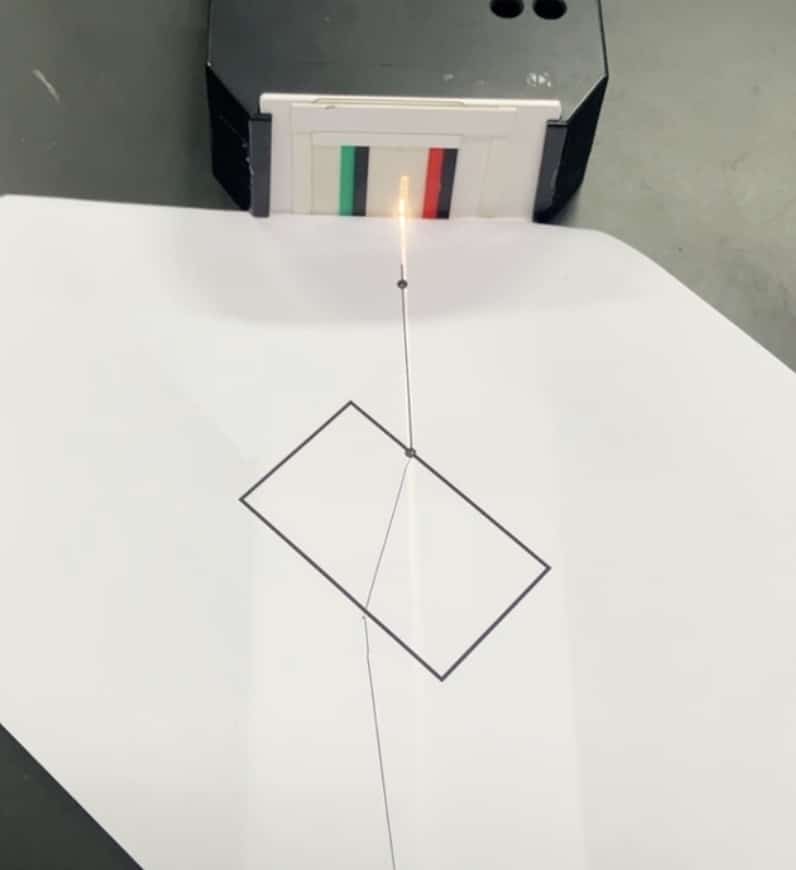
The light should pass through the glass block and emerge, aiming directly at the holes where Pins 1 and 2 were! When students see that the line they drew matches the actual beam of light, you’ll hear an excited, “Ooh! It really does line up!”

💡 Mystery Solved! Why Does Light Bend?
Why does light refract? It’s because the speed of light is different in air versus glass (or water).
Light travels slower in glass than in air. When a beam of light hits the glass at an angle, the part of the beam that enters first slows down, while the other side is still moving quickly in the air. This “speed difference” causes the entire direction of the beam to be dramatically bent, or refracted.
With this knowledge, we can finally explain the trick photo at the beginning!
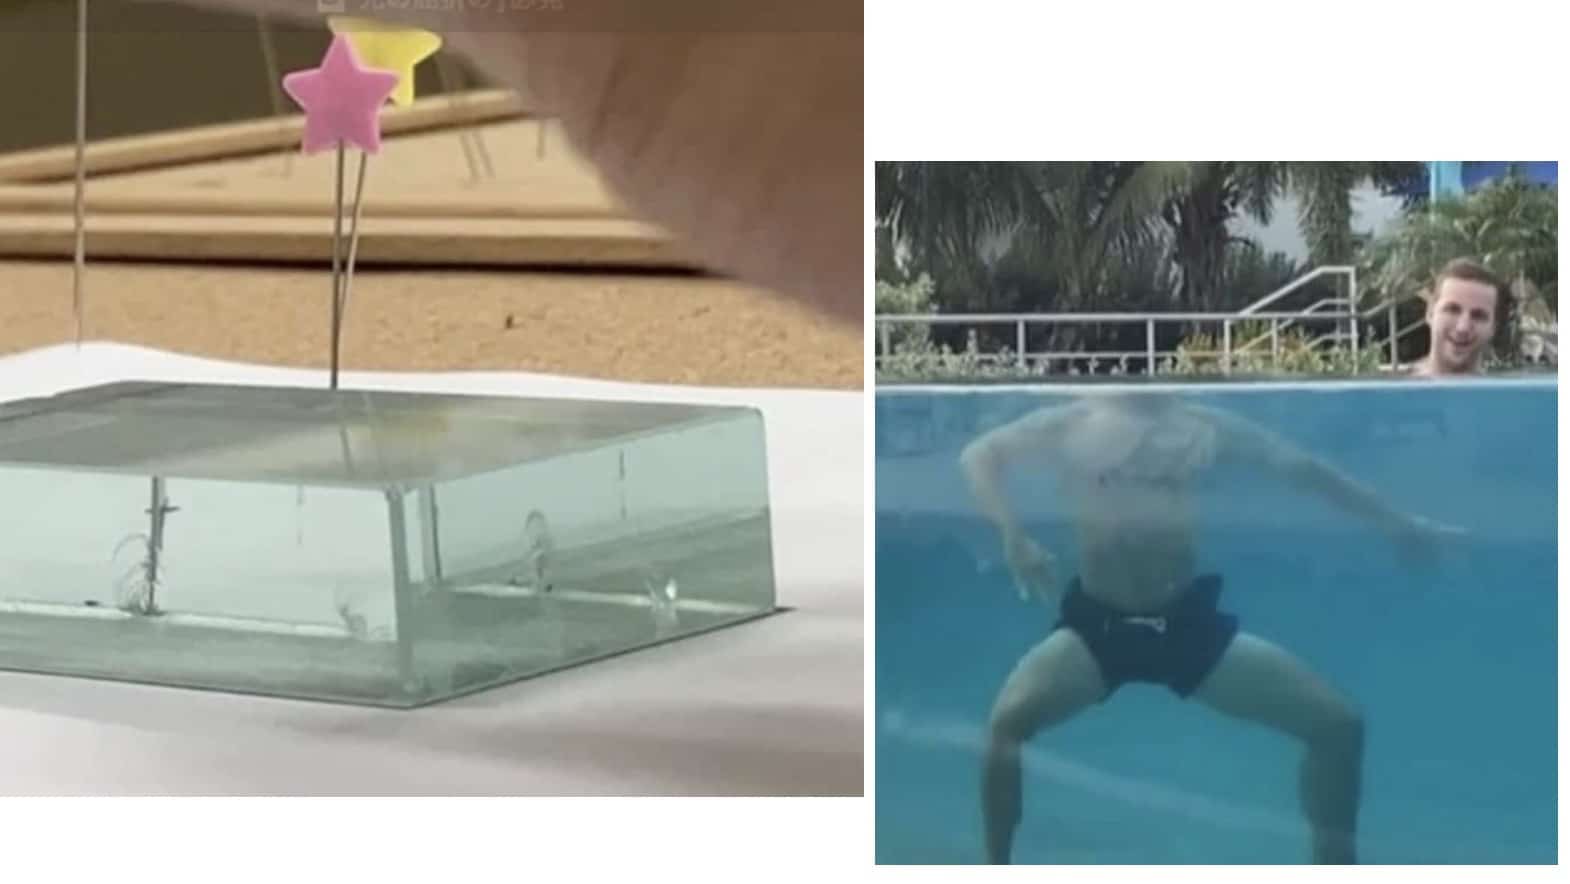
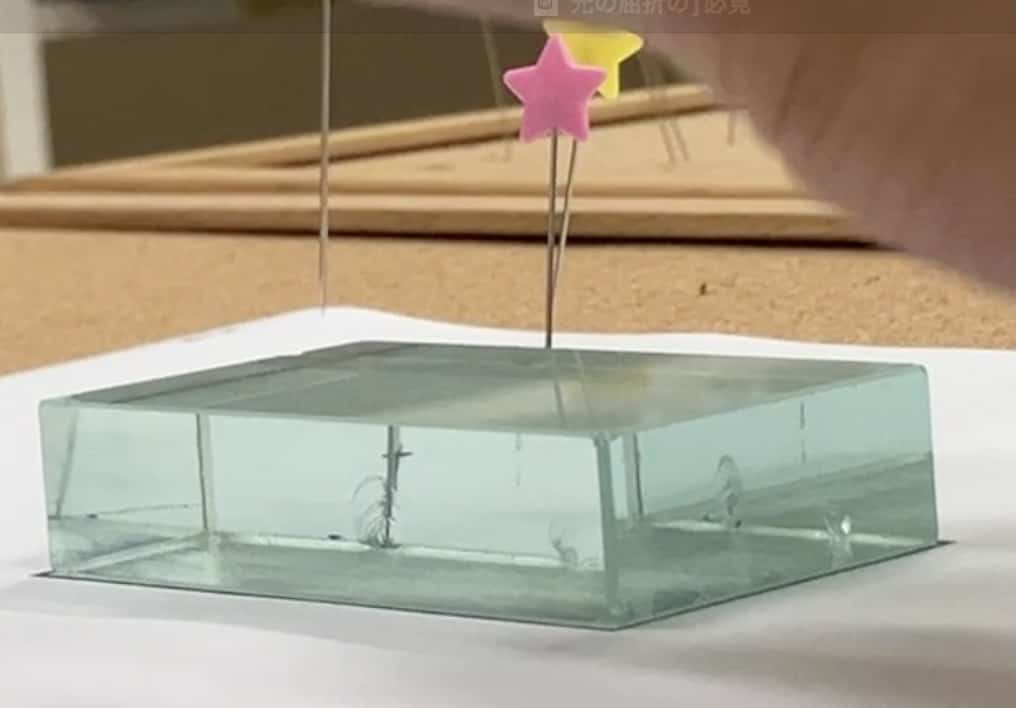
The “separated head and neck” photo works on the exact same principle. Light rays from the neck travel through two media with different speeds—the tank (glass and water) and the air. This causes the light to bend before it reaches your eye.
However, your brain is very trusting! It doesn’t know the light bent. It believes that “light travels in straight lines.” As a result, your brain miscalculates the location of the neck by tracing the bent light back along a straight-line extension.
This is why the neck appears to be in a different place than it actually is. The sewing pin experiment is a brilliant way to reveal both this “brain trick” and the true path of light.
Get in Touch!
We want to bring the wonder of science closer to you! Find fun science experiments you can do at home and easy-to-understand tips. Search around for more!
About the operator, Ken Kuwako: Click here
For collaboration requests (writing, lectures, science classes, TV supervision/appearances, etc.): Click here
Follow us on X for article updates!
![]() We post experiment videos on the Science Channel!
We post experiment videos on the Science Channel!
7月のイチオシ実験!
夏でプシュッと爽やか実験!

テレビ番組監修・イベント等のお知らせ
-
時速200kmで走るランボルギーニが、長さ12mのテーブルクロスを一瞬で引き抜く——そんな常識破りの実験が、ふたたびテレビの世界で大きな話題になりました。しかも今回は「視聴者が選ぶワクワク実験ランキング」で、なんと堂々の第1位を獲得したのです。Tverでまだ見ることができるのでぜひご覧ください。

- 7月18日(土) 教員向け実験講習会「ナリカカサイエンスアカデミー」の講師をします。お会いしましょう。
- 12月26日(土) ナリカサイエンスアカデミー(教員向け実験講習会)開催
書籍のお知らせ
- 7月16日発売 『高校入試 分解問題集 理科』(学研)…難しい問題も小さな問題に分解することで、問題を解くことができます。そんな分解の技術が身につくように深く関わりを持って作りました。
- 『大人のための高校物理復習帳』(講談社)…一般向けに日常の物理について公式を元に紐解きました。特設サイトでは実験を多数紹介しています。※増刷がかかり6刷となりました(2026/02/01)

- 『きめる!共通テスト 物理基礎 改訂版』(学研)… 高校物理の参考書です。イラストを多くしてイメージが持てるように描きました。授業についていけない、物理が苦手、そんな生徒におすすめです。特設サイトはこちら。

各種SNS(更新情報をお届け!)
【日本語】X(Twitter)/instagram/Facebook 【英語】BlueSky/Threads
Explore
- 楽しい実験…お子さんと一緒に夢中になれるイチオシの科学実験を多数紹介しています。また、高校物理の理解を深めるための動画教材も用意しました。
- 理科の教材… 理科教師をバックアップ!授業の質を高め、準備を効率化するための選りすぐりの教材を紹介しています。
- Youtube…科学実験等の動画を配信しています。
- 科学ラジオ …科学トピックをほぼ毎日配信中!AI技術を駆使して作成した「耳で楽しむ科学」をお届けします。
- 講演 …全国各地で実験講習会・サイエンスショー等を行っています。
- About …「科学のネタ帳」のコンセプトや、運営者である桑子研のプロフィール・想いをまとめています。
- お問い合わせ …実験教室のご依頼、執筆・講演の相談、科学監修等はこちらのフォームからお寄せください。
- How Buildings Fight Back Against Earthquakes: From Liquefaction to Sloshing Dampers, Fully Explained [Miraikan]
- See the Invisible: The Mysterious Phase Shift Hiding in Coils

- Punches Aren’t Damage: Understanding Becquerels and Sieverts Through Boxing
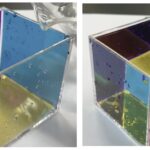
- Pour Water and a Cube Appears! The CMY Water Cube That Reveals the Magic of Color Subtraction
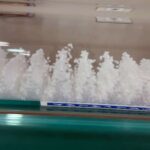
- The Mysterious Device That Makes Styrofoam Float in Midair — Visualizing Sound Waves with a Kundt’s Tube
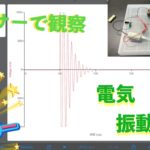
- The Switch Is Off, But It Won’t Stop! Capturing the Mystery of Coil Oscillations with a Sensor (EasySense V-Hub)
- Eddy Currents Launch Metal Rings Into the Air — The Electromagnetic Magic of Tsukuba Expo Center
- Caught in the Lab: Does Current Actually Hesitate? A Coil’s 0.0005-Second Story
- Chaos to Harmony: The Secret Behind 15 Pendulums Dancing in Perfect Sync