Science in the Kitchen! Discover the Secrets of Vertebrates Through a Dried Sardine Dissection
I’m Ken Kuwako, a Science Trainer. Every Day is an Experiment.
When teaching about the backbones of vertebrates in a science class, one of the best ways for students to deepen their understanding by observing a real skeleton is to conduct “Dried Sardine Dissection.” By using easily accessible dried sardines (niboshi) and having students perform the dissection themselves, they can gain a concrete understanding of vertebrate structure.
Why Dried Sardine Dissection is Great
Are you struggling to make the “Structure of Vertebrates” lesson more engaging and memorable for your students? It can be difficult for them to visualize a vertebrate skeleton using only textbook diagrams and encyclopedia illustrations. That’s why today, I want to introduce a fun and easy dissection using a common food item: dried sardines (niboshi)!
“Dried Sardine Dissection” is simple to prepare and is guaranteed to light up your students’ eyes. I’ll share key preparation tips and the step-by-step procedure. With this lesson, students won’t just memorize facts; they’ll experience the joy of observing and discovering with their own hands.
The Advantages of Dried Sardine Dissection
Dried sardines (specifically, the Japanese anchovy Katakuchi Iwashi) are the perfect material for observing a vertebrate skeleton. They retain not only the backbone but also the internal organs relatively intact, allowing students to observe the basic structure of a fish thoroughly.
Furthermore, no specialized equipment is needed. A single bamboo skewer is enough for an easy dissection. This method is a big win because it’s safe for students, very low-cost, and easy to source from any supermarket, significantly reducing the burden of preparation.
What You’ll Need
- Dried Sardines (Niboshi) (Larger ones are easier to observe)
- Bamboo Skewers (Chopsticks or toothpicks can also work)
- Tweezers (Handy to have)
- Magnifying Glass (For observing fine details)
- Newspaper or Paper Towels (To protect the workspace)
- Learning Worksheet (To organize observation notes)
You can download this worksheet (along with pictures and other materials) from “The Dried Sardine Dissection Resource Room.” It’s great that you can find the materials you need to get started right away!
https://www.niboshinokaibou.com/
Procedure
I’ve summarized the process in a video. Please check it out as well!
1. Prepare the Dried Sardines
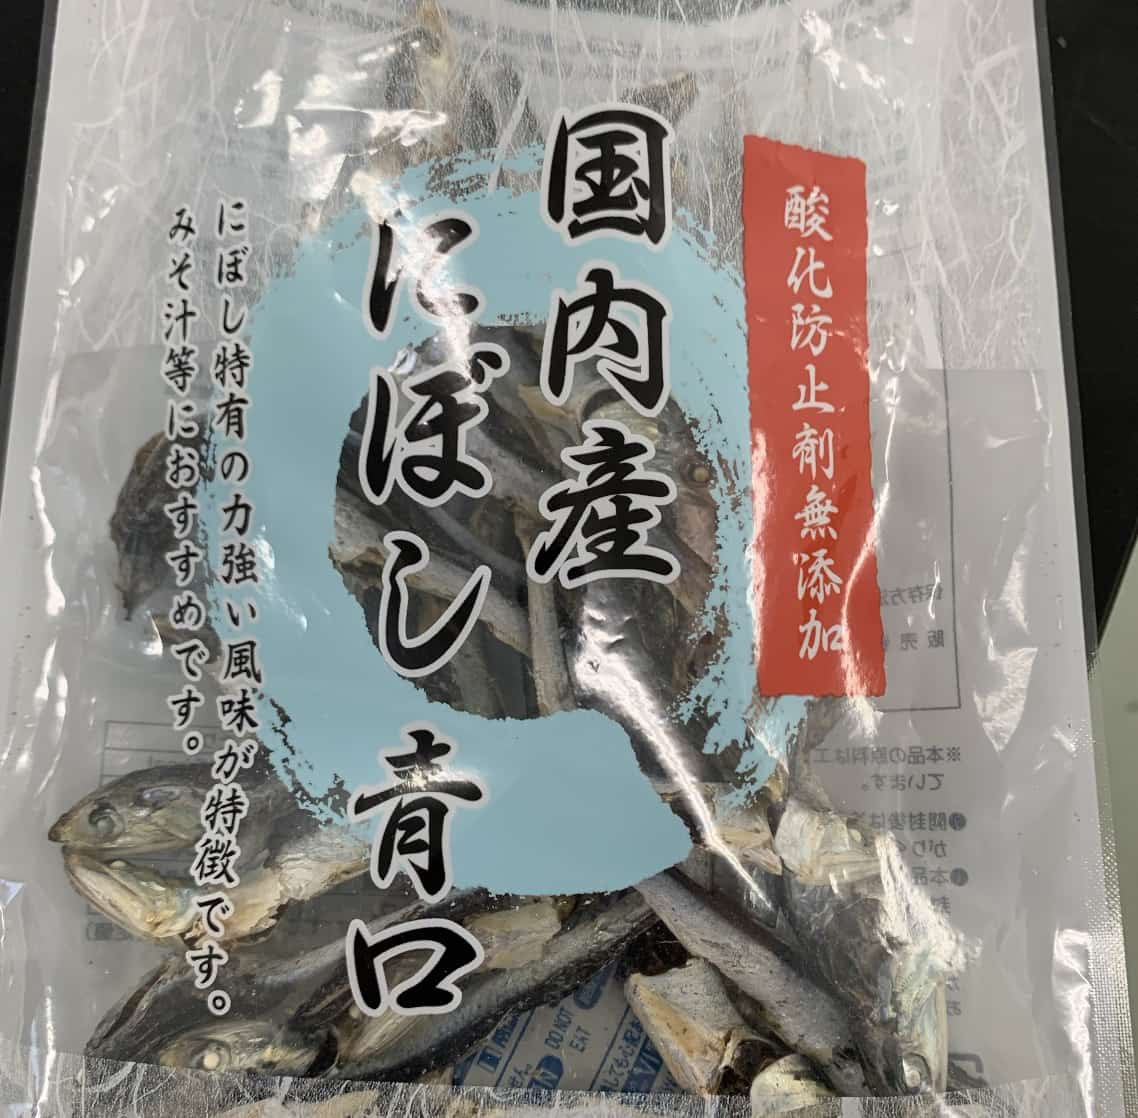
Use Japanese anchovy (Katakuchi Iwashi) dried sardines, which are commonly sold in supermarkets. Selecting larger ones will make the observation easier. One bag cost about 400 yen and contained around 50 sardines, which is plenty for a single class. The dried anchovies I prepared this time are here.
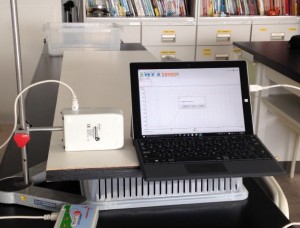
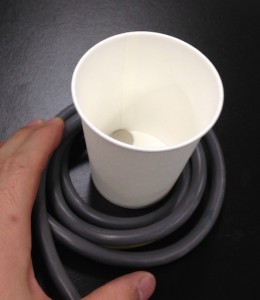
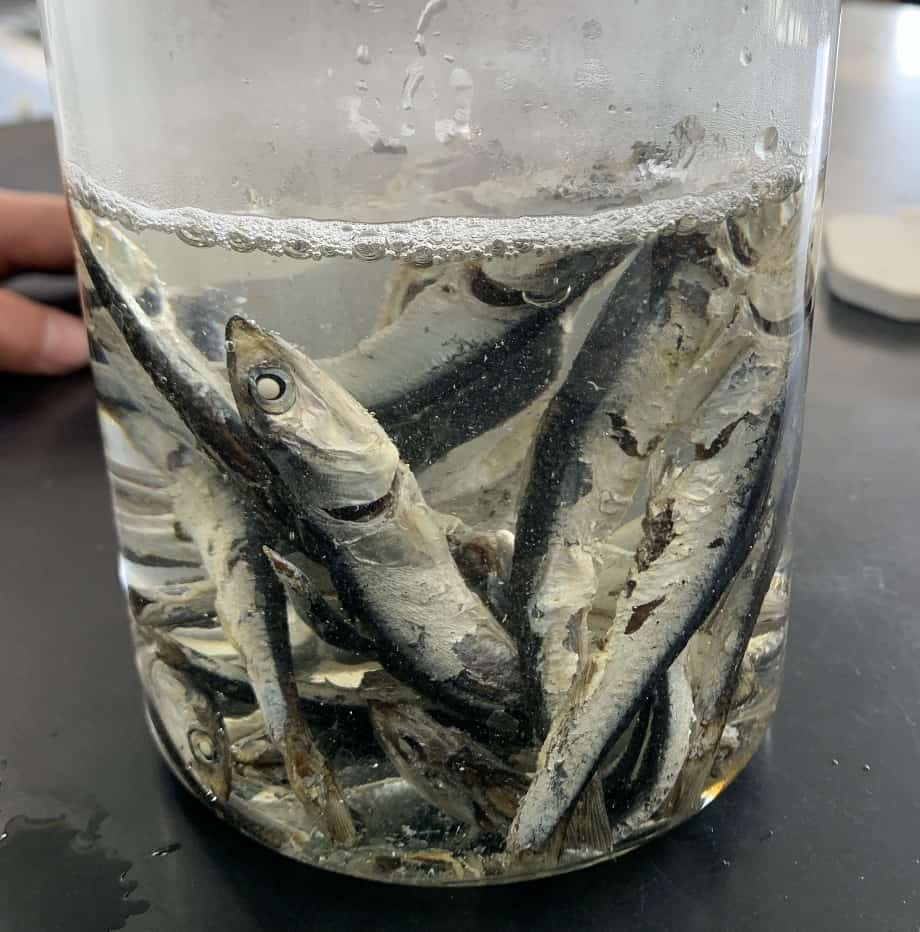
2. Blanching in Hot Water for Better Results!
I soaked the sardines in boiling water for 10 minutes to soften them and extract the stomach. Just placing them in a beaker of hot water works wonders—it even changes the color slightly, making them much easier to observe.
External Morphology Observation
First, examine the structure of the dried sardine’s body. Have students identify the head, trunk, and tail, and the location of the fins to understand the basic structure of a fish.
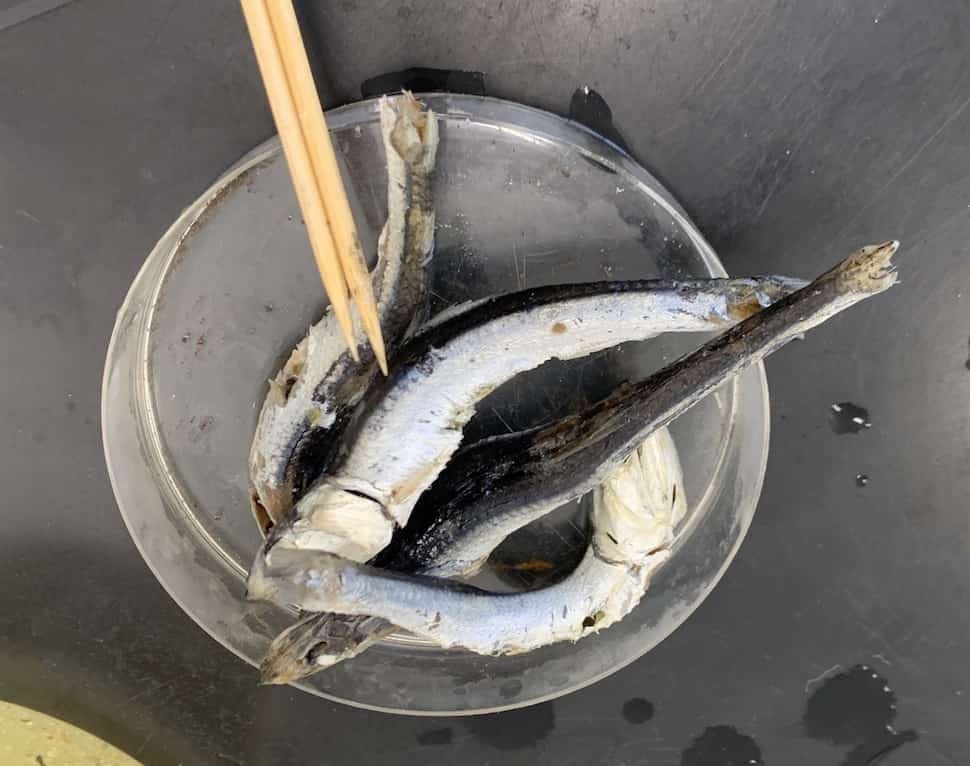
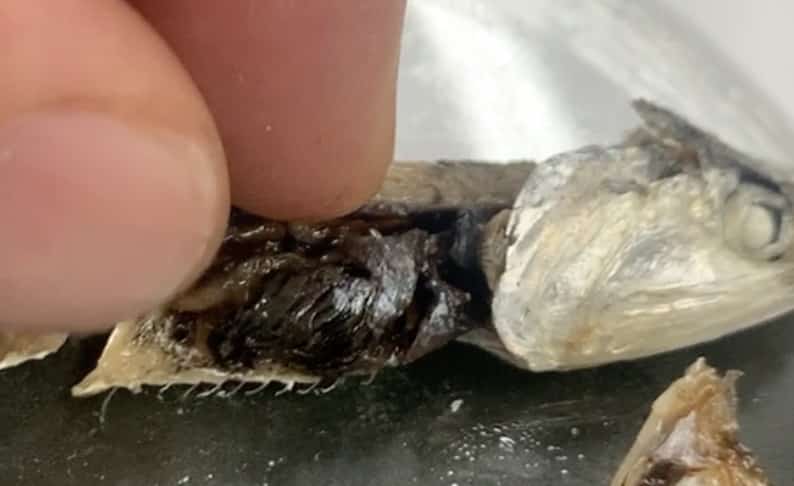
Dissection with a Bamboo Skewer
Gently poke a hole from the back side with a bamboo skewer, and then carefully open the sardine. Be careful not to damage the backbone during this process. Spread the body open to clearly reveal the backbone and, simultaneously, observe the internal organs.
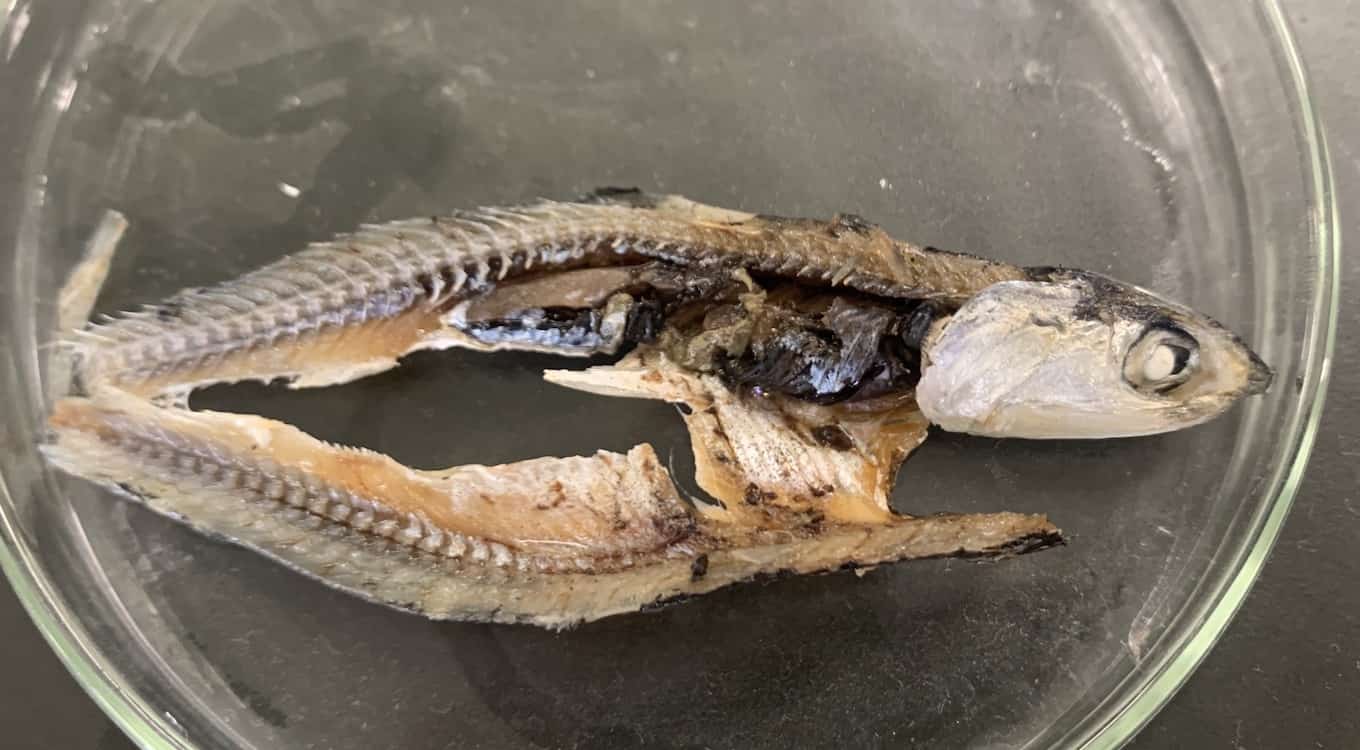
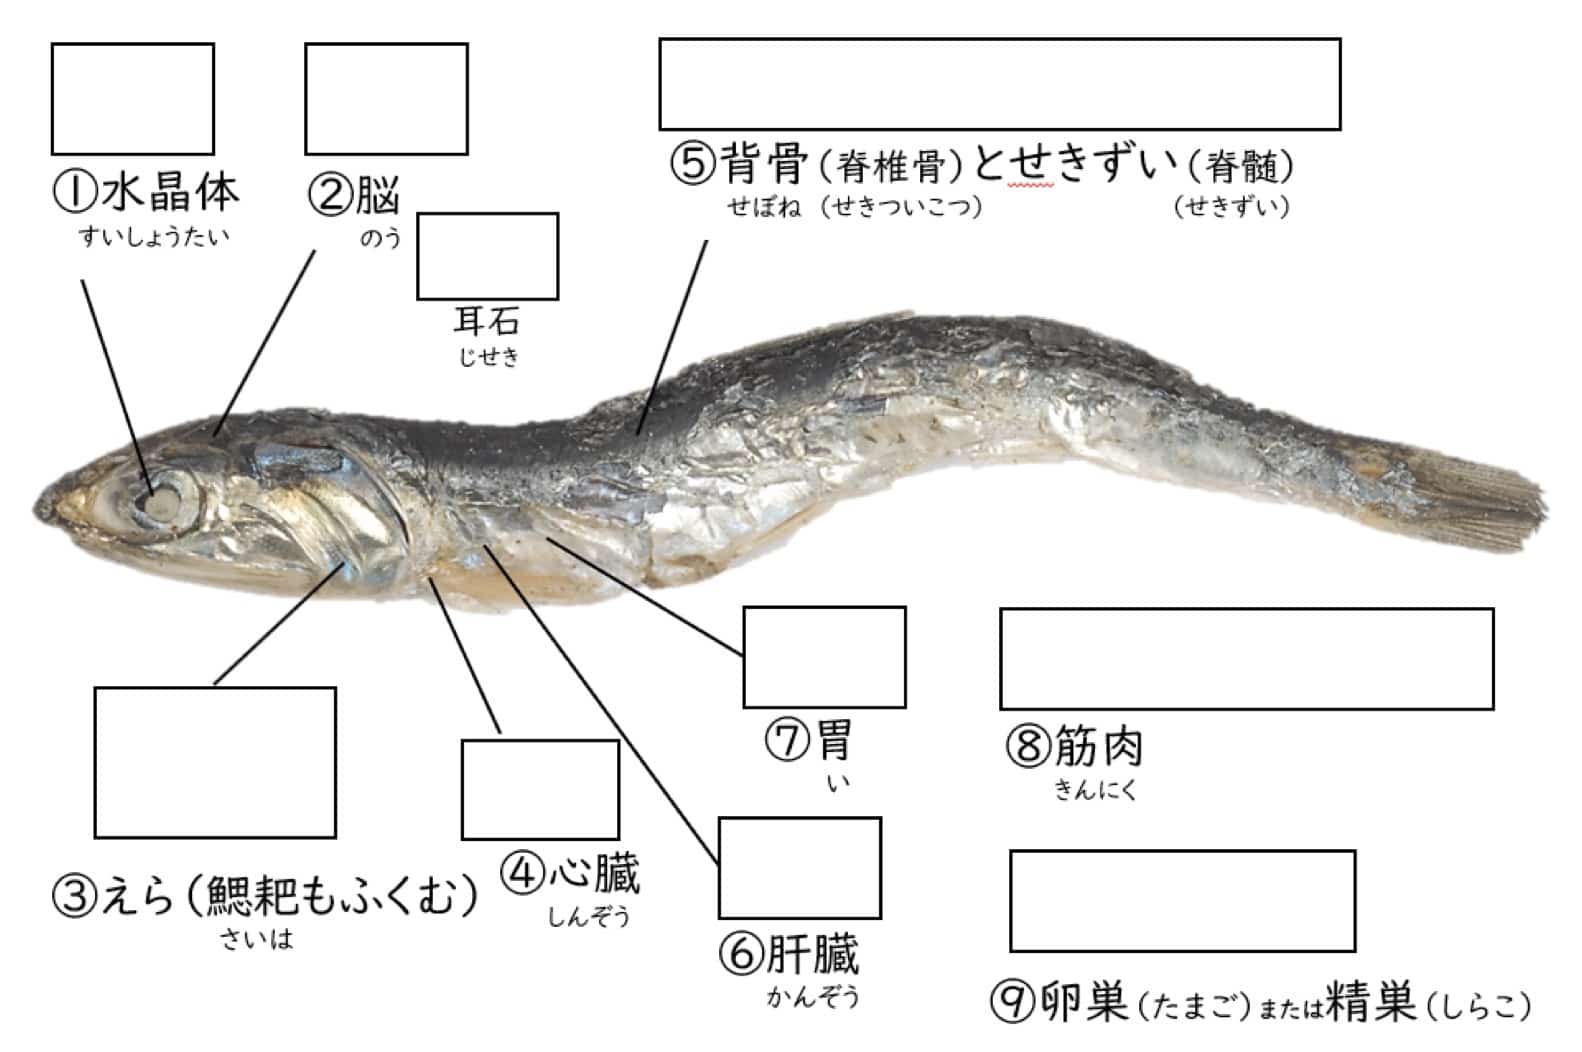
Observing Each Organ
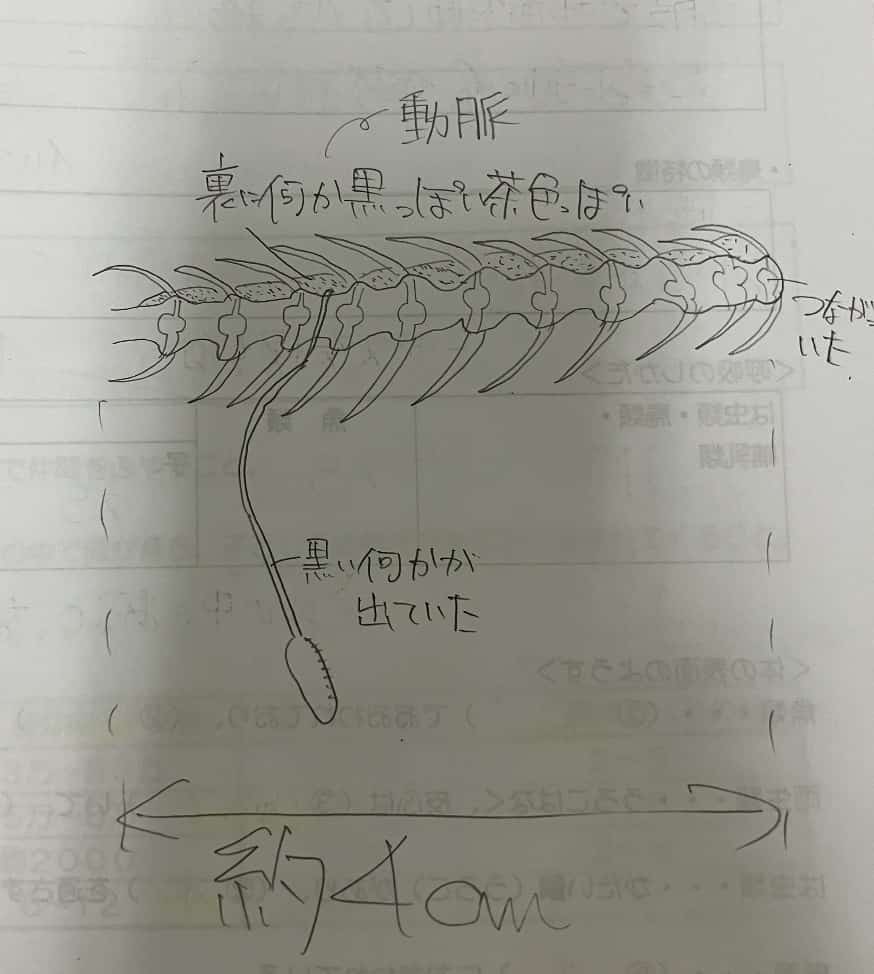
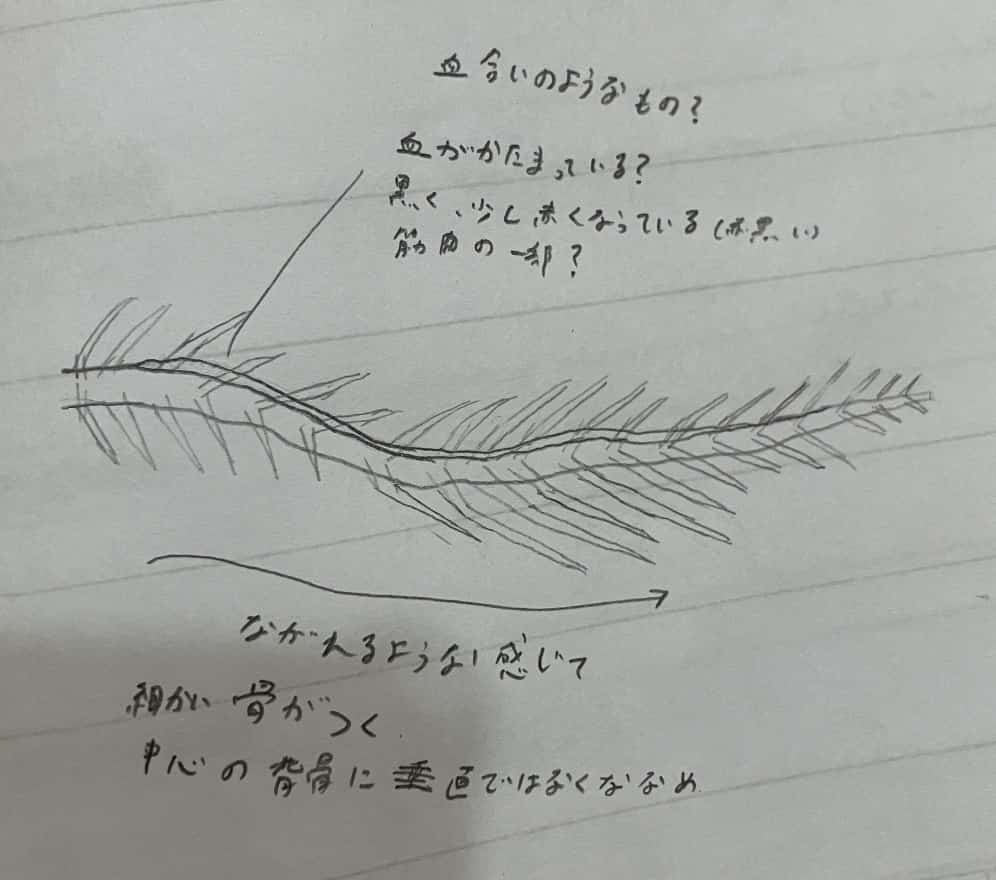
Let’s take a look at the structure of the backbone.
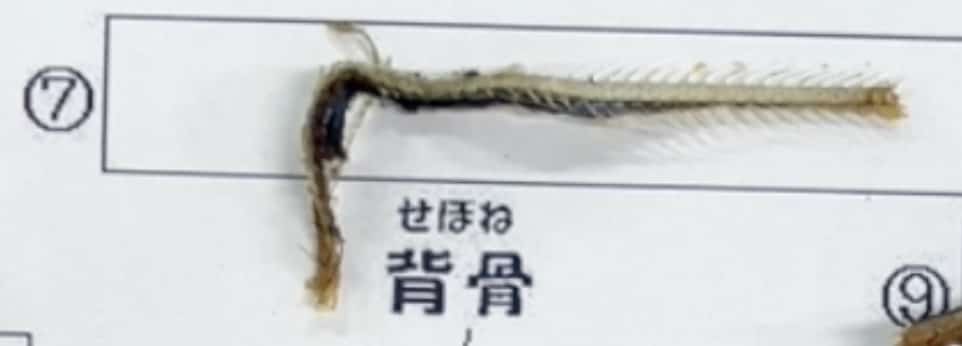
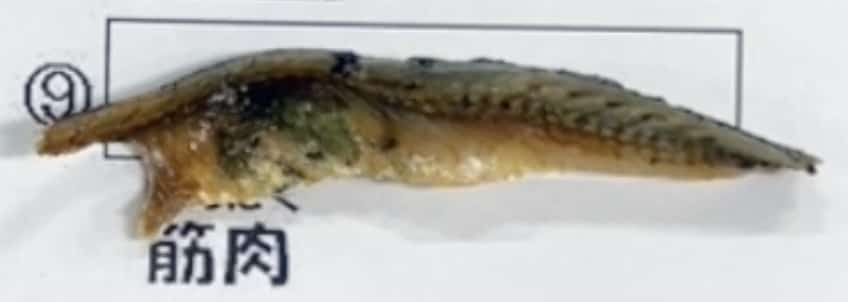
You can see some dark areas, which are blood vessels. The muscle tissue is also visible.
Next, let’s look for the brain. It’s located just above the skull. It can be a little hard to spot in a dried sardine.
The lens of the eye (crystalline lens) is quite easy to see.

Remove the gills and the gill rakers.
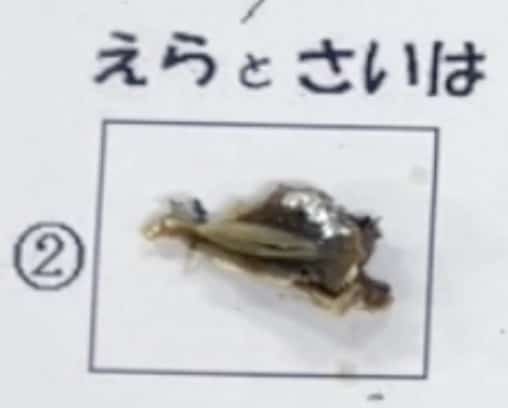
They have a comb-like structure. I will explain this in more detail later.
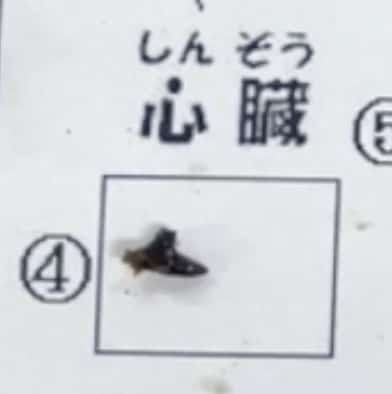
The heart, which is triangular, appears behind the gills.
Behind the heart is the liver, and
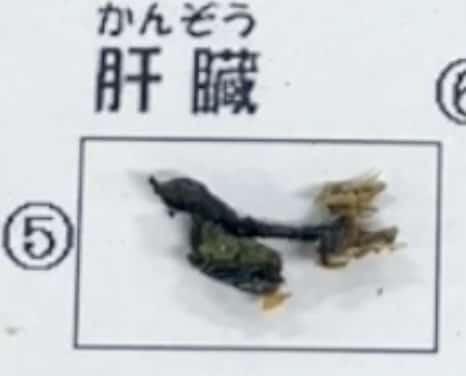
The stomach is tucked underneath the liver.
Then you have the intestines,
And on top of the intestines, you will find the testes or ovaries.
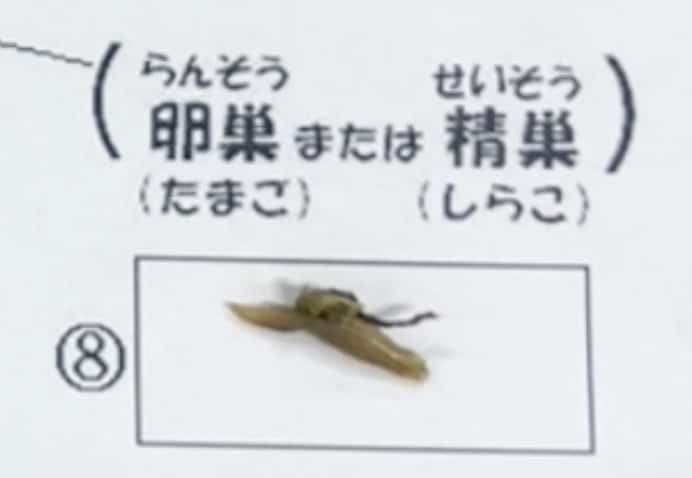
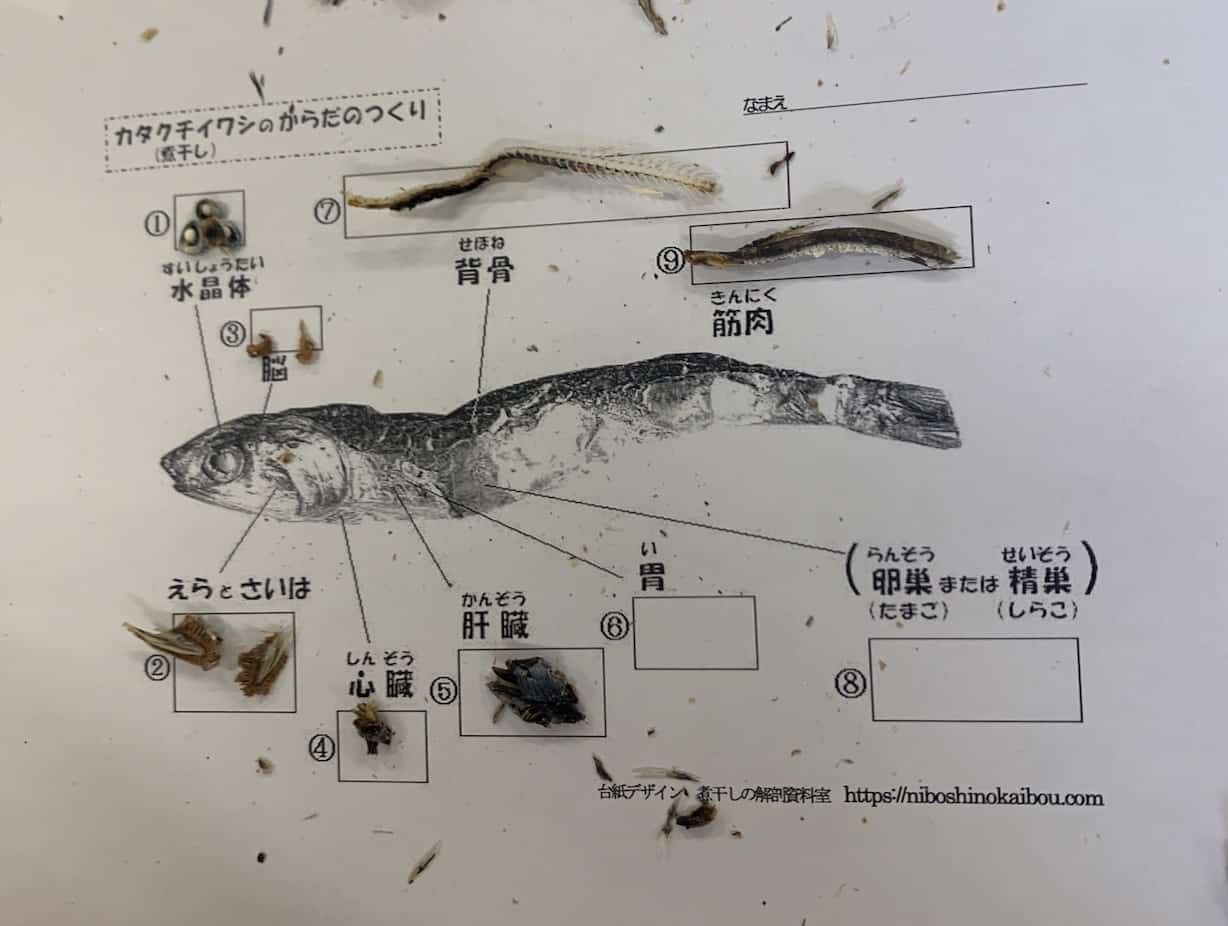
Record on the Worksheet
Place the observed organs onto your worksheet to keep a record.
A Closer Look at the Parts!
Next, I observed the structure of the gills and gill rakers under a microscope. Here are the gills and gill rakers.
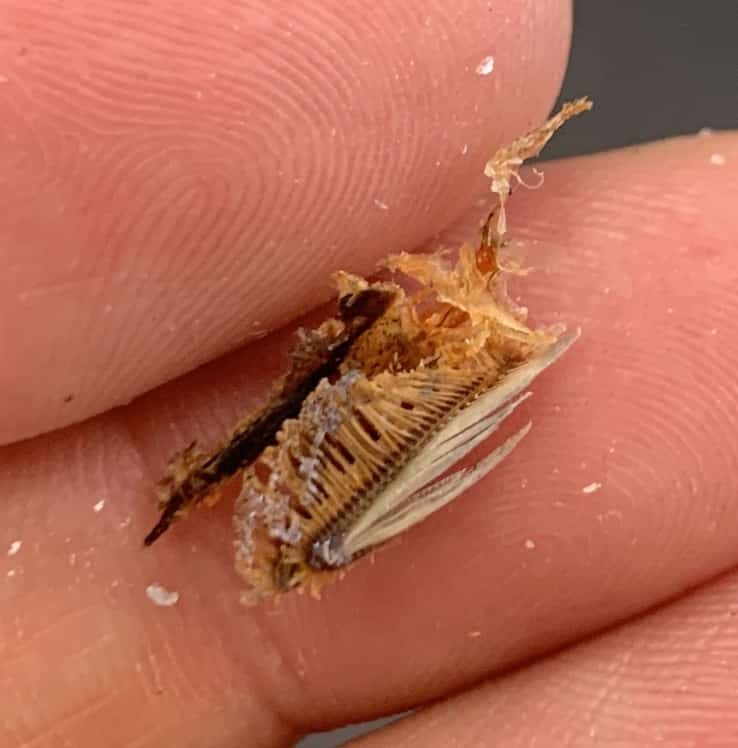
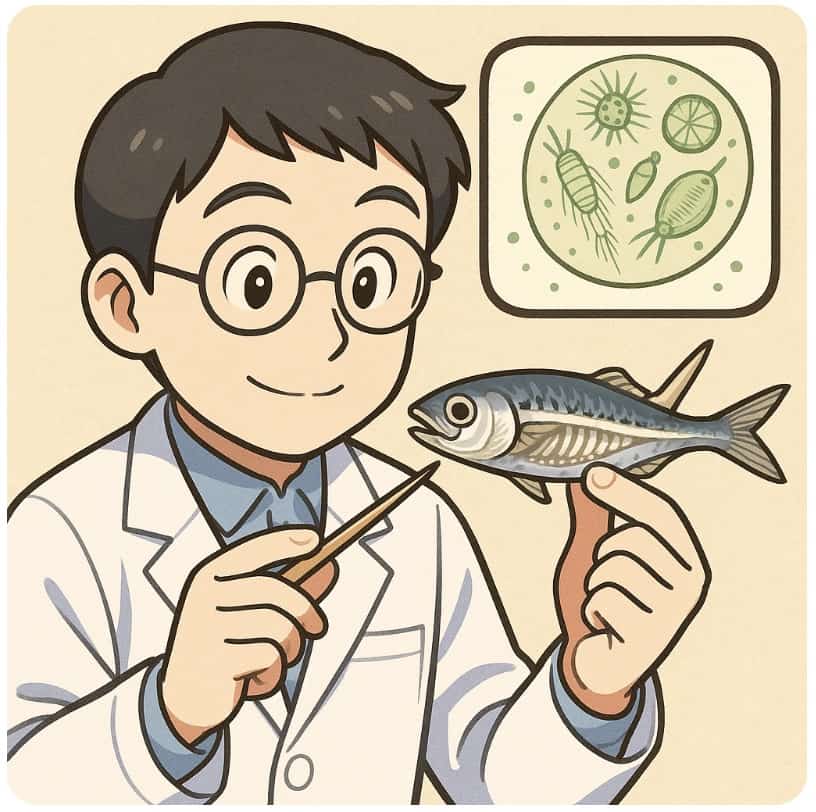
The yellowish part on top is the gill, and the tail-like part is the gill raker. It’s said that the gill rakers strain plankton out of the water. Let’s examine the gill rakers under the microscope.
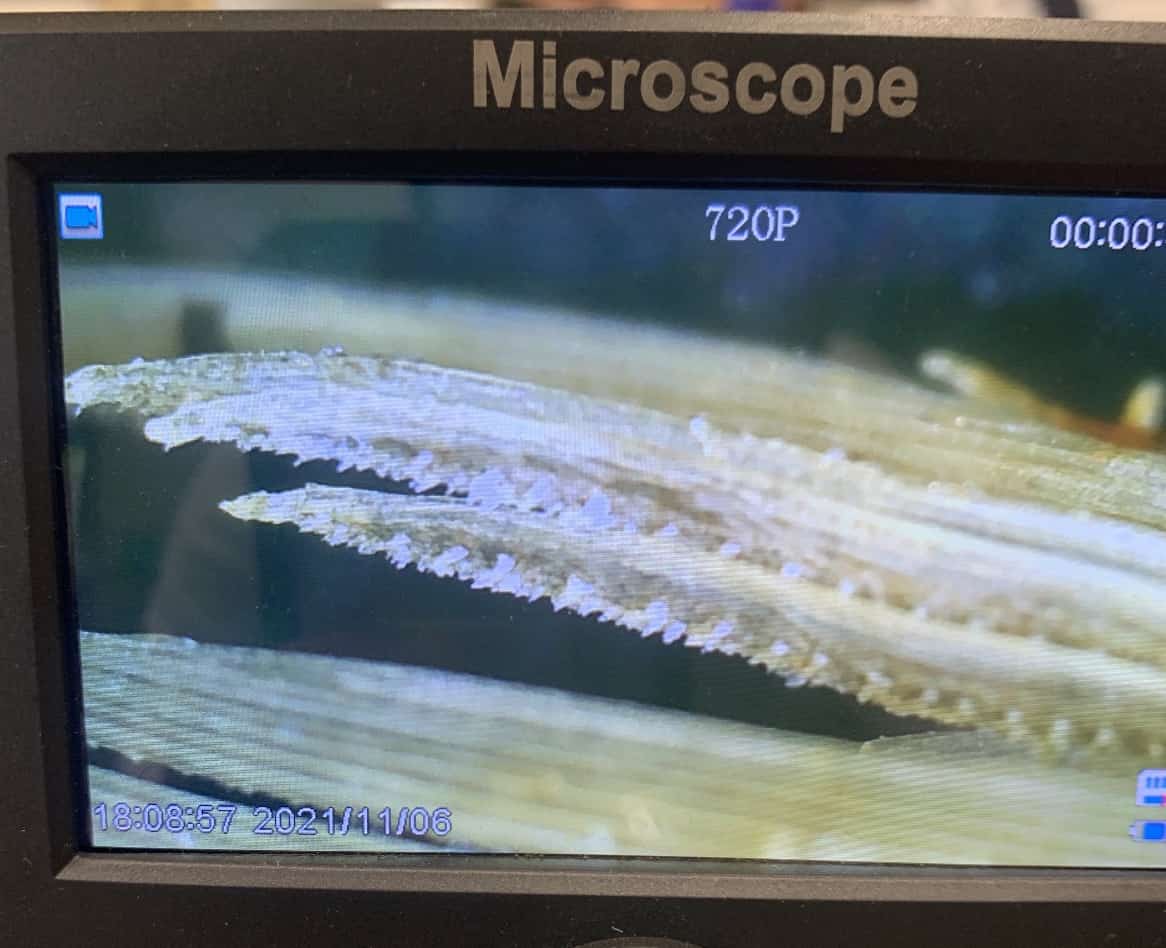
The gill rakers had additional spiny protrusions.
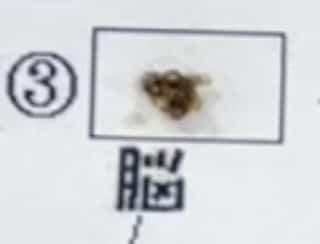
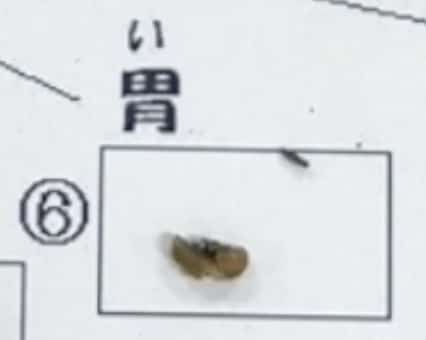
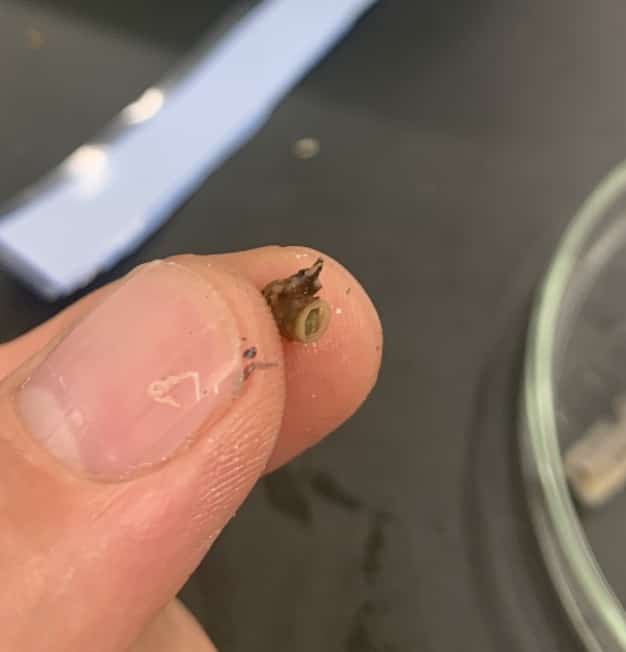
Let’s Examine the Stomach Contents!
Lift up the liver, and
the stomach appears.
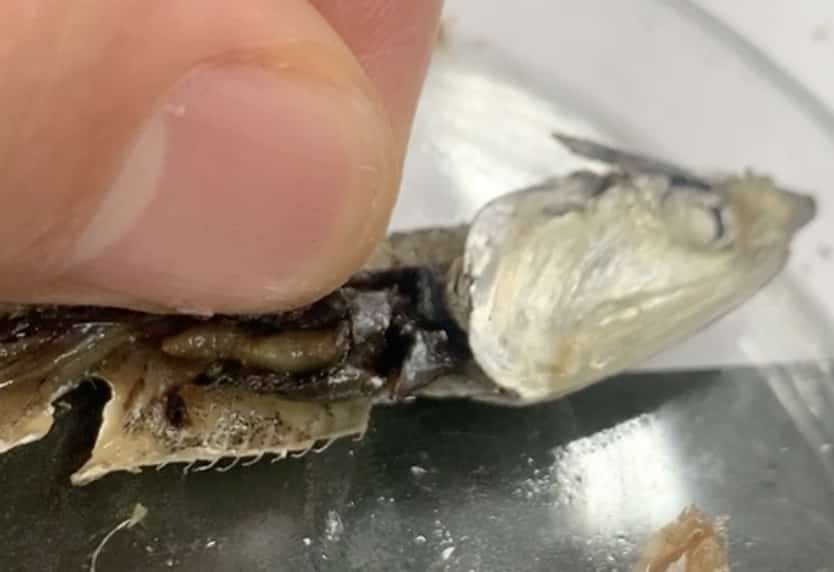
This is it.
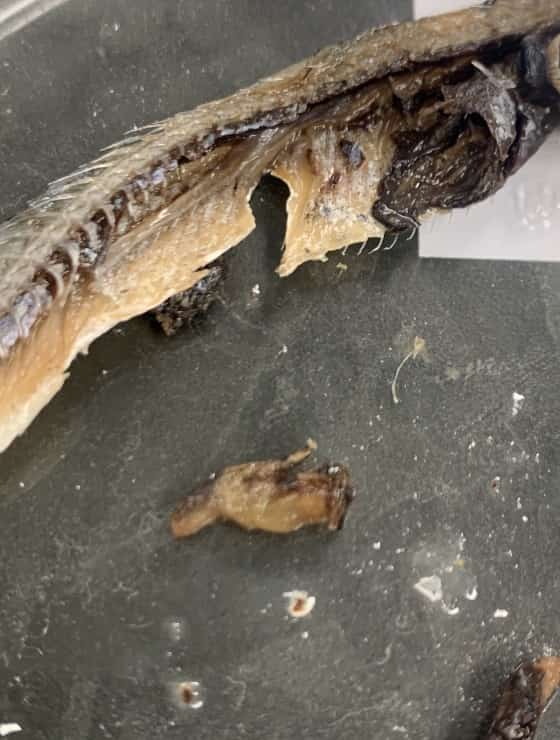
It is an ochre color. Cut it in half with scissors.
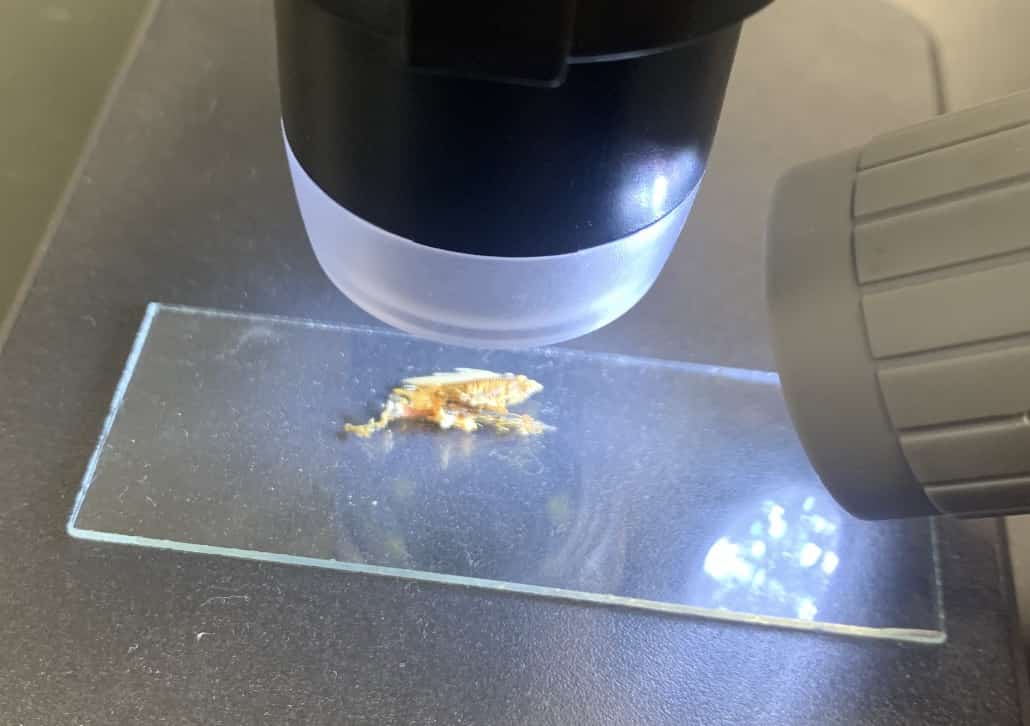
This allows you to remove the contents. Put them on a slide glass, add one or two drops of water, and cover with a cover slip for observation. It’s best to gently poke the contents with a toothpick after adding water to spread them out. When I observed them under the microscope, I found something! This is at 40x magnification (10x eyepiece, 10x objective).
At 100x magnification:
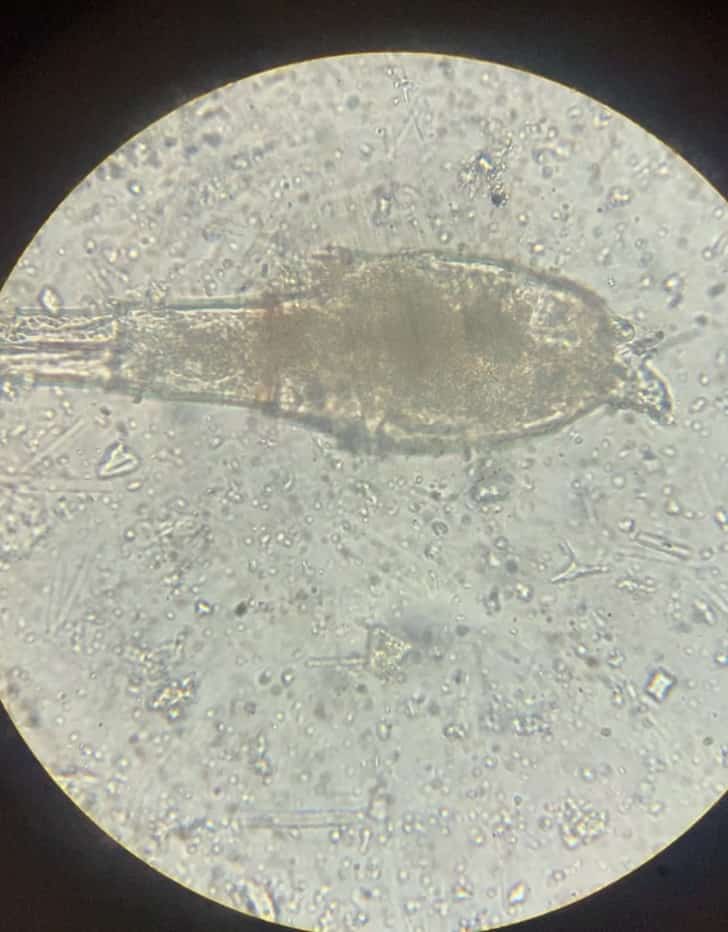
Checking a picture book, it appears to be a type of Copepod (a small crustacean). It can be tricky to find, but it’s very rewarding when you do! Please give it a try. Also, this video about how vertebrates move is quite interesting.
NHKforSchool: How Vertebrates Move
https://www2.nhk.or.jp/school/movie/clip.cgi?das_id=D0005301536_00000
Here are some comments from students who participated in the activity:
I was surprised that such a tiny sardine has a backbone and internal organs, just like a human.
One question that came up during the activity was about the hippopotamus: since it lives in both water and on land, should it be classified as a marine or terrestrial animal? It’s also fascinating to realize that while there are about 62,000 species of vertebrates, there are vastly more species of invertebrates.
Out of 1.4 million named species, there are about 10,000 species of birds, 31,000 species of fish, 5,500 species of mammals, 6,500 species of amphibians, and 8,700 species of reptiles.
All of the animals listed above are vertebrates, totaling 62,000 species. However, there are also a huge number of other species, including 1.1 million species of arthropods, 85,000 species of mollusks, about 25,000 species of nematodes, and about 10,000 species of cnidarians.
Summary
Dried sardine dissection is a valuable learning activity that is easy to do yet provides students with a rare opportunity to see and touch a real skeleton. Because it can be safely conducted with just a bamboo skewer and is cost-effective, it’s an accessible experiment for any science class. By observing and dissecting with their own hands, students will deepen their comprehension and achieve a more profound level of learning.
If you are teaching 7th graders (1st year of junior high), I highly recommend having them sketch the backbone!
For invertebrates, why not try using canned clams?
Contact and Requests
Bring the wonder and excitement of science closer! I provide easy-to-understand tips and fun science experiments you can do at home. Feel free to search for more!
About the Administrator, Ken Kuwako: Here
For various requests (writing, lectures, workshops, TV supervision, appearances, etc.): Here * Article updates are distributed on X!
![]() The Science Material Channel features experiment videos!
The Science Material Channel features experiment videos!
6月のイチオシ実験!
レモンやオレンジで風船を割ろう!インパクトが抜群のリモネン風船の実験
テレビ番組監修・イベント等のお知らせ
- 6月26日(金) 公開研究会「脱作業化!デジタル化と段階的指導で実現する オームの法則の探究」
- 6月28日(日) ダビンチマスターズ@昭和女子
- 6月30日(火) 6/30 23:56〜 【科学監修・出演】「地球まるごと大実験ネイチャーティーチャー」(TBS)
- 7月18日(土) 教員向け実験講習会「ナリカカサイエンスアカデミー」の講師をします。お会いしましょう。
- 12月26日(土) ナリカサイエンスアカデミー(教員向け実験講習会)開催
書籍のお知らせ
- 7月16日発売 『高校入試 分解問題集 理科』(学研)…難しい問題も小さな問題に分解することで、問題を解くことができます。そんな分解の技術が身につくように深く関わりを持って作りました。

- 『大人のための高校物理復習帳』(講談社)…一般向けに日常の物理について公式を元に紐解きました。特設サイトでは実験を多数紹介しています。※増刷がかかり6刷となりました(2026/02/01)

- 『きめる!共通テスト 物理基礎 改訂版』(学研)… 高校物理の参考書です。イラストを多くしてイメージが持てるように描きました。授業についていけない、物理が苦手、そんな生徒におすすめです。特設サイトはこちら。

各種SNS(更新情報をお届け!)
【日本語】X(Twitter)/instagram/Facebook 【英語】BlueSky/Threads
Explore
- 楽しい実験…お子さんと一緒に夢中になれるイチオシの科学実験を多数紹介しています。また、高校物理の理解を深めるための動画教材も用意しました。
- 理科の教材… 理科教師をバックアップ!授業の質を高め、準備を効率化するための選りすぐりの教材を紹介しています。
- Youtube…科学実験等の動画を配信しています。
- 科学ラジオ …科学トピックをほぼ毎日配信中!AI技術を駆使して作成した「耳で楽しむ科学」をお届けします。
- 講演 …全国各地で実験講習会・サイエンスショー等を行っています。
- About …「科学のネタ帳」のコンセプトや、運営者である桑子研のプロフィール・想いをまとめています。
- お問い合わせ …実験教室のご依頼、執筆・講演の相談、科学監修等はこちらのフォームからお寄せください。