“Where Is the Image?” Hands-On Mirror Magic with a Half-Mirror – A Fun Experiment Leading to the Law of Reflection
I’m Ken Kuwako, Science Trainer. Every day is an experiment!
Every time you look in the mirror, you see yourself reflected. But have you ever paused to wonder, “Exactly where is the ‘me’ in the mirror?” In science class, we learn the rule: “The distance from the mirror to the object is equal to the distance from the mirror to the image.” Honestly, though, just reading that in a textbook doesn’t always click.
The very idea of an “image being there” is incredibly abstract and hard to grasp. This question—”Where is the image in the mirror?”—is a classic in physics lessons, yet it’s notoriously difficult to get students to truly understand and believe it. The textbook says the image is located inside the mirror at the same distance as the object, but students often struggle to intuitively grasp why that is, or even what it means for an “image to be located” somewhere.
What makes it even tougher in a classroom setting is that if you tell students, “Just look!” the image they see changes depending on their viewing angle. Getting an entire class to agree on the exact location of the visible “image” is almost impossible. Heads poke around from every angle, arguing, “Look from here!” “No, not there!”—and just like that, the flow of the lesson is broken.
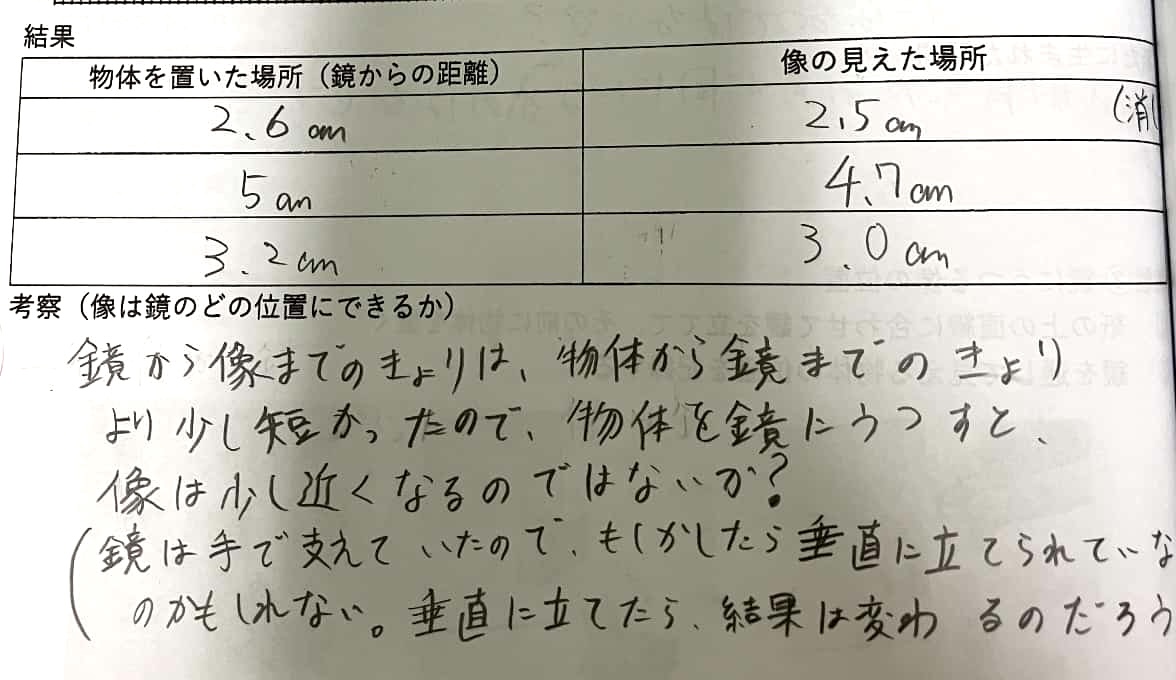
The Dainippon Tosho textbook introduces this experiment: using a hand mirror, place an identical object so it overlaps with the reflected image, and then measure the distance.
Source: Dainippon Tosho, Science World 1
If you actually try it, you’ll find it’s extremely difficult! Even if you close one eye or carefully adjust your angle, the slightest shift in your viewpoint causes the overlapping object and image to separate. It often leads to more confusion, with students asking, “Are we even doing this right?”
The Magic Mirror: Solving the Mystery with a “Half Mirror”
This is where the technique of using a “half mirror” becomes incredibly useful.
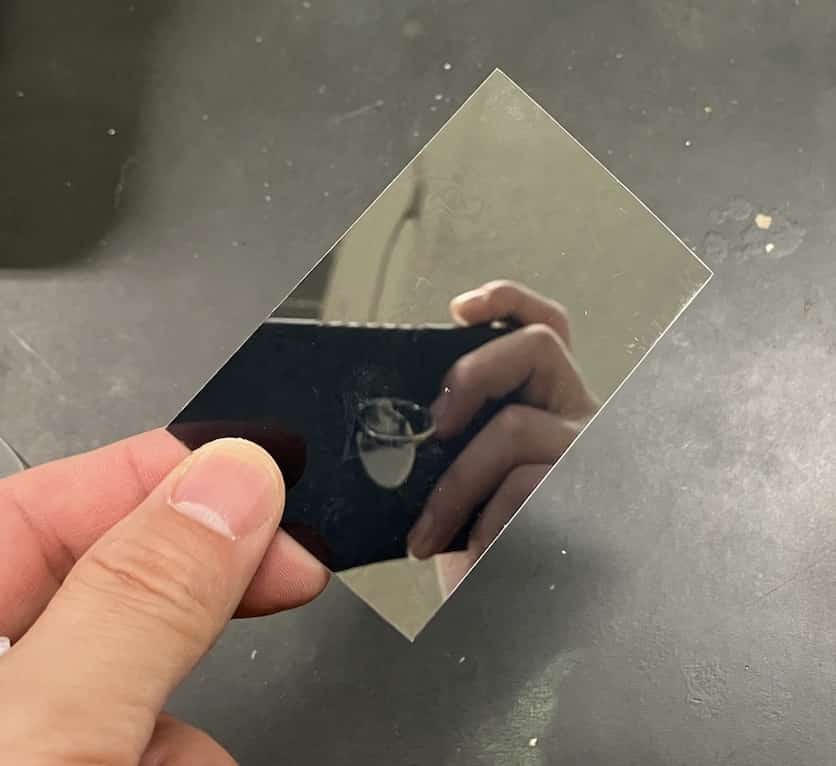
I learned this method from Dr. Eiji Komori. A half mirror is, as the name suggests, a plate that has “half-mirror” properties. It reflects some light (like a mirror) and transmits the rest (like a clear pane of glass). This “half-see-through, half-reflective” nature is the key to this experiment’s success. It’s a brilliant tool because it allows you to make the object and the image perfectly overlap.
Experiment Setup and Procedure
What you’ll need:
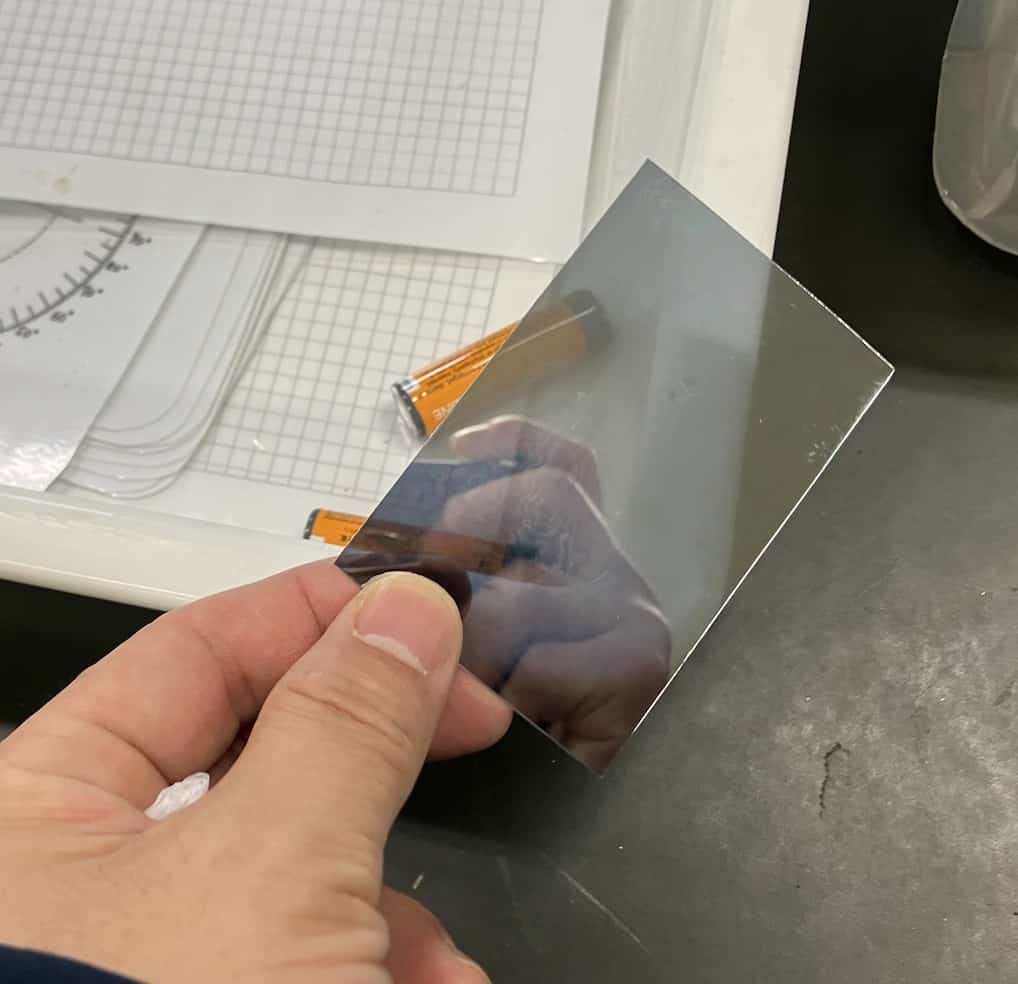
Two AA batteries (or two identical small objects)
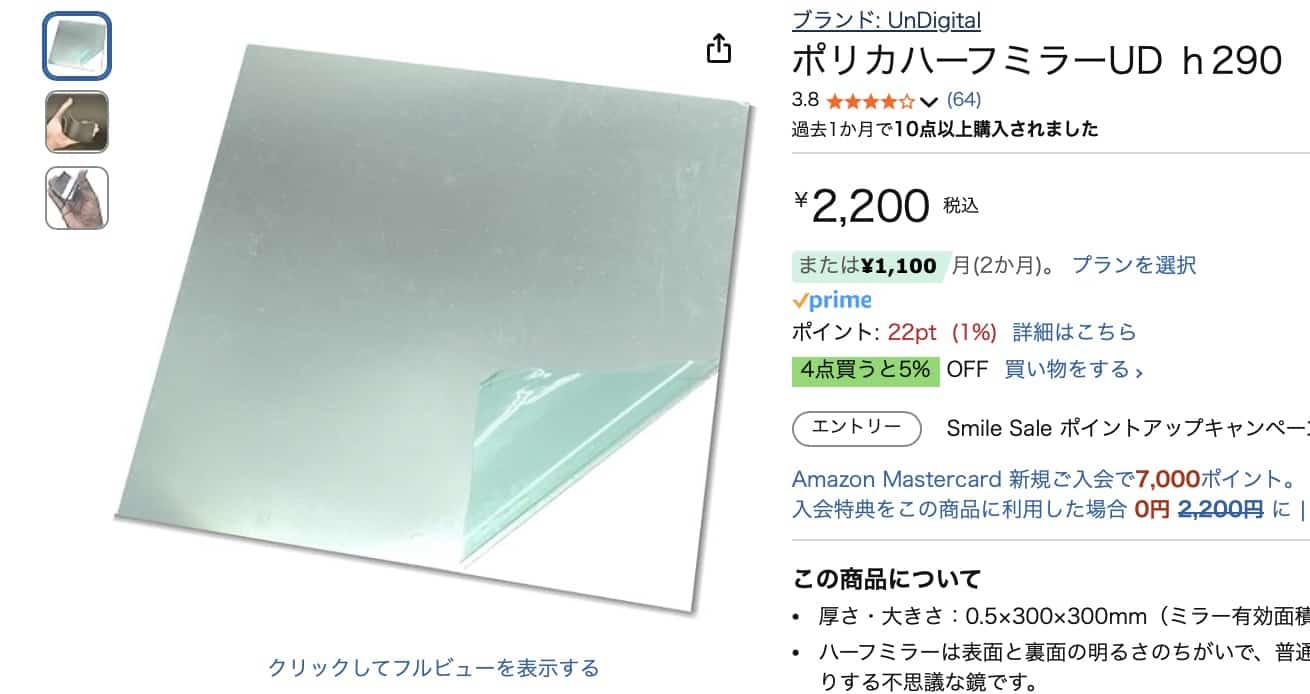
A half mirror (such as an acrylic mirror that reflects and transmits)
I bought mine on Amazon. It can be cut with scissors and has decent durability.
A ruler or tape measure (for measuring the distance between the image and the object), or a template sheet
A half mirror is an object that is somewhere between a mirror and a transparent sheet.
Experiment Steps:
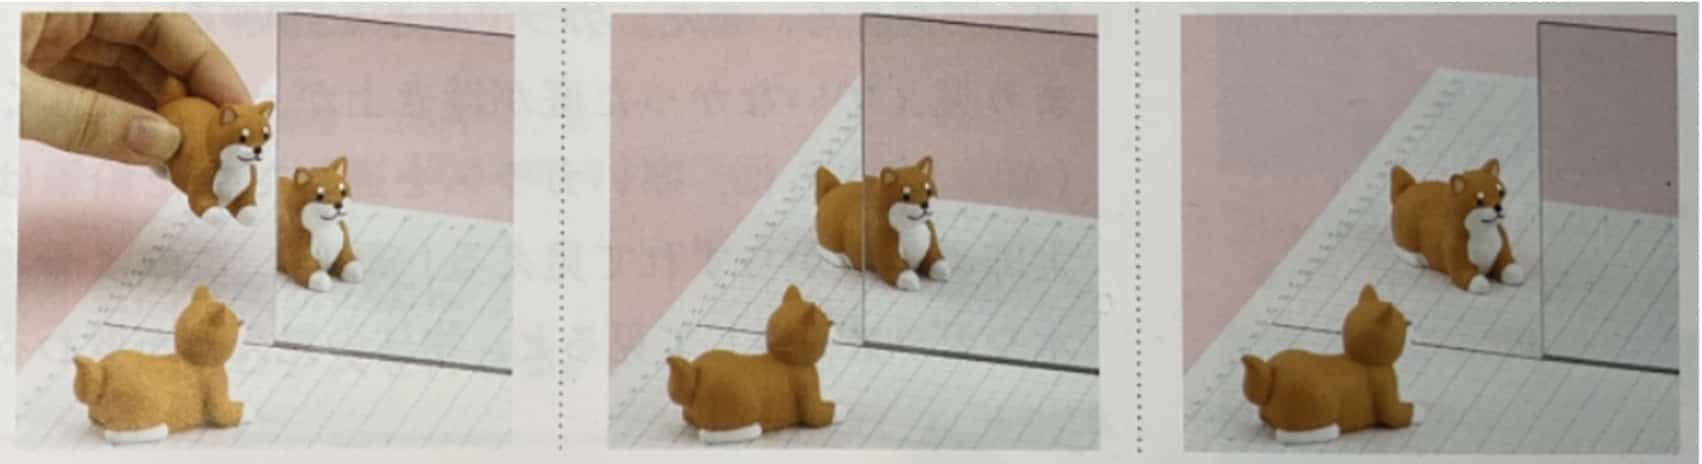
Place one battery on the desk. (This is the “object.”)
Stand the half mirror upright in front of the battery (on your side).
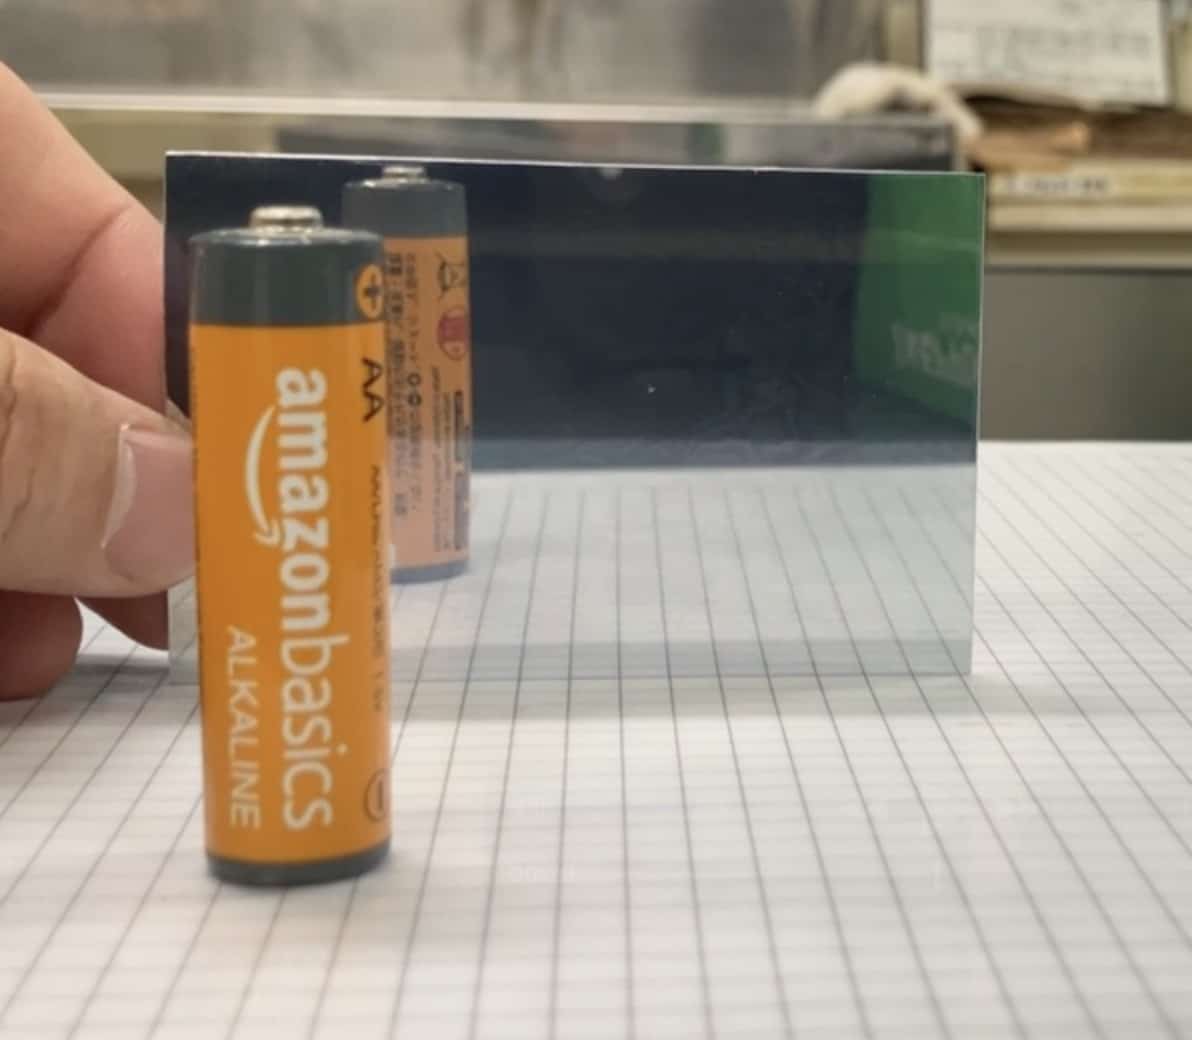
Look through the half mirror and confirm that you can see the “image” of the battery placed behind it. (The mirror property)

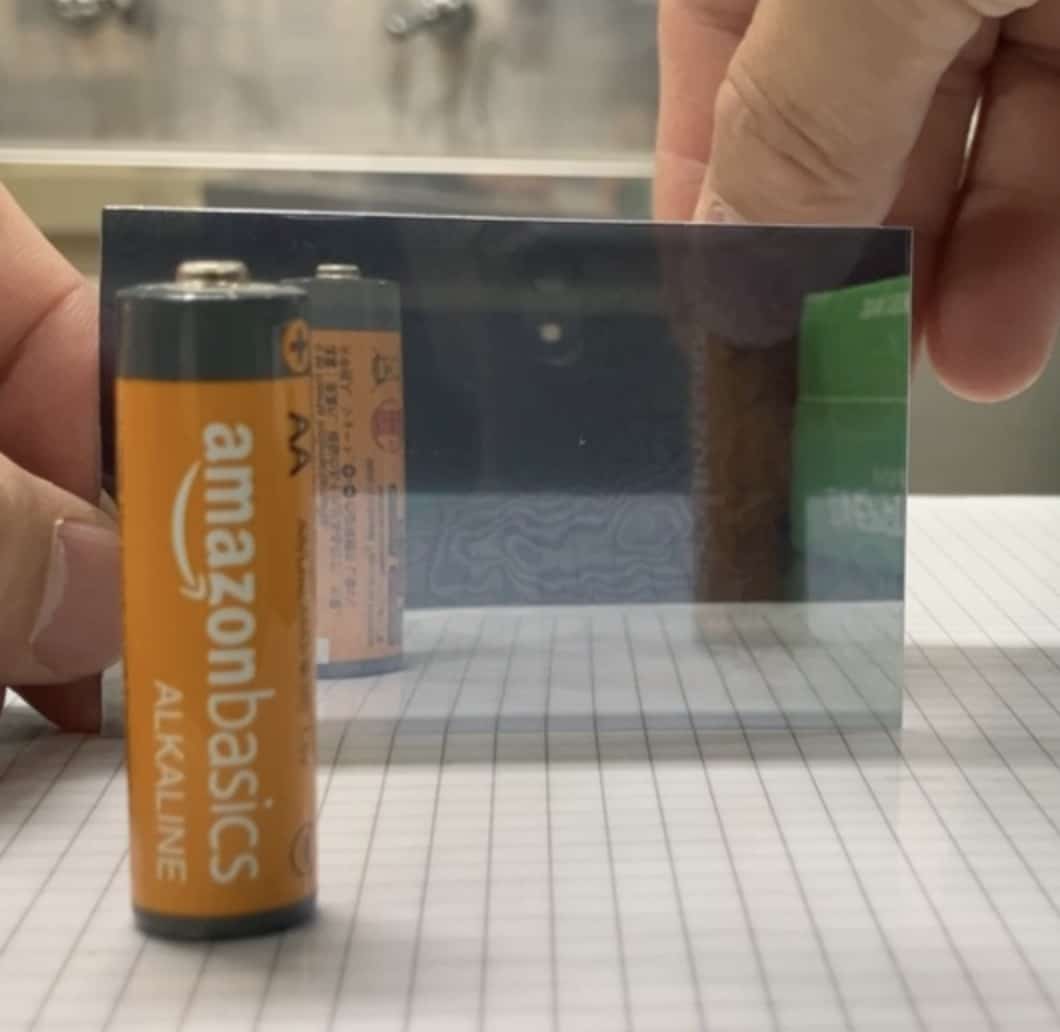
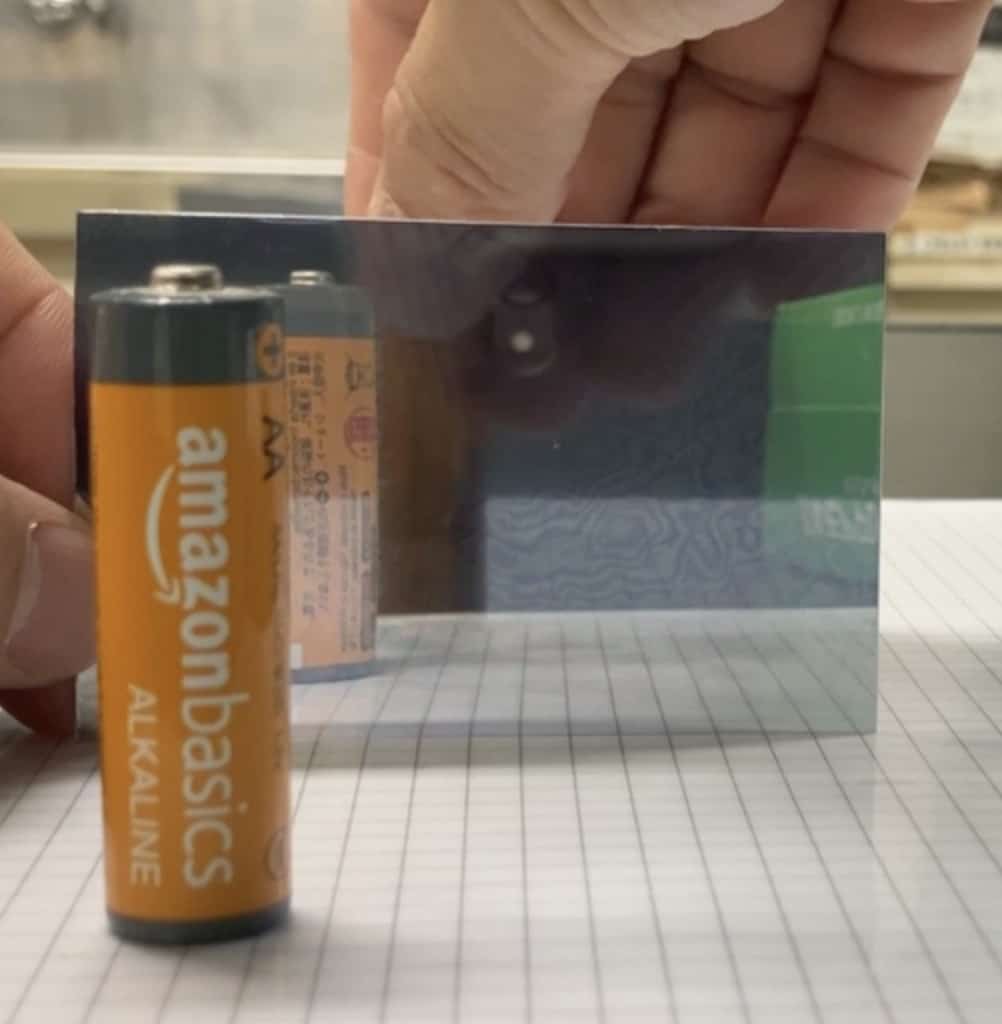
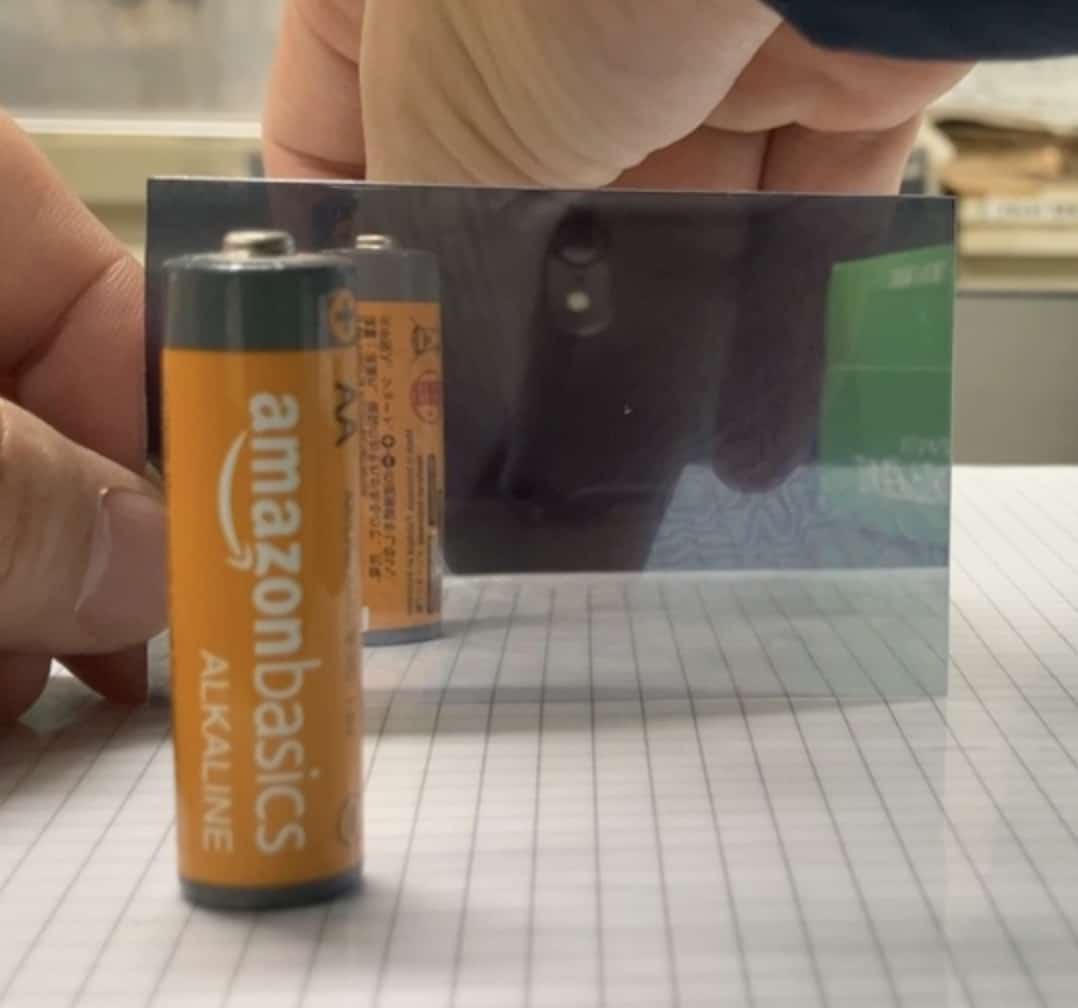
This is the crucial step. Place the second battery (the real object) behind the half mirror. Because of the half mirror’s properties, you can simultaneously see the image of the front battery and the real battery placed in the back (The glass property). Slowly move the back battery until it perfectly overlaps with the image of the front battery.
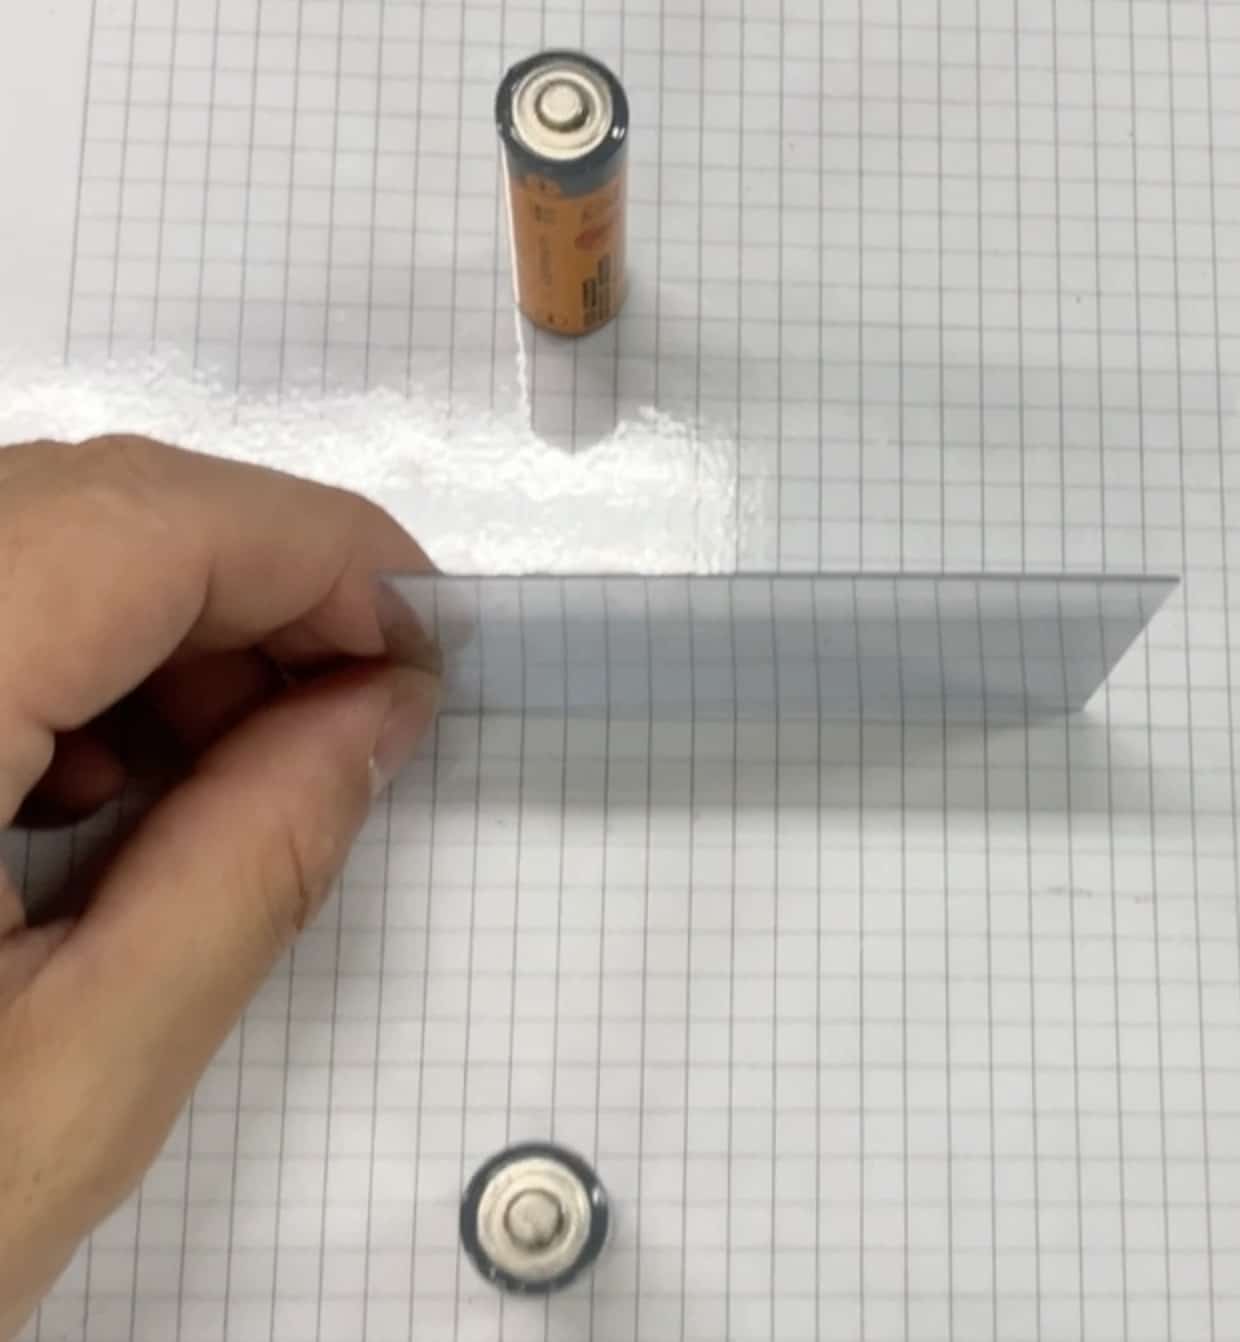
Once they are perfectly overlapped, look down from above. Use a ruler to measure and compare the distance from the front battery (object) to the half mirror, and the distance from the back battery (the location of the image) to the half mirror.
Here is an explanatory video. Please feel free to use it.
Why Does This Method Reveal the Image Location?
The core genius of this experiment is that it visually proves: “If the object and the image overlap, the image must be at that location.” The image in a normal flat mirror is called a “virtual image” because light rays do not actually converge there. With a regular mirror, we can only see this virtual image; we can’t reach in and touch its location.
However, by using the half mirror, we can place the “real object” (the second battery) exactly where the “virtual image” of the first battery appears. In essence, we are placing a “real object” at the “address” of the “virtual image.” This allows everyone to undeniably experience and realize, “The battery in the mirror is actually located right here.”
When conducting this in class, it’s effective to have students try it in pairs or groups after a full demonstration. Especially after the frustration of trying with a regular mirror, they might be genuinely amazed by the clarity of the half mirror method. The final step is crucial: have them actually measure the distances and connect the “visual certainty” with the “numerical proof” they measured.
By doing this, the rule—”the distance from the mirror to the object is equal to the distance from the mirror to the image”—becomes more than just something to memorize; it becomes a “scientific law” they have discovered for themselves, leading to a much deeper understanding.
Inquiries and Requests
Let’s make the wonders and fun of science more accessible! I’ve put together easy-to-understand explanations of fun science experiments you can do at home, along with tips and tricks. Feel free to search around!
The content from this Science Notebook is now a book. Find out more here
Information about the administrator, Ken Kuwako, is here
For various requests (writing, lectures, science workshops, TV supervision, appearances, etc.), click here ・Updates on articles are available on X!
![]() We stream experiment videos on the Science Note Channel!
We stream experiment videos on the Science Note Channel!
7月のイチオシ実験!
夏でプシュッと爽やか実験!

テレビ番組監修・イベント等のお知らせ
-
時速200kmで走るランボルギーニが、長さ12mのテーブルクロスを一瞬で引き抜く——そんな常識破りの実験が、ふたたびテレビの世界で大きな話題になりました。しかも今回は「視聴者が選ぶワクワク実験ランキング」で、なんと堂々の第1位を獲得したのです。Tverでまだ見ることができるのでぜひご覧ください。
- 7月18日(土) 教員向け実験講習会「ナリカカサイエンスアカデミー」の講師をします。お会いしましょう。
- 12月26日(土) ナリカサイエンスアカデミー(教員向け実験講習会)開催
書籍のお知らせ
- 7月16日発売 『高校入試 分解問題集 理科』(学研)…難しい問題も小さな問題に分解することで、問題を解くことができます。そんな分解の技術が身につくように深く関わりを持って作りました。
- 『大人のための高校物理復習帳』(講談社)…一般向けに日常の物理について公式を元に紐解きました。特設サイトでは実験を多数紹介しています。※増刷がかかり6刷となりました(2026/02/01)

- 『きめる!共通テスト 物理基礎 改訂版』(学研)… 高校物理の参考書です。イラストを多くしてイメージが持てるように描きました。授業についていけない、物理が苦手、そんな生徒におすすめです。特設サイトはこちら。

各種SNS(更新情報をお届け!)
【日本語】X(Twitter)/instagram/Facebook 【英語】BlueSky/Threads
Explore
- 楽しい実験…お子さんと一緒に夢中になれるイチオシの科学実験を多数紹介しています。また、高校物理の理解を深めるための動画教材も用意しました。
- 理科の教材… 理科教師をバックアップ!授業の質を高め、準備を効率化するための選りすぐりの教材を紹介しています。
- Youtube…科学実験等の動画を配信しています。
- 科学ラジオ …科学トピックをほぼ毎日配信中!AI技術を駆使して作成した「耳で楽しむ科学」をお届けします。
- 講演 …全国各地で実験講習会・サイエンスショー等を行っています。
- About …「科学のネタ帳」のコンセプトや、運営者である桑子研のプロフィール・想いをまとめています。
- お問い合わせ …実験教室のご依頼、執筆・講演の相談、科学監修等はこちらのフォームからお寄せください。
- How Buildings Fight Back Against Earthquakes: From Liquefaction to Sloshing Dampers, Fully Explained [Miraikan]
- See the Invisible: The Mysterious Phase Shift Hiding in Coils

- Punches Aren’t Damage: Understanding Becquerels and Sieverts Through Boxing

- Pour Water and a Cube Appears! The CMY Water Cube That Reveals the Magic of Color Subtraction
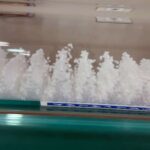
- The Mysterious Device That Makes Styrofoam Float in Midair — Visualizing Sound Waves with a Kundt’s Tube
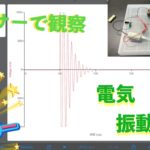
- The Switch Is Off, But It Won’t Stop! Capturing the Mystery of Coil Oscillations with a Sensor (EasySense V-Hub)
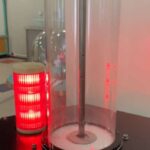
- Eddy Currents Launch Metal Rings Into the Air — The Electromagnetic Magic of Tsukuba Expo Center
- Caught in the Lab: Does Current Actually Hesitate? A Coil’s 0.0005-Second Story
- Chaos to Harmony: The Secret Behind 15 Pendulums Dancing in Perfect Sync