Light It Up! Hands-On Experiments to Nail the Law of Reflection and Diffuse Reflection
I’m Ken Kuwako, your Science Trainer. Every day is an experiment.
[This article is also available as a podcast!]
Have you ever felt that frustration when teaching the unit on light, where the textbook definitions for the “Law of Reflection” and “Diffuse Reflection” just don’t resonate with your students? You explain, “Light bounces off like a mirror,” and “Bumpy surfaces reflect light randomly,” but it can be surprisingly difficult to bring that concept down to a level where students have that “Aha!” moment and truly grasp it.
Furthermore, this is often the students’ first experience with a quantitative experiment. This is a great opportunity to teach them the importance of careful and precise measurement.
I, too, was constantly experimenting with ways to confirm my students genuinely understood the concepts. This experiment is a perfect opportunity not just for memorizing facts, but for cultivating students’ observation skills and scientific thinking. Let your students see and physically interact with the mysterious behavior of light to spark their intellectual curiosity and help them rediscover the fun of science.
Class Prep is Complete! Materials and Procedure
Here are the specific preparations and experiment procedures to elicit that “Aha!” moment from your students.
① Experiment to Experience the “Law of Reflection”
This experiment is designed to visually demonstrate regular reflection, or the “Law of Reflection.”
Materials
- Light Source Device (preferably one that emits parallel light): A device that clearly shows the beam of light is ideal. A laser pointer can be substituted, but choose one carefully, considering the beam spread.
- Plane Mirror: A hand mirror or a standard science lab plane mirror is fine. We recommend a card-style mirror from a 100-yen shop (like Daiso). They are cheap and durable. Card Mirror
- Observation Sheet with Protractor (or DIY): Essential for accurately measuring the angle of incidence and the angle of reflection. Drawing angles on a large sheet of paper with a protractor and marking the center point for the mirror is sufficient.
- Ruler, Graph Paper, Recording Sheets, etc.: Used to record and organize measurement results.
Experiment Procedure
Direct the light from the source onto the plane mirror, measure the angle of incidence and the angle of reflection, and record the results. The key here is to make students consciously focus on measuring the angle of reflection accurately. By having them verify that the angle of incidence equals the angle of reflection through multiple measurements, they can gain insight into the Law of Reflection.
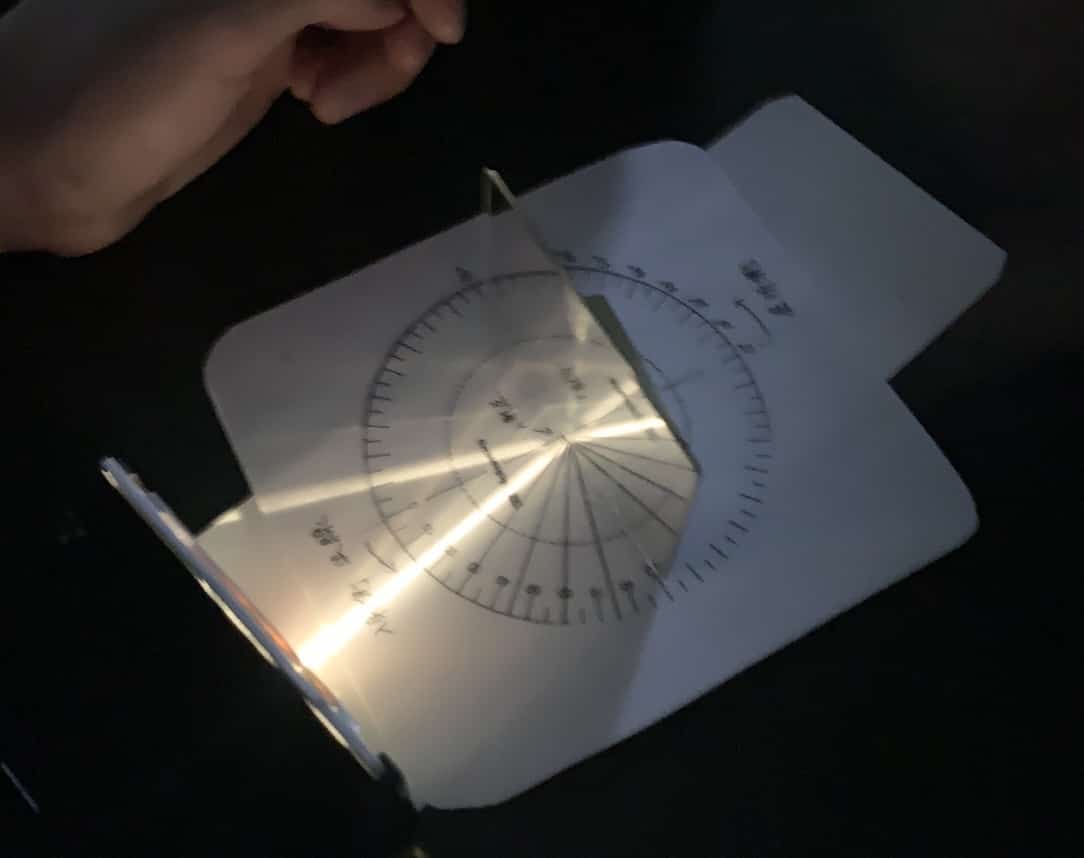
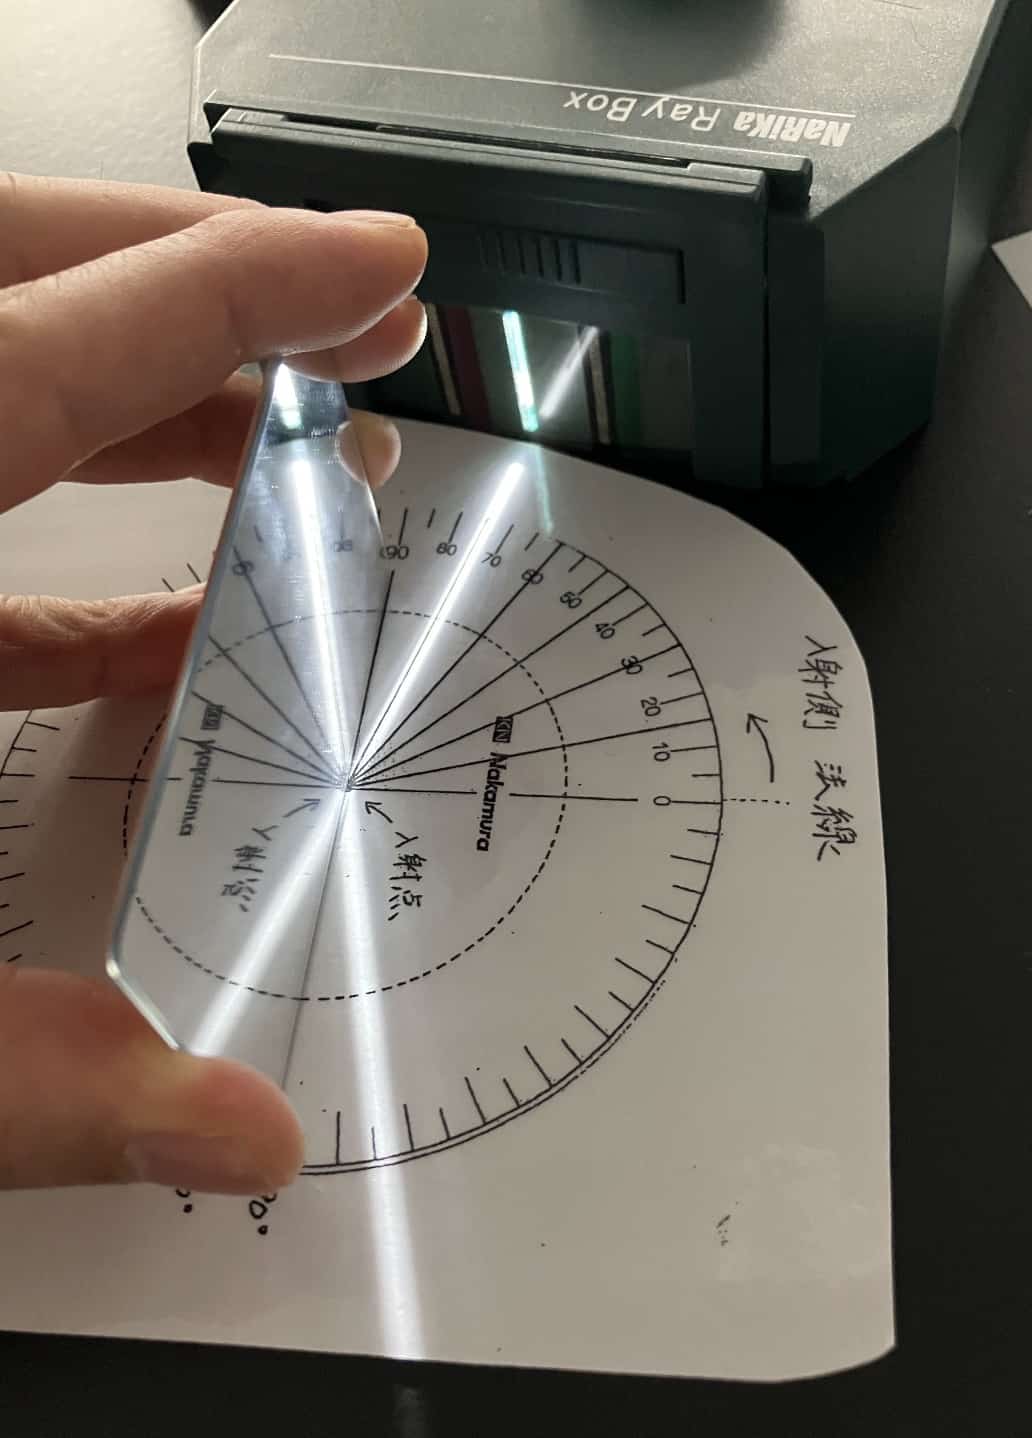
Method using a card-style mirror
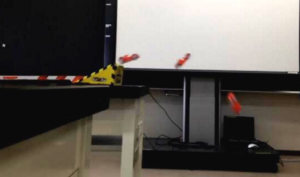
This is a method using Narika’s experimental equipment.

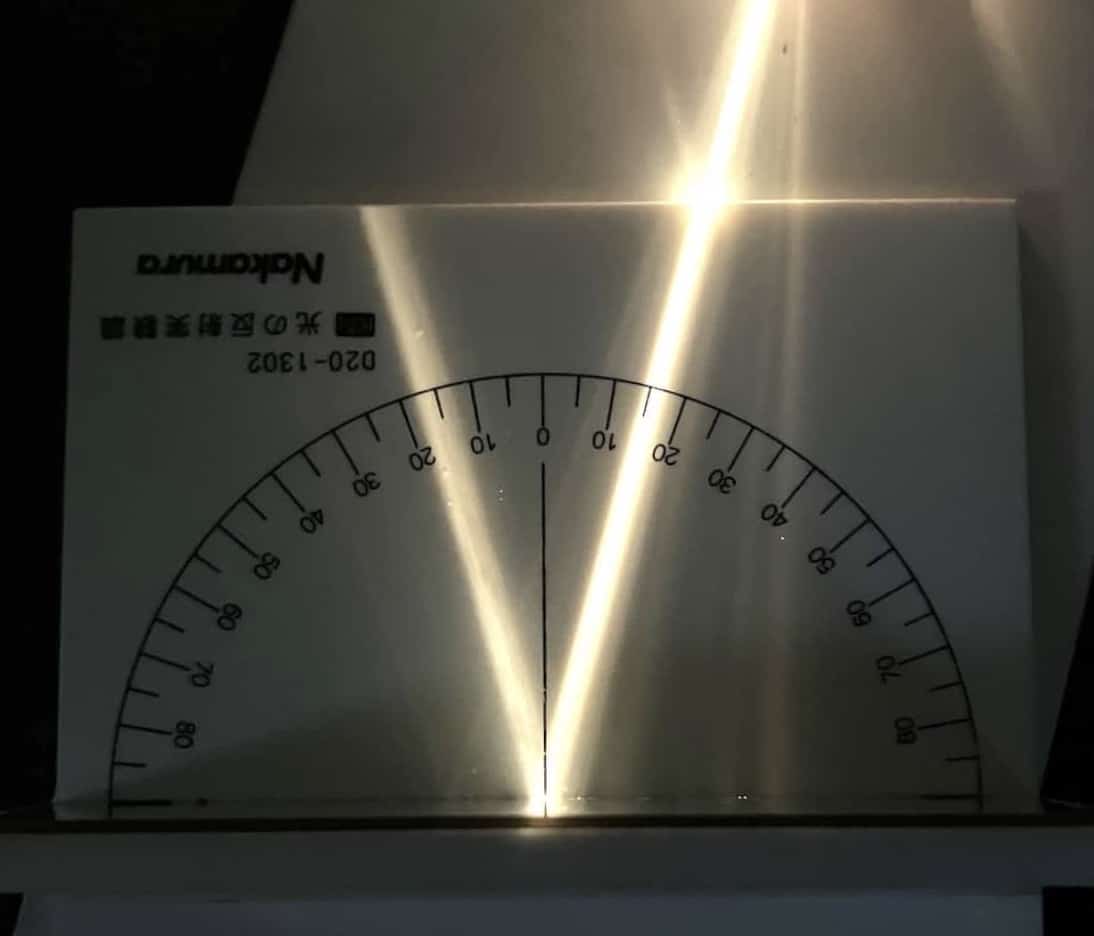
The point is to observe and record with precision.
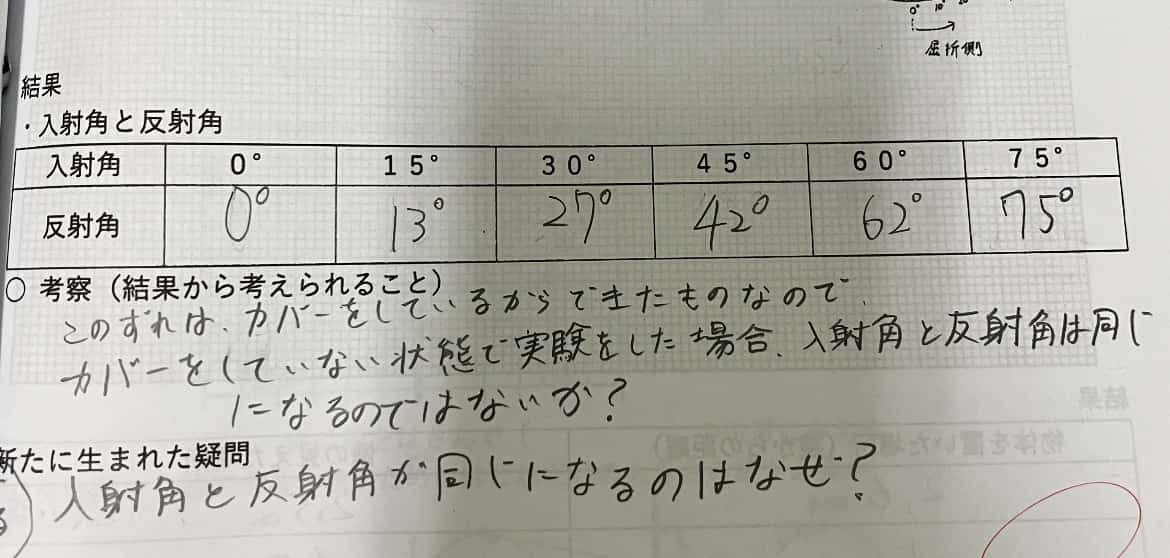
You will find that when the angle of incidence gets large, such as 75 degrees, it can be difficult to consistently verify the law of reflection. Instruct students to perform the experiment with great care.
② Diffuse Reflection Observation Experiment
Here is a quick demo that can immediately answer a student’s question of “What is diffuse reflection?”
Materials
Aluminum foil (the kind used for lunch boxes is fine)
Board (a clipboard or thick cardboard is okay)
Clips
Card Mirror
Light source (A laser pointer is best)
Experiment Procedure
Stretch a smooth piece of aluminum foil tightly over the board and secure it with clips. When light is shone onto this surface, it reflects in a single direction, just like a plane mirror.
The board holding the aluminum foil is the same Card Mirror we introduced earlier. When the foil is smooth, it reflects just like a mirror, but when you crumple it up and then smooth it out again, you can see the light reflecting in all sorts of directions!
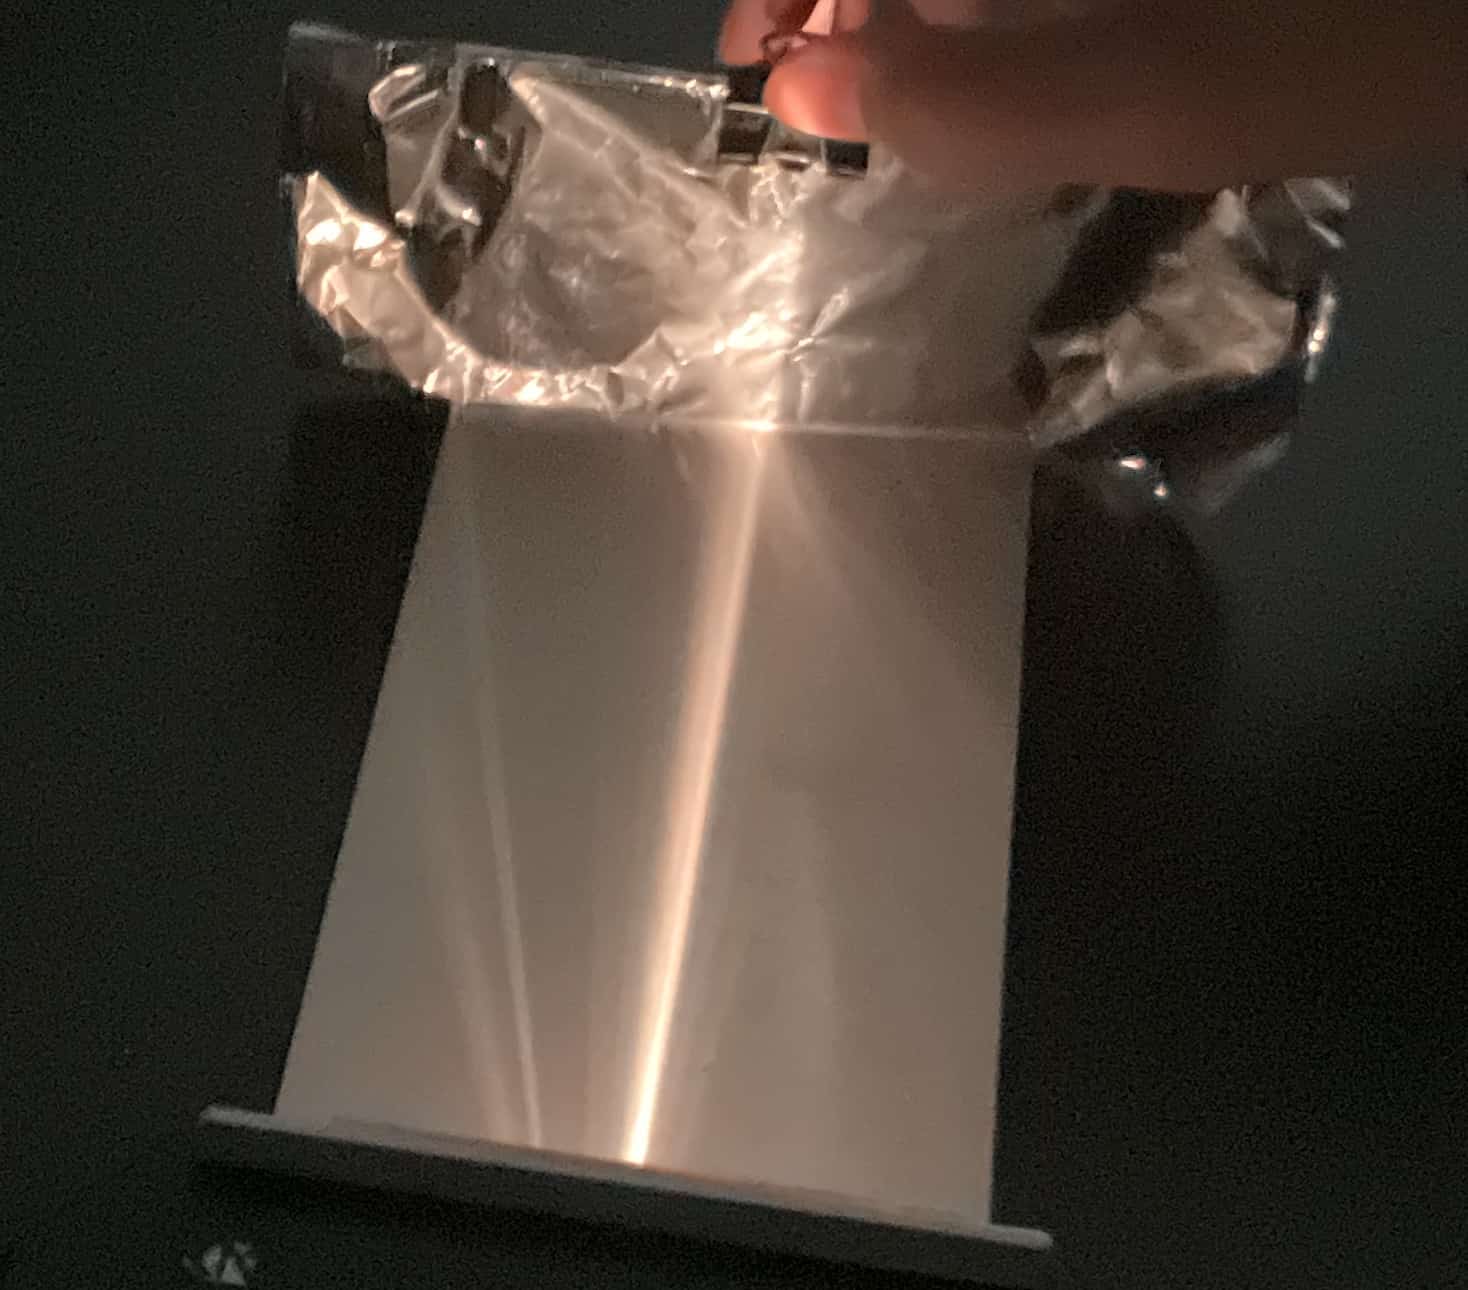
Next, crumple up the same aluminum foil, flatten it out as much as possible, and re-attach it. This time, you will see the light scattering in many different directions. That’s diffuse reflection!

Using a laser pointer is particularly effective, eliciting an “Ooh!” reaction from students because the concept becomes extremely clear. Since the random direction of the reflected light is visible in an instant, it conveys the principle 100 times better than a textbook diagram.
Here’s another one.
In this video, crumpled aluminum foil is used as the reflective surface, and a laser pointer is used as the light source. When the laser pointer is shone onto the aluminum foil in a dark environment, you can observe the light scattering in various directions, generating a broad, diffuse reflection instead of a single, focused beam. This contrasts with the phenomenon where light reflects at a predictable angle when the surface is perfectly smooth (specular reflection), making it helpful for visually grasping the principle of diffuse reflection.
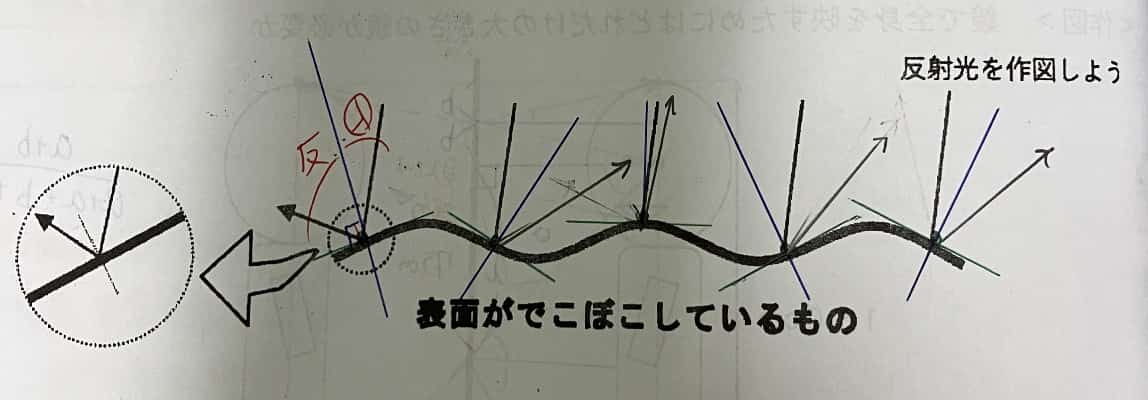
After the diffuse reflection experiment, it’s a good idea to have students draw the mechanism. Be sure to convey that the Law of Reflection, where the angle of incidence equals the angle of reflection, always holds true even on rough surfaces.
This set of experiments is perfectly structured to visually and tangibly teach students the difference between the Law of Reflection and Diffuse Reflection in your light unit. The big advantage is that you can do it easily with common materials without special equipment. I highly encourage all teachers to incorporate this experiment into your classes!
Inquiries and Requests
Let’s make the wonders and fun of science more accessible! I’ve compiled easy-to-understand tips and fun science experiments you can do at home. Feel free to browse around! ・For more about the operator, Ken Kuwako, click here ・For various requests (writing, lectures, experiment classes, TV supervision/appearances, etc.) click here ・Article updates are posted on X!
![]() Experiment videos are available on the Science Idea Channel!
Experiment videos are available on the Science Idea Channel!
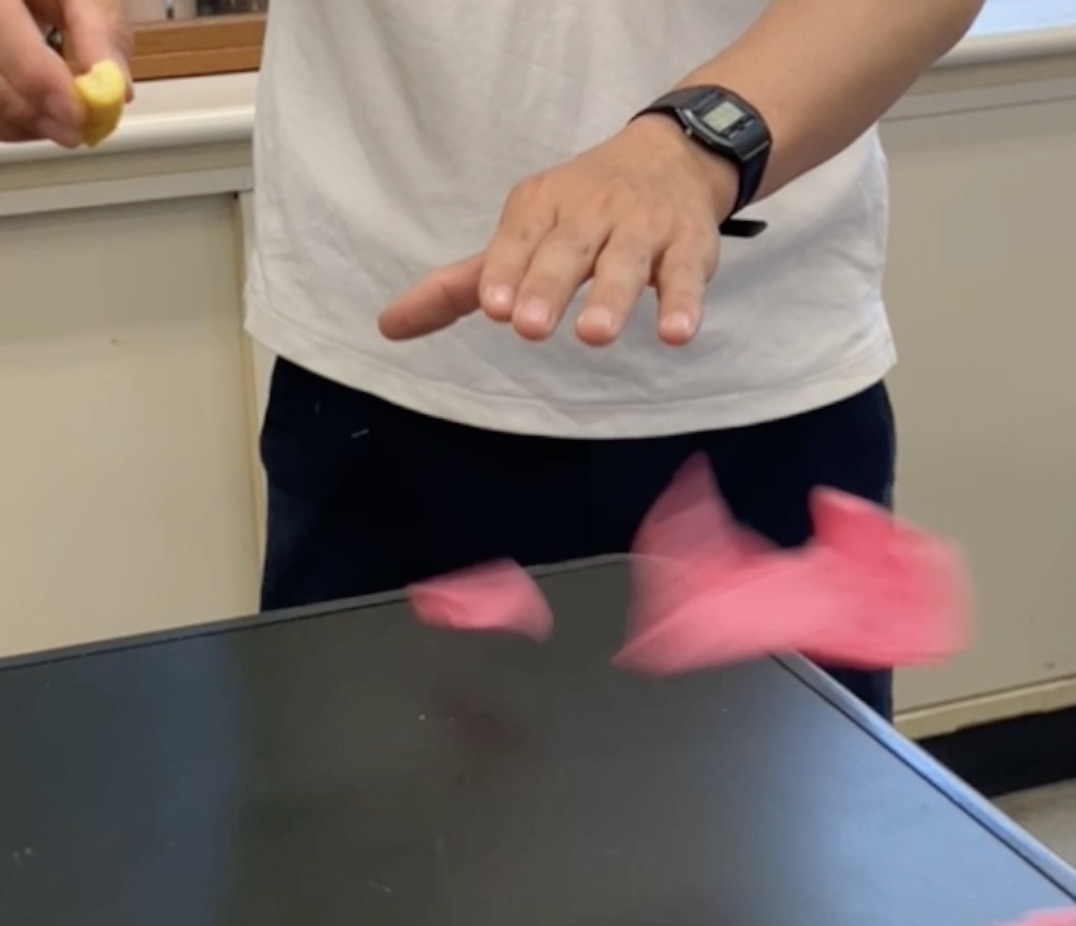
6月のイチオシ実験!
レモンやオレンジで風船を割ろう!インパクトが抜群のリモネン風船の実験
テレビ番組監修・イベント等のお知らせ
- 6月26日(金) 公開研究会「脱作業化!デジタル化と段階的指導で実現する オームの法則の探究」
- 6月28日(日) ダビンチマスターズ@昭和女子
- 6月30日(火) 6/30 23:56〜 【科学監修・出演】「地球まるごと大実験ネイチャーティーチャー」(TBS)
- 7月18日(土) 教員向け実験講習会「ナリカカサイエンスアカデミー」の講師をします。お会いしましょう。
- 12月26日(土) ナリカサイエンスアカデミー(教員向け実験講習会)開催
書籍のお知らせ
- 7月16日発売 『高校入試 分解問題集 理科』(学研)…難しい問題も小さな問題に分解することで、問題を解くことができます。そんな分解の技術が身につくように深く関わりを持って作りました。
- 『大人のための高校物理復習帳』(講談社)…一般向けに日常の物理について公式を元に紐解きました。特設サイトでは実験を多数紹介しています。※増刷がかかり6刷となりました(2026/02/01)

- 『きめる!共通テスト 物理基礎 改訂版』(学研)… 高校物理の参考書です。イラストを多くしてイメージが持てるように描きました。授業についていけない、物理が苦手、そんな生徒におすすめです。特設サイトはこちら。

各種SNS(更新情報をお届け!)
【日本語】X(Twitter)/instagram/Facebook 【英語】BlueSky/Threads
Explore
- 楽しい実験…お子さんと一緒に夢中になれるイチオシの科学実験を多数紹介しています。また、高校物理の理解を深めるための動画教材も用意しました。
- 理科の教材… 理科教師をバックアップ!授業の質を高め、準備を効率化するための選りすぐりの教材を紹介しています。
- Youtube…科学実験等の動画を配信しています。
- 科学ラジオ …科学トピックをほぼ毎日配信中!AI技術を駆使して作成した「耳で楽しむ科学」をお届けします。
- 講演 …全国各地で実験講習会・サイエンスショー等を行っています。
- About …「科学のネタ帳」のコンセプトや、運営者である桑子研のプロフィール・想いをまとめています。
- お問い合わせ …実験教室のご依頼、執筆・講演の相談、科学監修等はこちらのフォームからお寄せください。