Not Just a Leaf! The Hidden “Red Dots” on Cherry Leaves and Their Secret Life with Ants
This is Ken Kuwako, your Science Trainer. Every Day is an Experiment.
【This article is also available on the radio!】
When we talk about cherry blossom viewing, the beautiful petals are, of course, the main attraction. But have you ever taken a close look at the leaves—the very things that support the star of the show—after the blossoms have fallen? “Oh, it’s just a leaf,” you might think. However, this seemingly ordinary cherry leaf is actually the ultimate “treasure map” for a 7th grader (or a beginner) to step into the world of science. Why is this plain green leaf the perfect starting material for an introductory science class? Let’s uncover its secrets.
The Ultimate Tool to Cultivate “The Power of Observation”
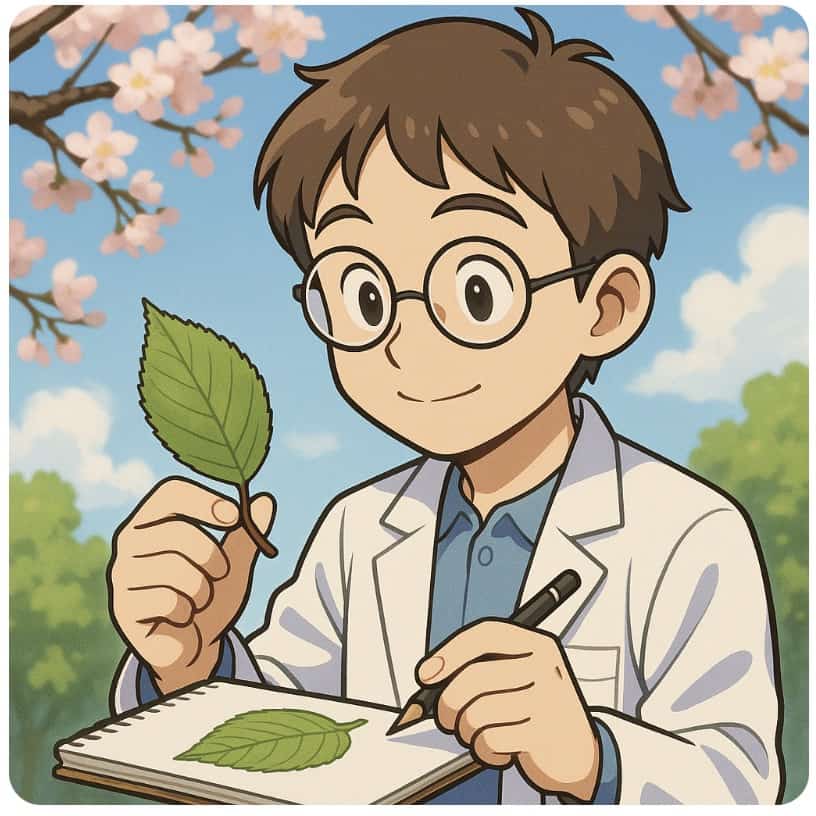
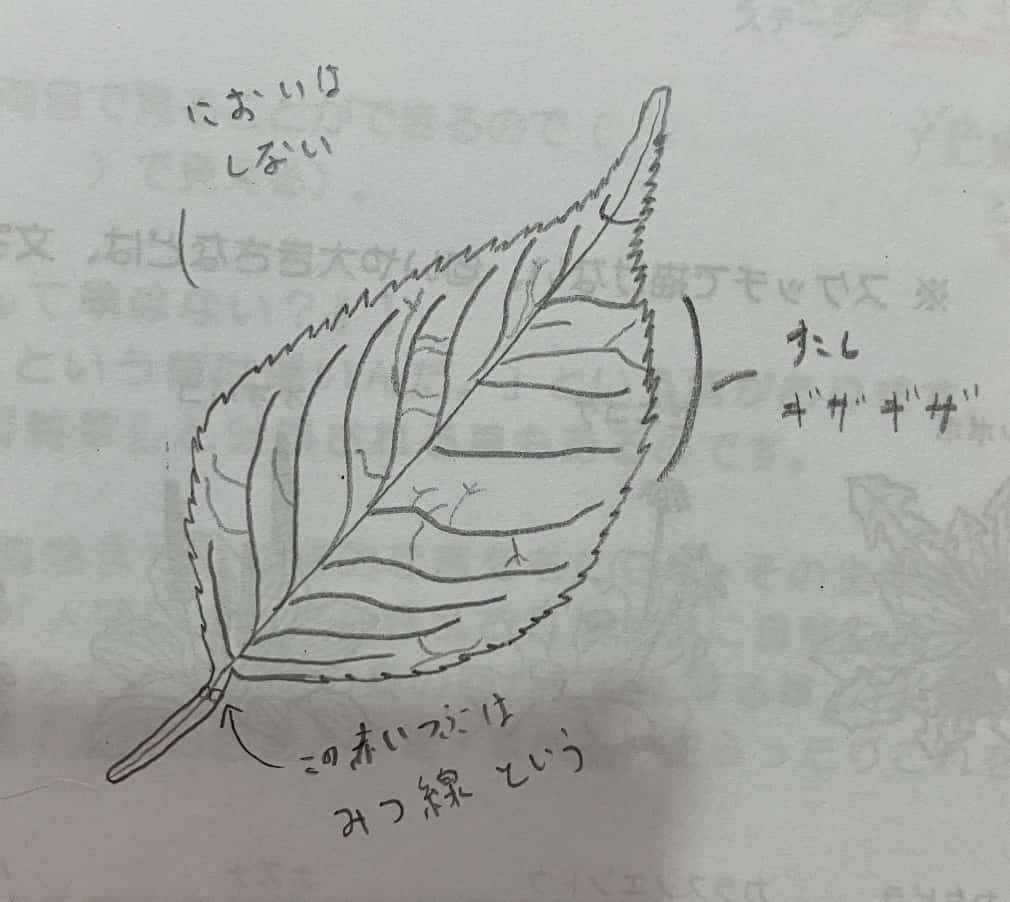
When my 7th-grade science class begins, the very first thing I have students do is “sketch.” This is a perfect opportunity to train them in “observation” and “recording,” the two fundamentals of science.
The truth is, the topic you choose for this first lesson can make a huge difference in how well students develop their “power to observe” and their “ability to find things interesting.” That’s why I strongly recommend using the Cherry Leaf as the subject.
Cherry leaves are everywhere from spring to early summer—they are extremely familiar. Students naturally approach the task with a relaxed attitude, thinking, “I’ve seen these before, this must be easy,” which makes it an ideal introductory material.
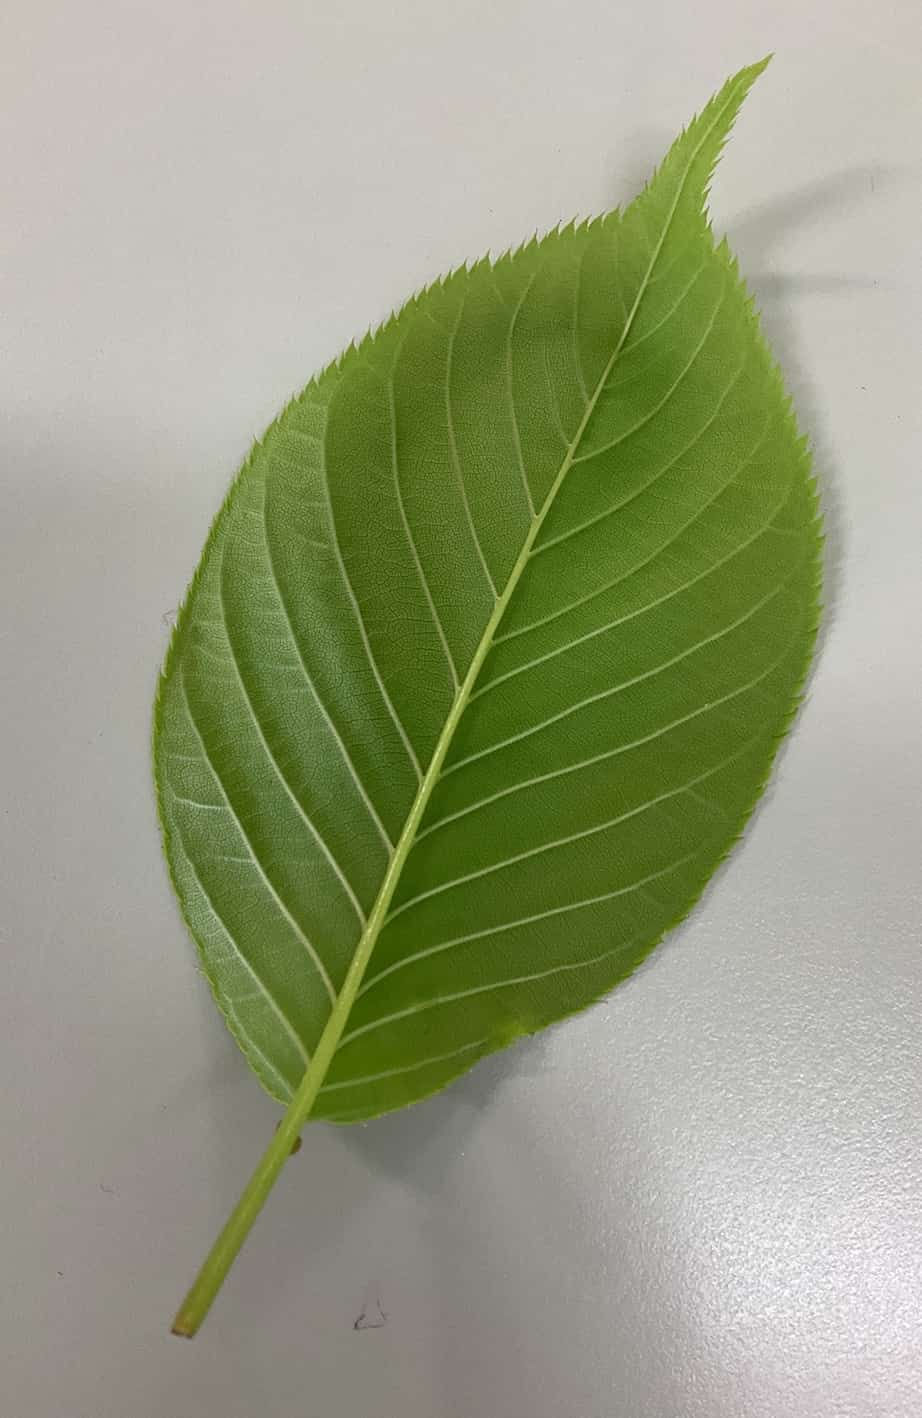
More Than Just Serrated Edges! A Series of Small “Whys”
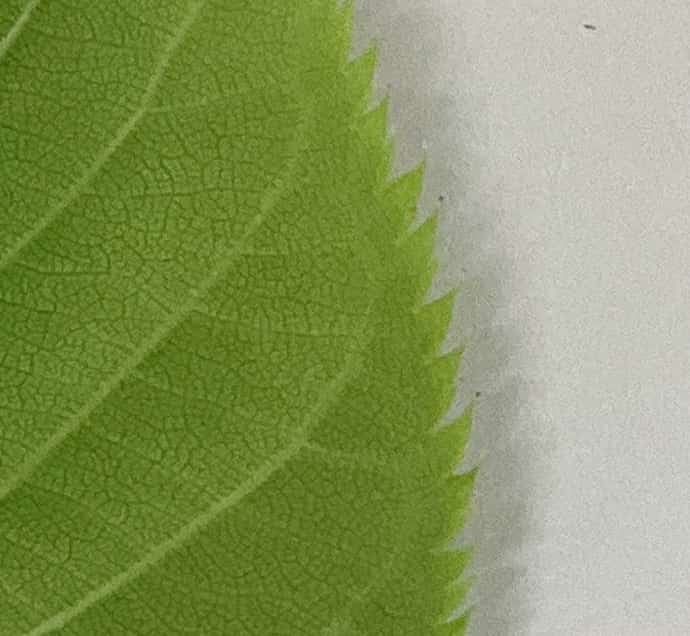
But here’s where it gets exciting. Once the students start sketching, they begin to encounter small “discoveries” one after another, and their pencils start to pause. Take the serrated edge of the leaf, for example. They might assume it’s just a uniform zigzag pattern, but upon closer inspection, they notice the teeth are asymmetrical and unevenly shaped.
The leaf veins, while appearing to branch out regularly from the center, actually have a surprising amount of individual variation. Some leaves even have a tip that’s bent in a weird direction, like a piece of bedhead hair.
The Secret of the “Red Dots” Hidden on the Leaf
And above all, there is one major discovery that captivates most students: the realization that “there are little red dots between the leaf and the stem!”
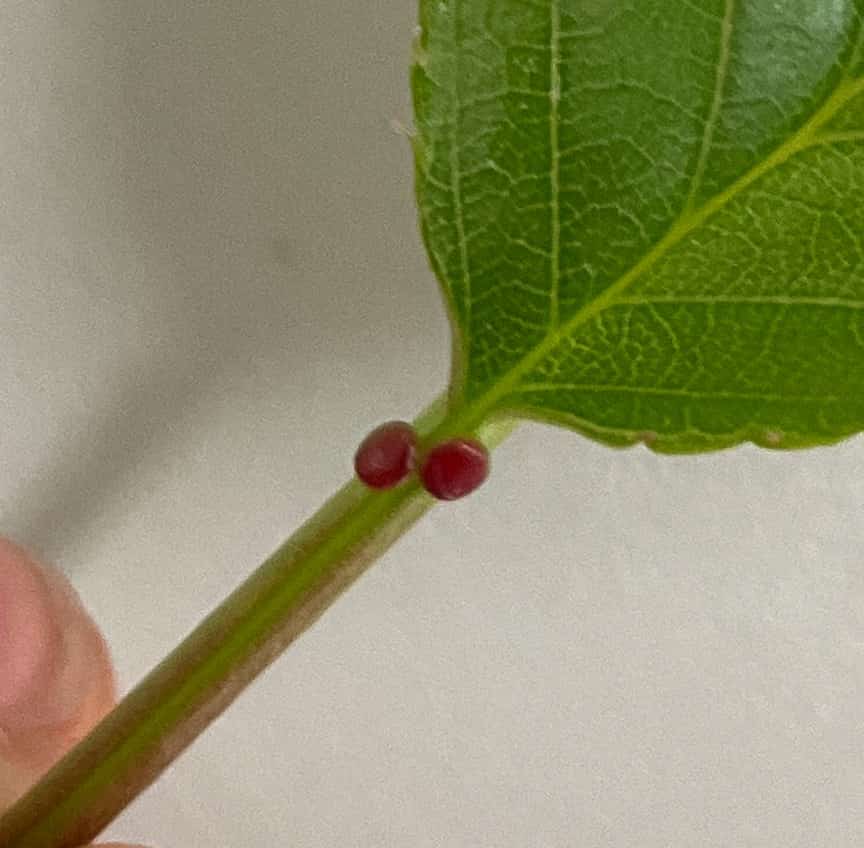
This is a special organ called an “extrafloral nectary.” They look like small red beans, and students with a sharp eye for detail notice them immediately. It’s the act of “looking closely” through sketching that makes them realize this mysterious dot is even there, naturally leading to the question, “What is this?” From here, the scientific inquiry begins: investigating, formulating hypotheses, and exploring.
The Amazing Survival Strategy: Cherry Trees “Hire” Ants
I don’t give the answer immediately during the class (I tell them, “That’s a great observation! Look it up later.”). However, as an instructor, knowing the grand story behind it allows you to convey the deeper fascination of science. This nectary is actually a “reward” that the cherry tree offers to hire a “bodyguard.”
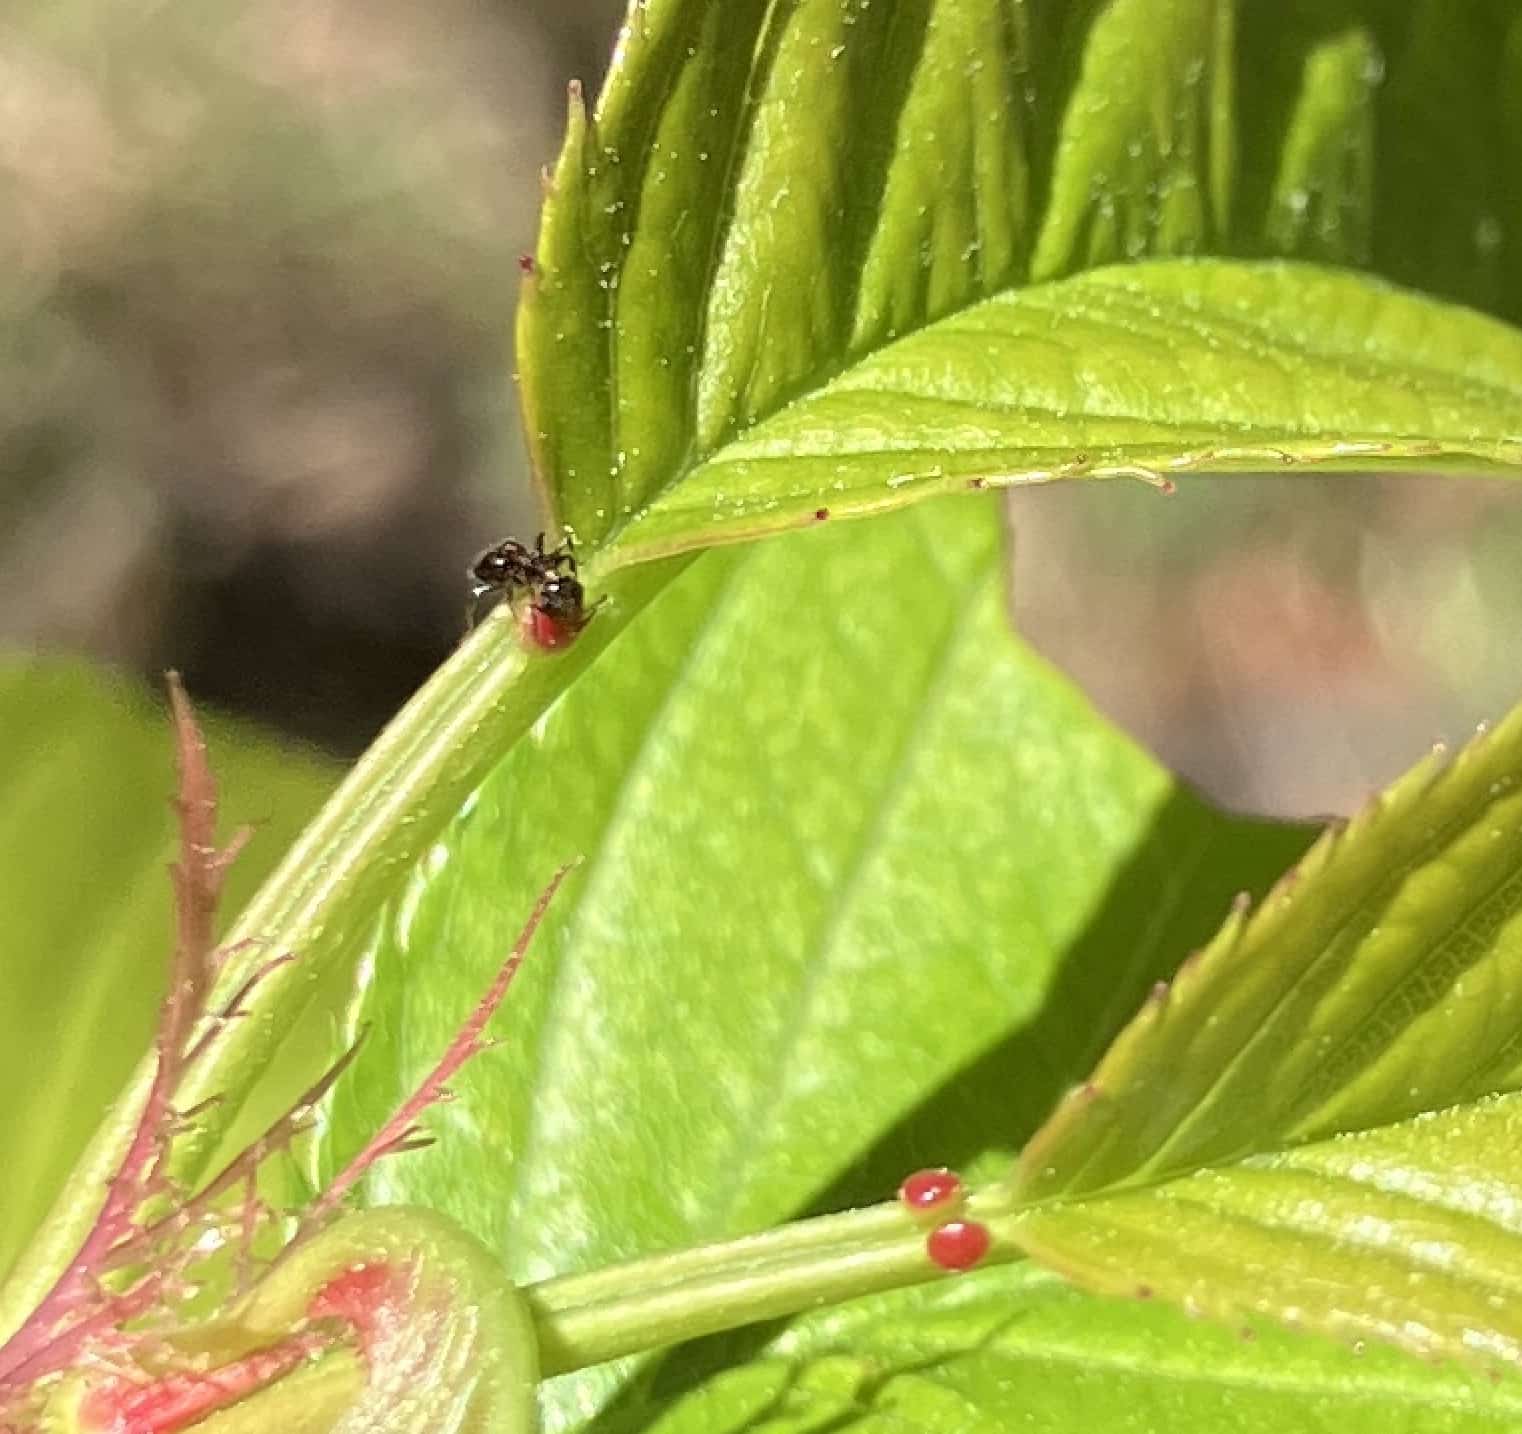
Sweet nectar actually seeps out of these glands. This nectar attracts ants. In exchange for the treat, the ants attack and drive away natural enemies (such as moth larvae/caterpillars) that come to eat the cherry leaves.
This is a magnificent drama of the natural world, a “symbiotic relationship” where plants and insects help each other for mutual benefit—all hidden within that tiny red dot. The photo below, which I happened to capture, shows an ant reaching the nectary and appears to be sipping the nectar.
If we can make students look closely at something they usually take for granted and make them think, “Nature is so interesting!” and “I want to know more!”, the lesson is a great success. It would be wonderful if they could truly feel that sketching is not just drawing a picture, but the entrance to science, where discovery and wonder are born.
Key Points for Lesson Preparation
Materials to Use: Ideally, fresh cherry leaves collected the same day (not wilted), one leaf per two students is fine.

Hand lenses (loupes), sketching paper, and pencils.
Instructions: Have students sketch the cherry leaf for five minutes. Afterward, share their discoveries with the class. Before observing, take time to ask, “What kinds of things should we pay attention to?”
The lesson will go smoothly if you pinpoint a few observation areas, such as the leaf edge, veins, and the connection point to the stem.
If a student notices the nectary, praise them enthusiastically (“That’s a great perspective!”) and have other students search for it; this will engage the entire class.
Aim for a lesson where students can experience the joy of “observing and drawing” through their own hands-on experience. The cherry leaf is truly the perfect first step—a “textbook of nature” right within their reach. We’ll cover tips for scientific sketching next time, but I recommend incorporating a short sketch activity, even just for five minutes, to start.
Contact and Requests
Explore the wonders and fun of science more closely! I’ve put together easy-to-understand summaries of fun science experiments you can do at home, along with tips and tricks. Please search around!
About the administrator, Ken Kuwako: Click here
For various requests (writing, lectures, science classes, TV supervision, appearances, etc.): Click here
Article updates are available on X!
![]() Experimental videos are distributed on the Science Idea Channel!
Experimental videos are distributed on the Science Idea Channel!
6月のイチオシ実験!
レモンやオレンジで風船を割ろう!インパクトが抜群のリモネン風船の実験
テレビ番組監修・イベント等のお知らせ
- 6月3日(水)20:30〜 「
バカリズムのちょっとバカりハカってみた!」(テレビ東京)を科学監修・出演します。テーマは「 そばの出前は何人前まで運べるのか、限界を測ってみた」です。 - 6月4日(木) 7:00〜 「THE突破ファイル」(日本テレビ)について科学監修しました。
- 6月14日(日) 千葉大学インスタレーション「探究」にて講師を務めます
- 6月26日(金) 公開研究会「脱作業化!デジタル化と段階的指導で実現する オームの法則の探究」
- 6月28日(日) ダビンチマスターズ@昭和女子
- 7月18日(土) 教員向け実験講習会「ナリカカサイエンスアカデミー」の講師をします。お会いしましょう。
書籍のお知らせ
- 『大人のための高校物理復習帳』(講談社)…一般向けに日常の物理について公式を元に紐解きました。特設サイトでは実験を多数紹介しています。※増刷がかかり6刷となりました(2026/02/01)

- 『きめる!共通テスト 物理基礎 改訂版』(学研)… 高校物理の参考書です。イラストを多くしてイメージが持てるように描きました。授業についていけない、物理が苦手、そんな生徒におすすめです。特設サイトはこちら。

各種SNS(更新情報をお届け!)
X(Twitter)/instagram/Facebook(日本語)
Explore
- 楽しい実験…お子さんと一緒に夢中になれるイチオシの科学実験を多数紹介しています。また、高校物理の理解を深めるための動画教材も用意しました。
- 理科の教材… 理科教師をバックアップ!授業の質を高め、準備を効率化するための選りすぐりの教材を紹介しています。
- Youtube…科学実験等の動画を配信しています。
- 科学ラジオ …科学トピックをほぼ毎日配信中!AI技術を駆使して作成した「耳で楽しむ科学」をお届けします。
- 講演 …全国各地で実験講習会・サイエンスショー等を行っています。
- About …「科学のネタ帳」のコンセプトや、運営者である桑子研のプロフィール・想いをまとめています。
- お問い合わせ …実験教室のご依頼、執筆・講演の相談、科学監修等はこちらのフォームからお寄せください。