Unlock a Hidden World: Turn a Dollar Store Cup into a Geologist’s Tool
I’m Ken Kuwako, the Science Trainer. Every day is an experiment!
Think about the ordinary pebbles you see on the side of the road. You probably walk past them every day without a second thought. But what if you could peek into the epic drama of our planet hidden inside each and every one? Wouldn’t that be exciting?
Today, I’m going to show you how to craft a magical observation tool that gives anyone a “scientist’s eye,” using nothing more than a plastic cup from a dollar store. Get ready to explore the microscopic world of rocks!
Here’s All You Need!
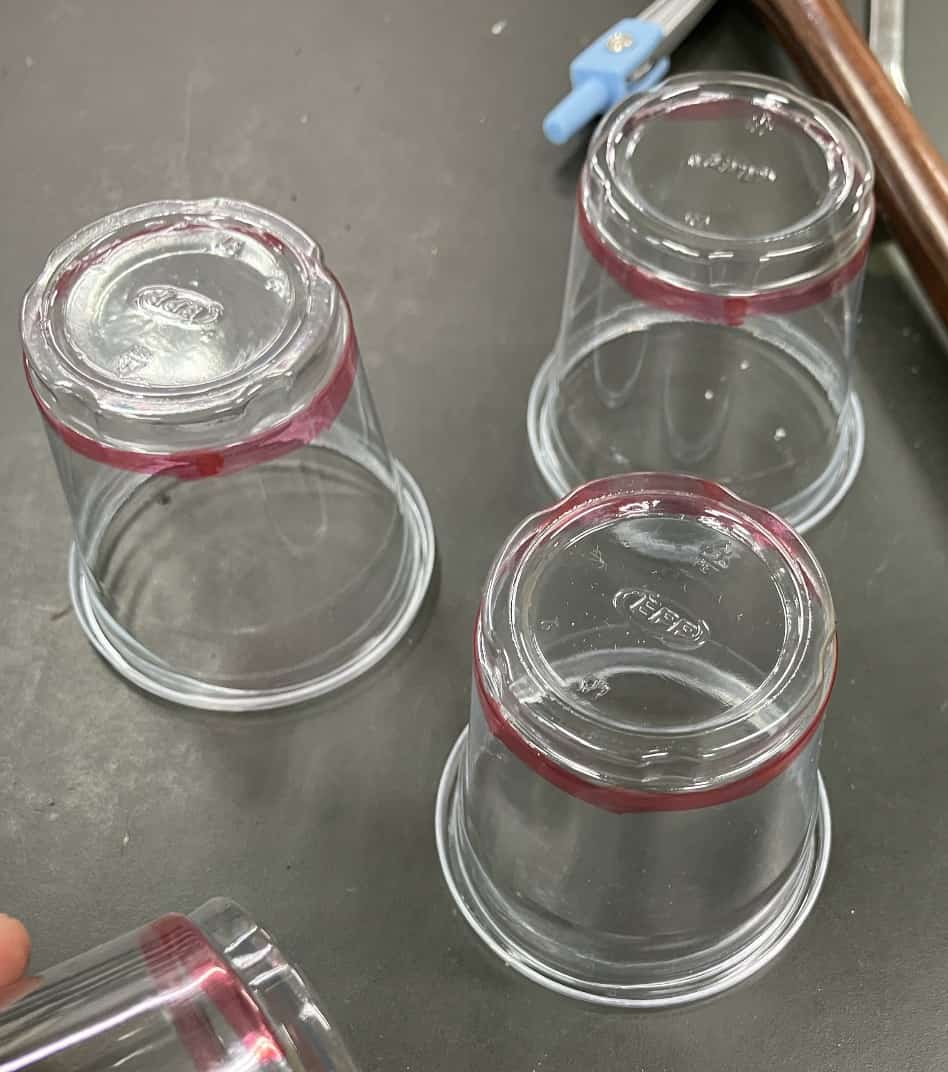
All it takes is a small plastic cup, a permanent marker, and a craft knife. You can find cups online (like on Amazon), but I just picked mine up at Daiso. So, let’s build our “Rock Scope” together!
Easy Steps to Your Handmade “Rock Scope”
The process couldn’t be simpler. First, use the permanent marker to trace a circle all the way around the bottom rim of the plastic cup. This line will be your cutting guide.
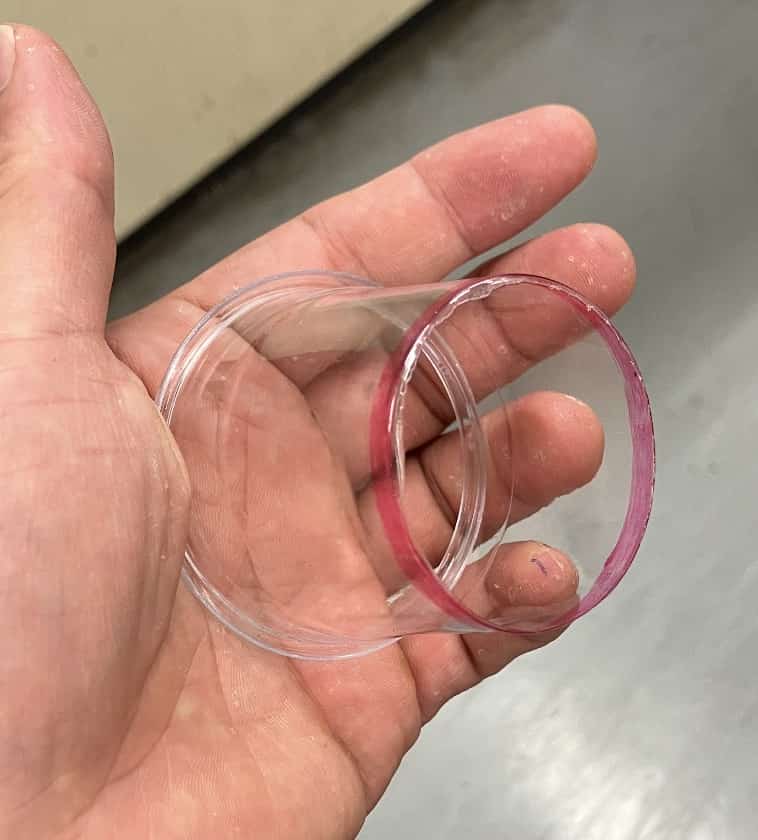
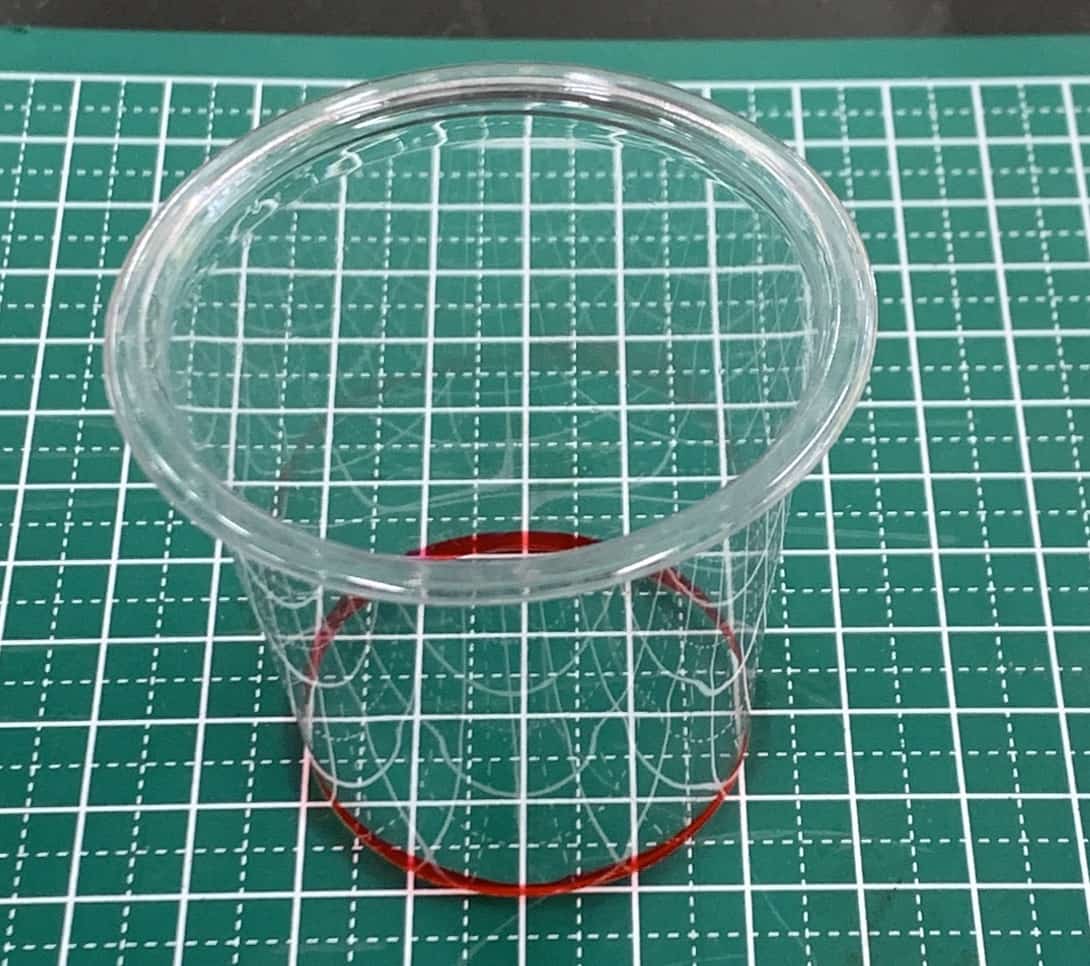
Next, carefully cut out the bottom of the cup along the line you drew. Please be very careful not to cut yourself! Once the bottom is completely removed, you’re done! See? Simple as that!
I actually got this idea from a school textbook guide. It’s so easy you can make one for every student in a classroom in no time at all.
See the ‘Personality’ of a Rock Through Your Scope
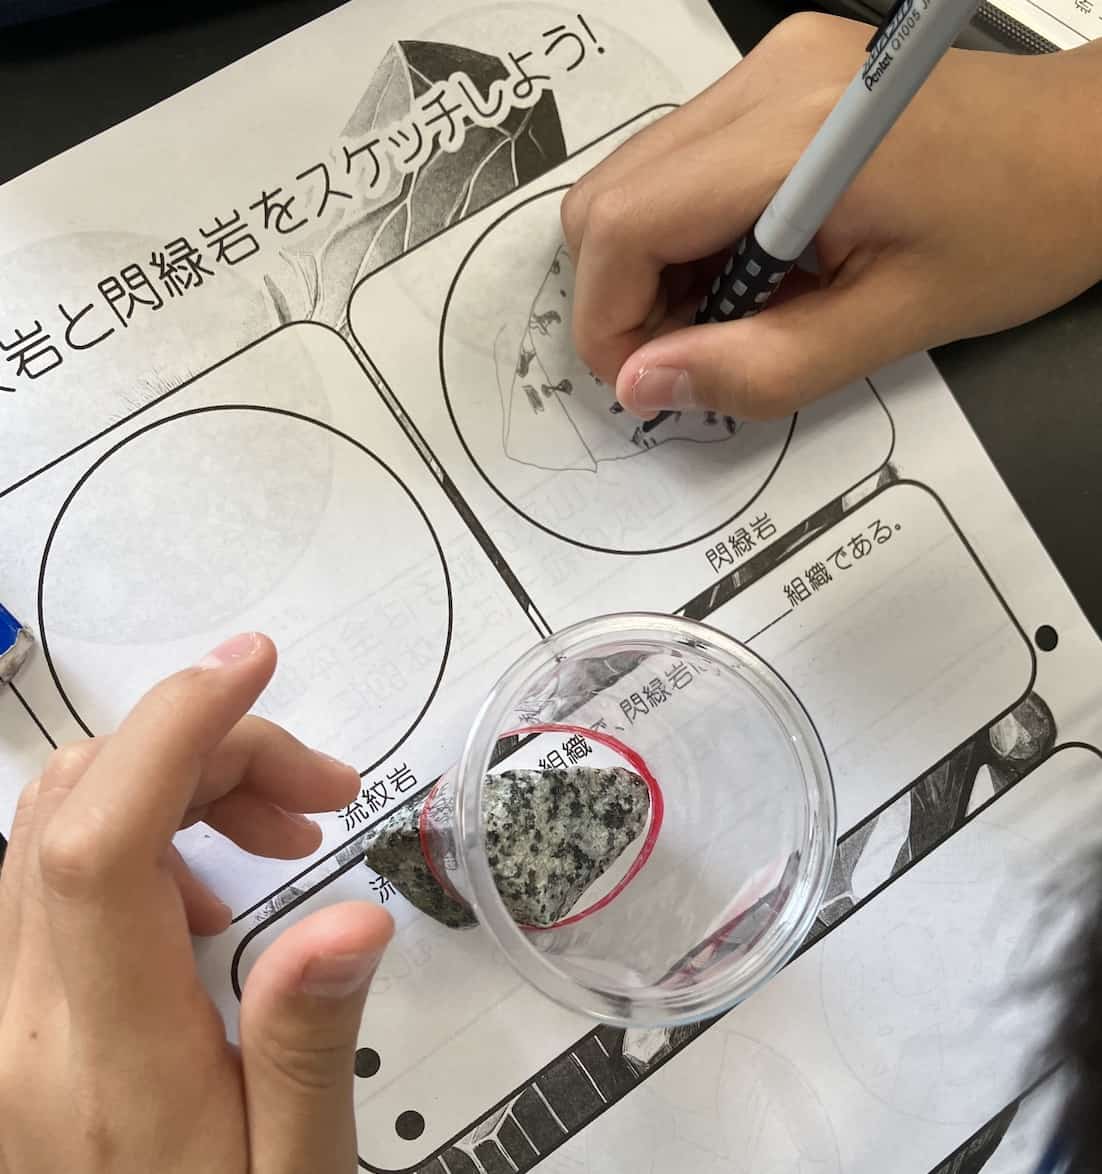
Using the scope is, of course, just as easy. Simply place it directly on top of the rock you want to observe.
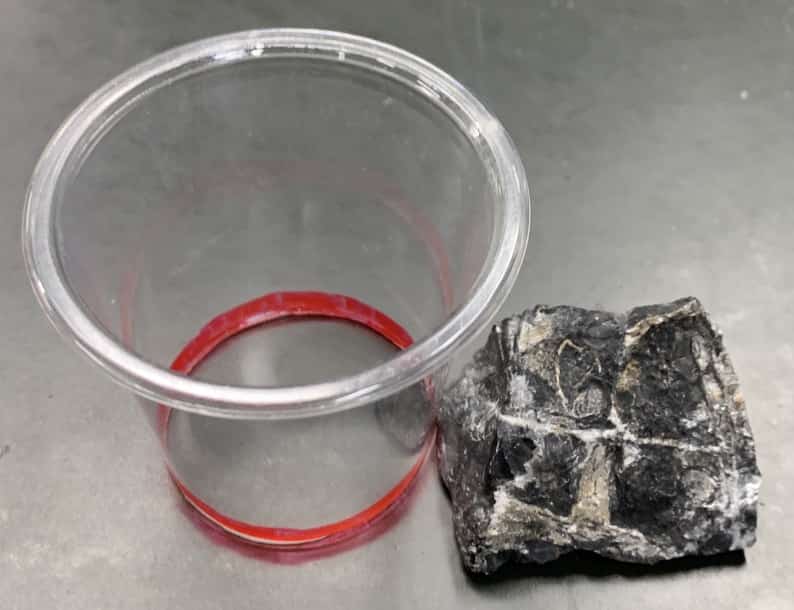
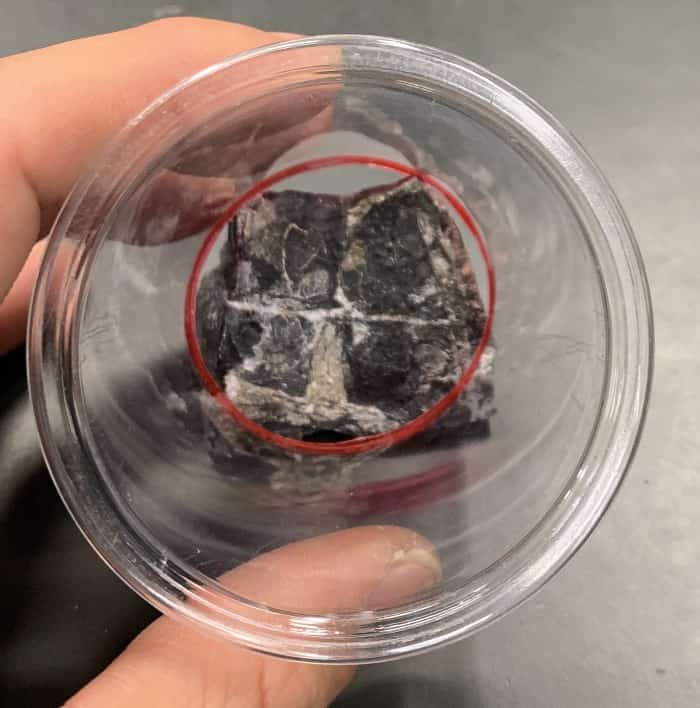
Now, carefully observe and sketch only the part of the rock visible inside the circle. Why use a scope? Because by limiting your field of view, the scope helps you focus intently on the fine details—like the size of the mineral grains and the patterns they form.
Here’s an example of a sketch a student made.
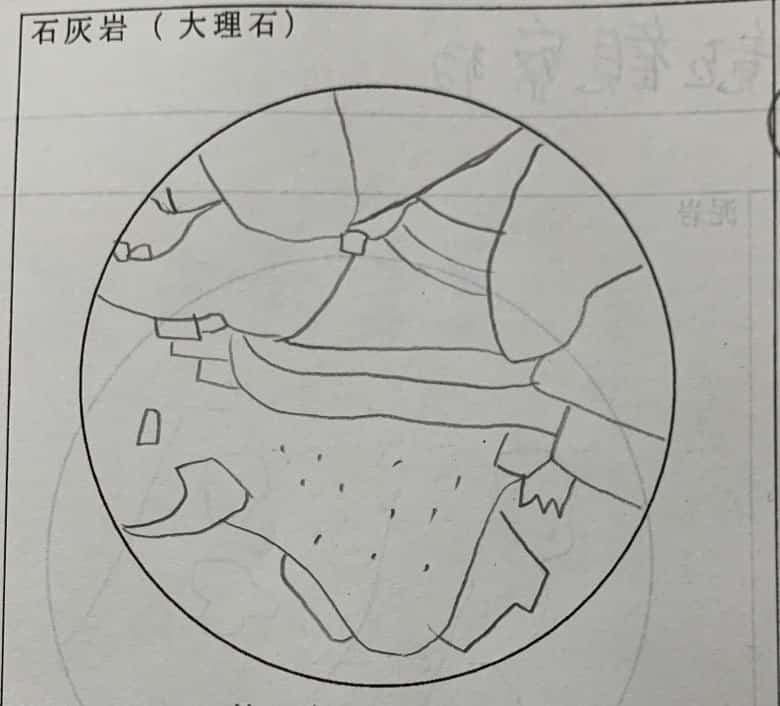
By comparing different rocks within the same circular frame, the unique “face” or character of each one becomes immediately clear. You can instantly see the differences in their texture and the way their minerals are organized.
Brothers of Rock? A Tale of How Magma’s Cooling Spot Changes Everything
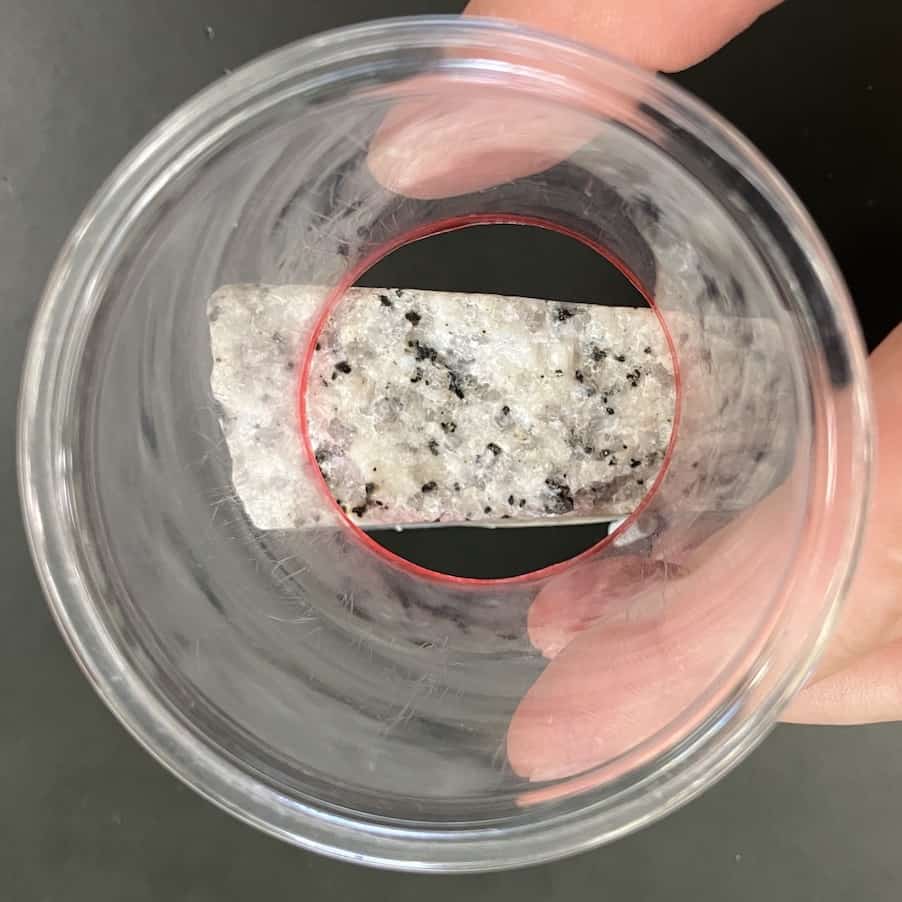
For example, let’s compare these two rocks. The first is Granite, which looks like a mosaic of whitish and blackish grains.
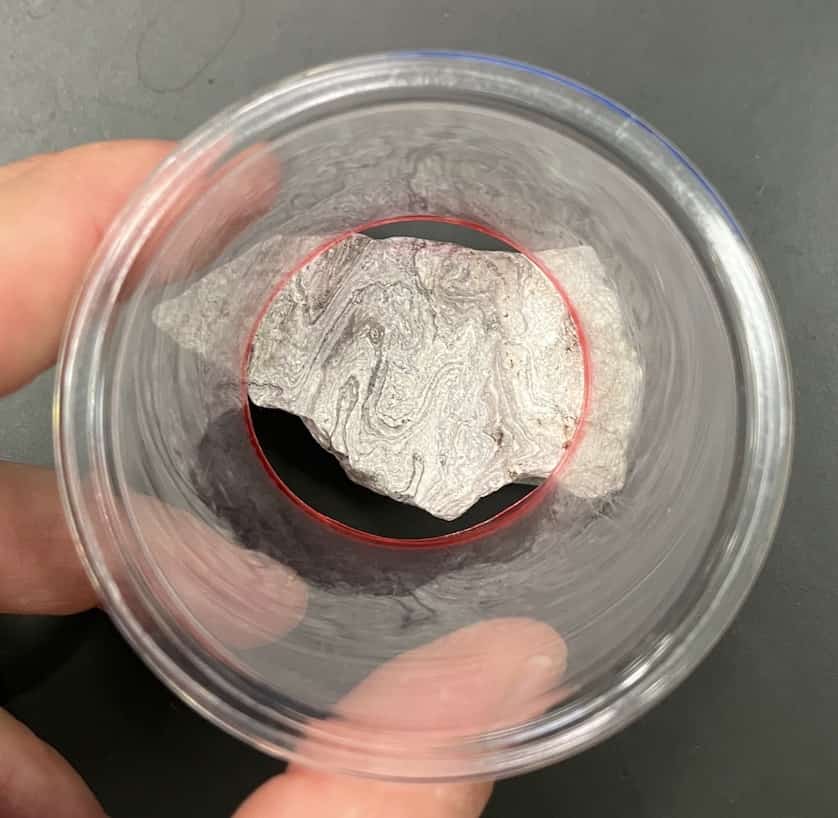
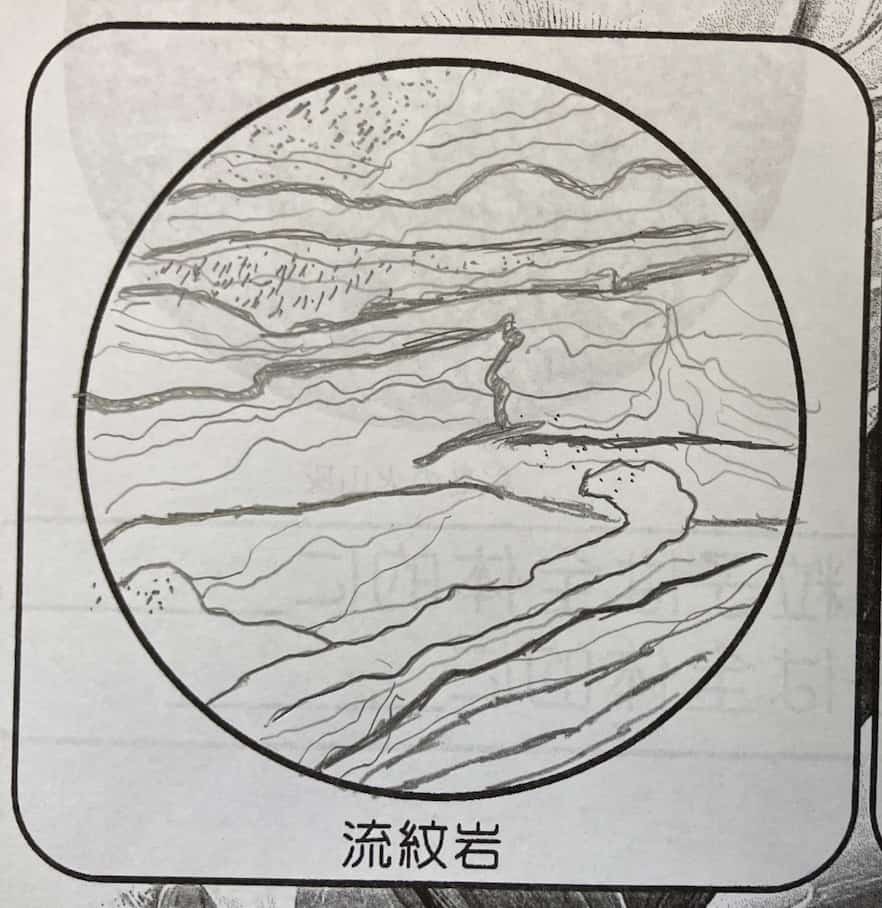
The second is Rhyolite, which is mostly gray with larger crystals scattered here and there.
They look completely different, but believe it or not, these two rocks are like brothers, born from the very same type of magma.
So why the different appearances? The secret lies in the “where” and “how long” of the magma’s cooling process.
Granite is formed deep underground, where magma cools down very slowly over a long period. This gave the mineral crystals plenty of time to grow large and distinct, resulting in a “granular texture.” They’re like a close-knit family of crystals that all grew up big and slow together.
Rhyolite, on the other hand, is formed when magma cools rapidly near the Earth’s surface. This creates a “porphyritic texture,” a mix of large crystals that formed earlier (phenocrysts) and a fine-grained matrix that solidified in a hurry. You can almost picture it hardening in a rush!
Here’s a student’s sketch of rhyolite. It beautifully captures the mix of large and small grains.
By peering through your homemade scope and sketching what you see, you can learn to read the grand story of our planet from a simple stone. And unlike taking a photo, the act of drawing forces you to truly see the details, deepening your understanding. Why not grab your new scope, find a few rocks, and discover the stories they have to tell?
Contact & Inquiries
Bringing the wonder and fun of science into your daily life! This blog is full of fun at-home science experiments and easy-to-understand tips. Feel free to explore! ・About the author, Ken Kuwako ・For inquiries (writing, lectures, workshops, TV consulting, etc.) ・Follow me on X for the latest updates!
![]() Check out experiment videos on my Science Channel!
Check out experiment videos on my Science Channel!
7月のイチオシ実験!
夏でプシュッと爽やか実験!

テレビ番組監修・イベント等のお知らせ
-
時速200kmで走るランボルギーニが、長さ12mのテーブルクロスを一瞬で引き抜く——そんな常識破りの実験が、ふたたびテレビの世界で大きな話題になりました。しかも今回は「視聴者が選ぶワクワク実験ランキング」で、なんと堂々の第1位を獲得したのです。Tverでまだ見ることができるのでぜひご覧ください。

- 7月18日(土) 教員向け実験講習会「ナリカカサイエンスアカデミー」の講師をします。お会いしましょう。
- 12月26日(土) ナリカサイエンスアカデミー(教員向け実験講習会)開催
書籍のお知らせ
- 7月16日発売 『高校入試 分解問題集 理科』(学研)…難しい問題も小さな問題に分解することで、問題を解くことができます。そんな分解の技術が身につくように深く関わりを持って作りました。
- 『大人のための高校物理復習帳』(講談社)…一般向けに日常の物理について公式を元に紐解きました。特設サイトでは実験を多数紹介しています。※増刷がかかり6刷となりました(2026/02/01)

- 『きめる!共通テスト 物理基礎 改訂版』(学研)… 高校物理の参考書です。イラストを多くしてイメージが持てるように描きました。授業についていけない、物理が苦手、そんな生徒におすすめです。特設サイトはこちら。

各種SNS(更新情報をお届け!)
【日本語】X(Twitter)/instagram/Facebook 【英語】BlueSky/Threads
Explore
- 楽しい実験…お子さんと一緒に夢中になれるイチオシの科学実験を多数紹介しています。また、高校物理の理解を深めるための動画教材も用意しました。
- 理科の教材… 理科教師をバックアップ!授業の質を高め、準備を効率化するための選りすぐりの教材を紹介しています。
- Youtube…科学実験等の動画を配信しています。
- 科学ラジオ …科学トピックをほぼ毎日配信中!AI技術を駆使して作成した「耳で楽しむ科学」をお届けします。
- 講演 …全国各地で実験講習会・サイエンスショー等を行っています。
- About …「科学のネタ帳」のコンセプトや、運営者である桑子研のプロフィール・想いをまとめています。
- お問い合わせ …実験教室のご依頼、執筆・講演の相談、科学監修等はこちらのフォームからお寄せください。
- See the Invisible: The Mysterious Phase Shift Hiding in Coils

- Punches Aren’t Damage: Understanding Becquerels and Sieverts Through Boxing
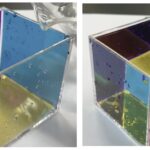
- Pour Water and a Cube Appears! The CMY Water Cube That Reveals the Magic of Color Subtraction
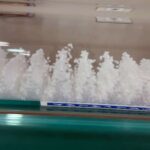
- The Mysterious Device That Makes Styrofoam Float in Midair — Visualizing Sound Waves with a Kundt’s Tube
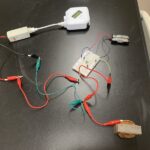
- The Switch Is Off, But It Won’t Stop! Capturing the Mystery of Coil Oscillations with a Sensor (EasySense V-Hub)

- Eddy Currents Launch Metal Rings Into the Air — The Electromagnetic Magic of Tsukuba Expo Center
- Caught in the Lab: Does Current Actually Hesitate? A Coil’s 0.0005-Second Story
- Chaos to Harmony: The Secret Behind 15 Pendulums Dancing in Perfect Sync
- It Went Off in Class! How Our “Human Chain Shock” Experiment with a Van de Graaff & Leyden Jar Spectacularly Failed