Hands-On Physics! Build a DIY Movable Pulley to Master the “Work” Principle and Wow Your Students!
I’m Ken Kuwako, your Science Trainer. Life is one big experiment!
Hello, fellow science teachers! Today, I want to share a brilliant DIY experiment that will make your students go “Aha!” using simple materials you can find at any hardware store. Have you ever explained that “a movable pulley cuts the required force in half,” only to be met with blank stares? It’s not surprising. The tiny pulleys found in most educational catalogs aren’t very impressive. Even with a 100g or 200g weight, students can barely feel the difference in effort. Plus, buying enough high-end kits for an entire class is often budget-breaking.
But don’t worry! I’ve found a way to build large-scale movable pulleys for about $2 each that let students feel a genuine “Whoa, that’s light!” sensation. This hands-on tool is guaranteed to make your physics lessons more engaging and deepen their understanding of mechanics.
The Science Recipe
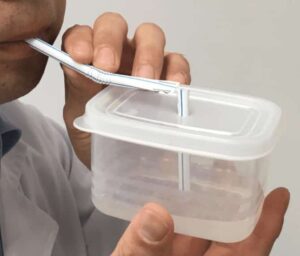
The secret ingredient for this experiment is an unexpected item from the hardware store: sliding door rollers! You can usually find a pair for just a few dollars, making them incredibly cost-effective.
What You’ll Need
Sliding door or “Fusuma” rollers (roughly $3 for a pair at most hardware stores).

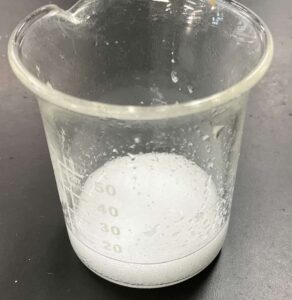
In addition, we used twine, a plastic bottle, sand, and water.
How to Build It
① Identify the top and bottom of the roller.

This side should face up.
② Create the movable pulley.
For the weight, we filled a plastic bottle with sand and water so that the total mass (including the pulley) was exactly 1kg (approx. 10N). This is heavy enough for students to really feel the resistance—or lack thereof!

Let’s assemble the pulley.

Thread the twine through the hole on the side of the roller housing,

And tie it securely.

Tie the other end to the neck of the plastic bottle.

Attach the other side so the pulley stays horizontal.

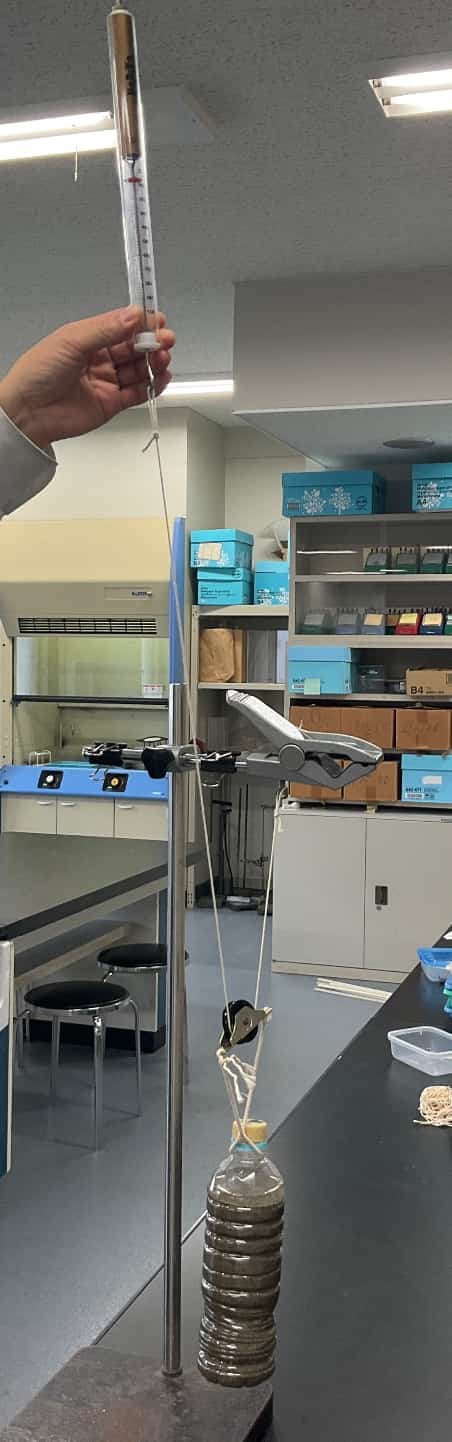
Finally, loop a long piece of twine over the wheel. Secure one end to a stand and hold the other. You’re ready to go!
Let the experiment begin!
First, the baseline. Let’s lift the bottle directly using a spring scale without the pulley. Our weight is about 1kg, which translates to a force of roughly 10N.
As you can see on the scale, it points exactly to 10N.
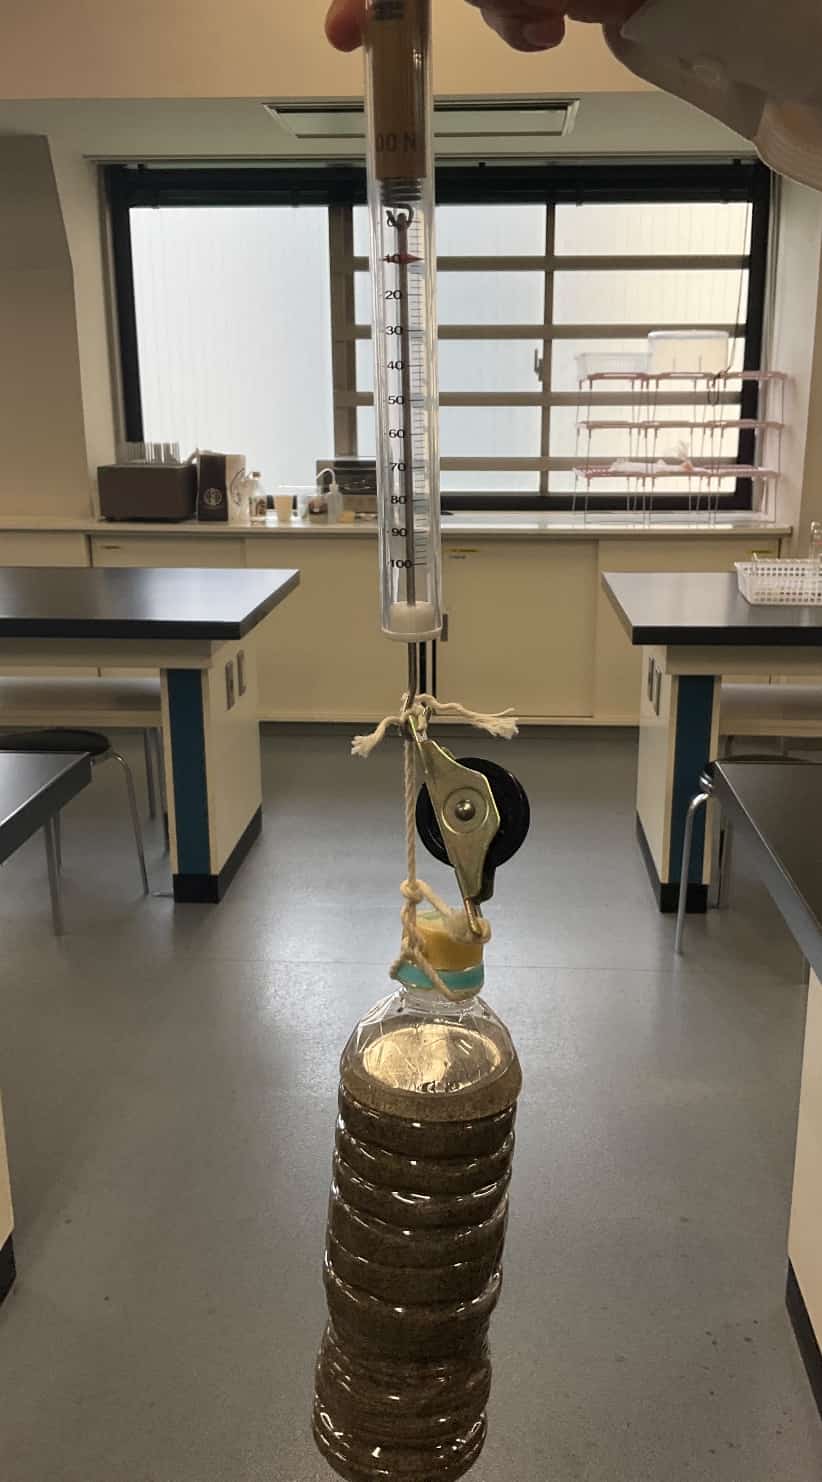
Now, let’s use our DIY movable pulley.

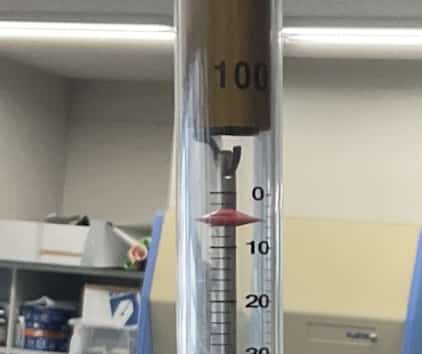
The result? The scale now reads exactly 5N.
When you look closely, this “half the force” result makes perfect sense. The load is being shared between two points: you (the spring scale) and the “ceiling” (the fixed end of the string). In this setup, I’ve used a stand, but you can have one student hold one end while another pulls the other. This lets them physically feel how they are splitting the load.
By preparing enough of these DIY pulleys so every student can try it, their grasp of the material will skyrocket.
Through this experiment, you can help students truly internalize the Principle of Work: that a movable pulley trades distance for force—cutting the effort in half but requiring you to pull twice as much string.
For more detailed measurements and data on the Principle of Work, check out these posts:
Inquiries & Requests
Bringing the wonders of science closer to you! I share easy-to-follow science experiments you can do at home and tips for educators. Feel free to explore!
・About the Author, Ken Kuwako: Click here
・For Bookings (Writing, Lectures, Workshops, Media Supervision, etc.): Click here
・Get updates on X (formerly Twitter)!
![]() Check out my experiment videos on the Science Material Channel!
Check out my experiment videos on the Science Material Channel!
NEW 分解問題集 理科
- 7月21日発売!『高校入試 分解問題集 理科』(学研)…難しい問題も小さな問題に分解することで、問題を解くことができます。そんな分解の技術が身につくように深く関わりを持って作りました。
7月のイチオシ実験!
夏でプシュッと爽やか実験!

テレビ番組監修・イベント等のお知らせ
- 7月18日(土)「TIF presents ONE SONG FES. 」(フジテレビ)
- 7月18日(土) 教員向け実験講習会「ナリカカサイエンスアカデミー」
- 7月23日(木)科学監修 19:00〜 THE突破ファイル(日本テレビ)
- 7月30日(水) 監修したテレビ番組放送予定
- 12月26日(土) ナリカサイエンスアカデミー(教員向け実験講習会)開催
書籍のお知らせ
- 『大人のための高校物理復習帳』(講談社)…一般向けに日常の物理について公式を元に紐解きました。特設サイトでは実験を多数紹介しています。※増刷がかかり6刷となりました(2026/02/01)

- 『きめる!共通テスト 物理基礎 改訂版』(学研)… 高校物理の参考書です。イラストを多くしてイメージが持てるように描きました。授業についていけない、物理が苦手、そんな生徒におすすめです。特設サイトはこちら。

各種SNS(更新情報をお届け!)
【日本語】X(Twitter)/instagram/Facebook 【英語】BlueSky/Threads
Explore
- 楽しい実験…お子さんと一緒に夢中になれるイチオシの科学実験を多数紹介しています。また、高校物理の理解を深めるための動画教材も用意しました。
- 理科の教材… 理科教師をバックアップ!授業の質を高め、準備を効率化するための選りすぐりの教材を紹介しています。
- Youtube…科学実験等の動画を配信しています。
- 科学ラジオ …科学トピックをほぼ毎日配信中!AI技術を駆使して作成した「耳で楽しむ科学」をお届けします。
- 講演 …全国各地で実験講習会・サイエンスショー等を行っています。
- About …「科学のネタ帳」のコンセプトや、運営者である桑子研のプロフィール・想いをまとめています。
- お問い合わせ …実験教室のご依頼、執筆・講演の相談、科学監修等はこちらのフォームからお寄せください。