Creating a Volcano Was a Blast! A Recipe for an Explosively Fun Experiment (A Volcano Model Made with Plaster and Baking Soda)
Science class is always most exciting when you can get hands-on. As teachers, there’s nothing more rewarding than seeing our students’ eyes light up and hearing them exclaim, “I get it!” I recently taught a lesson on volcanoes with a student teacher, Mr. H, and our eruption experiment turned out to be an incredible, inquiry-driven experience.
“How does magma’s viscosity relate to the shape of a volcano?”
The real fun of science isn’t just memorizing facts from a textbook; it’s about seeing, touching, and feeling the concepts for yourself. That’s why we decided to build a model volcano using everyday materials. This experiment might seem simple at first glance, but it’s surprisingly profound.
We used just four ingredients: plaster, baking soda, laundry starch, and water. By simply adjusting the ratio of these four ingredients, we could completely change how the “magma” behaved and how viscous it was. It felt just like we were simulating real volcanic activity.
The most fascinating part is the chemical reaction that occurs when you combine plaster (calcium sulfate: CaSO₄), baking soda (sodium bicarbonate: NaHCO₃), and water. As you might know, this reaction produces carbon dioxide (CO₂)! The CO₂ gas causes the mixture to puff up, just like a real volcano slowly swells before an eruption. Realizing that simple chemistry can lead to such grand natural phenomena is the true joy of science education.
Mr. H and I went through countless attempts, changing the ratios over and over until we finally found the perfect recipe. It took us a good amount of time, but the feeling of accomplishment when we got it right was incredible. It was a perfect reminder of what scientific inquiry is all about.
In this article, we’ll share the details of our successful volcano experiment, including the ratios we discovered and a step-by-step account of what happened!
Materials
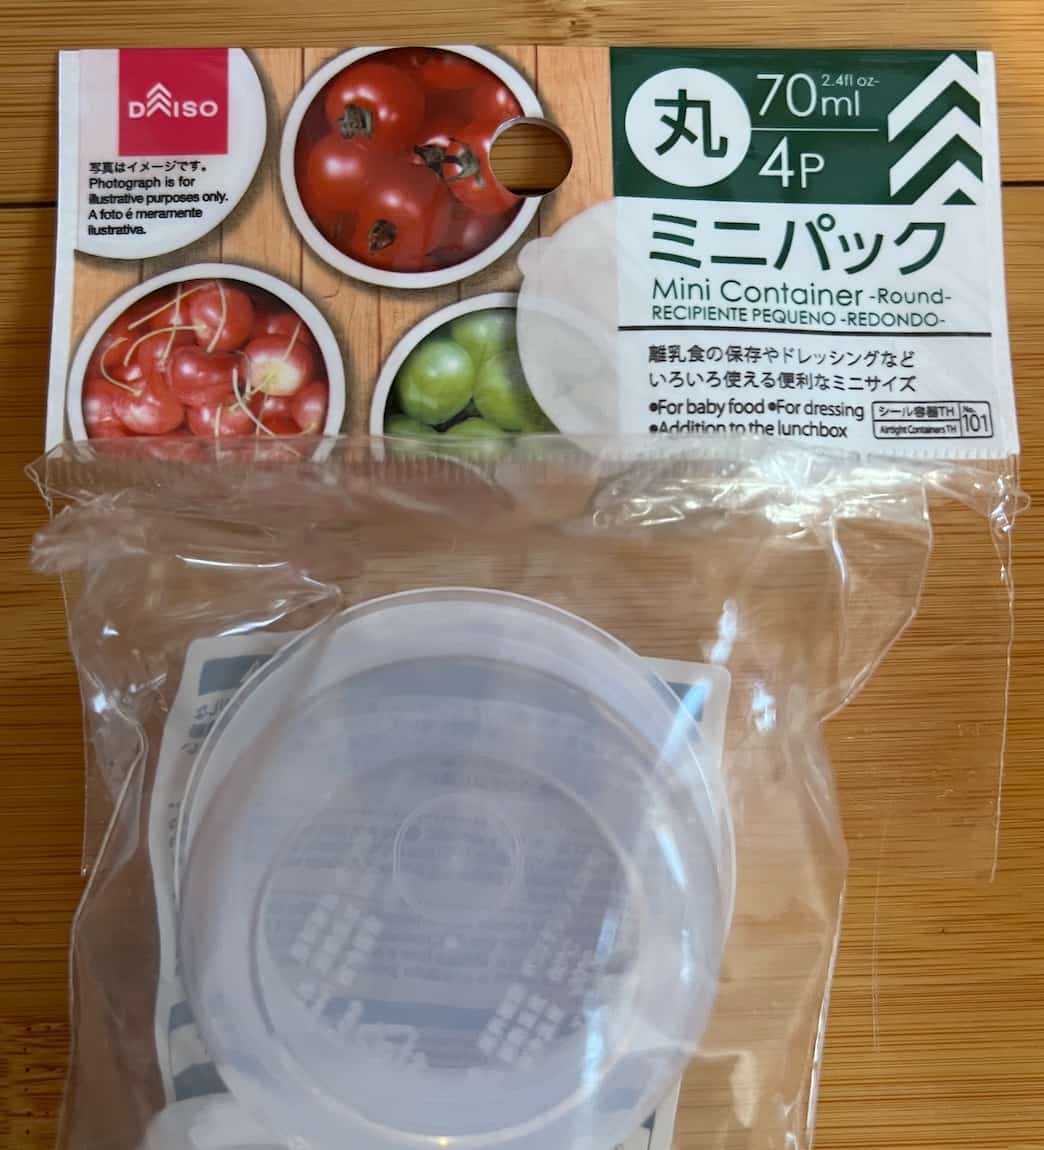
- Plastic container
- Plaster (10g, in a zip-lock bag)
- Baking soda (5g, in an evaporating dish)
- Liquid starch (PVA)
- Water
- Spatula
- Glass stirring rod
- Tray
For the plastic container, we used one we found at Daiso.
First, use an awl to make a hole in the bottom of the plastic container and cover it with cloth tape.
Next, prepare the two different mixtures.
For low-viscosity magma: 1 ml of PVA glue + 30 ml of water
For high-viscosity magma: 10 ml of PVA glue + 15 ml of water
Pre-mix these into two separate containers.
Experimental Procedure
① Thoroughly mix the PVA glue and water in the plastic container with a glass stirring rod.
② Add 10g of plaster (from the zip-lock bag) to the mixture.
③ Mix the plaster, PVA glue, and water together thoroughly with the glass stirring rod.
④ Once it’s well-mixed, add 5g of baking soda and stir quickly to combine everything.
- Tip: This part is key—mix everything quickly, then immediately put on the lid!
- Note: Baking soda can be lumpy, so break it up with a spatula beforehand.
⑤ Close the lid, flip the container upside down onto the tray, and immediately peel off the cloth tape.
⑥ Observe the spread of the “lava” from directly above.
- Safety First: All participants must wear white coats, safety glasses, and polyethylene gloves!
Repeat the entire procedure for both the high and low-viscosity mixtures.
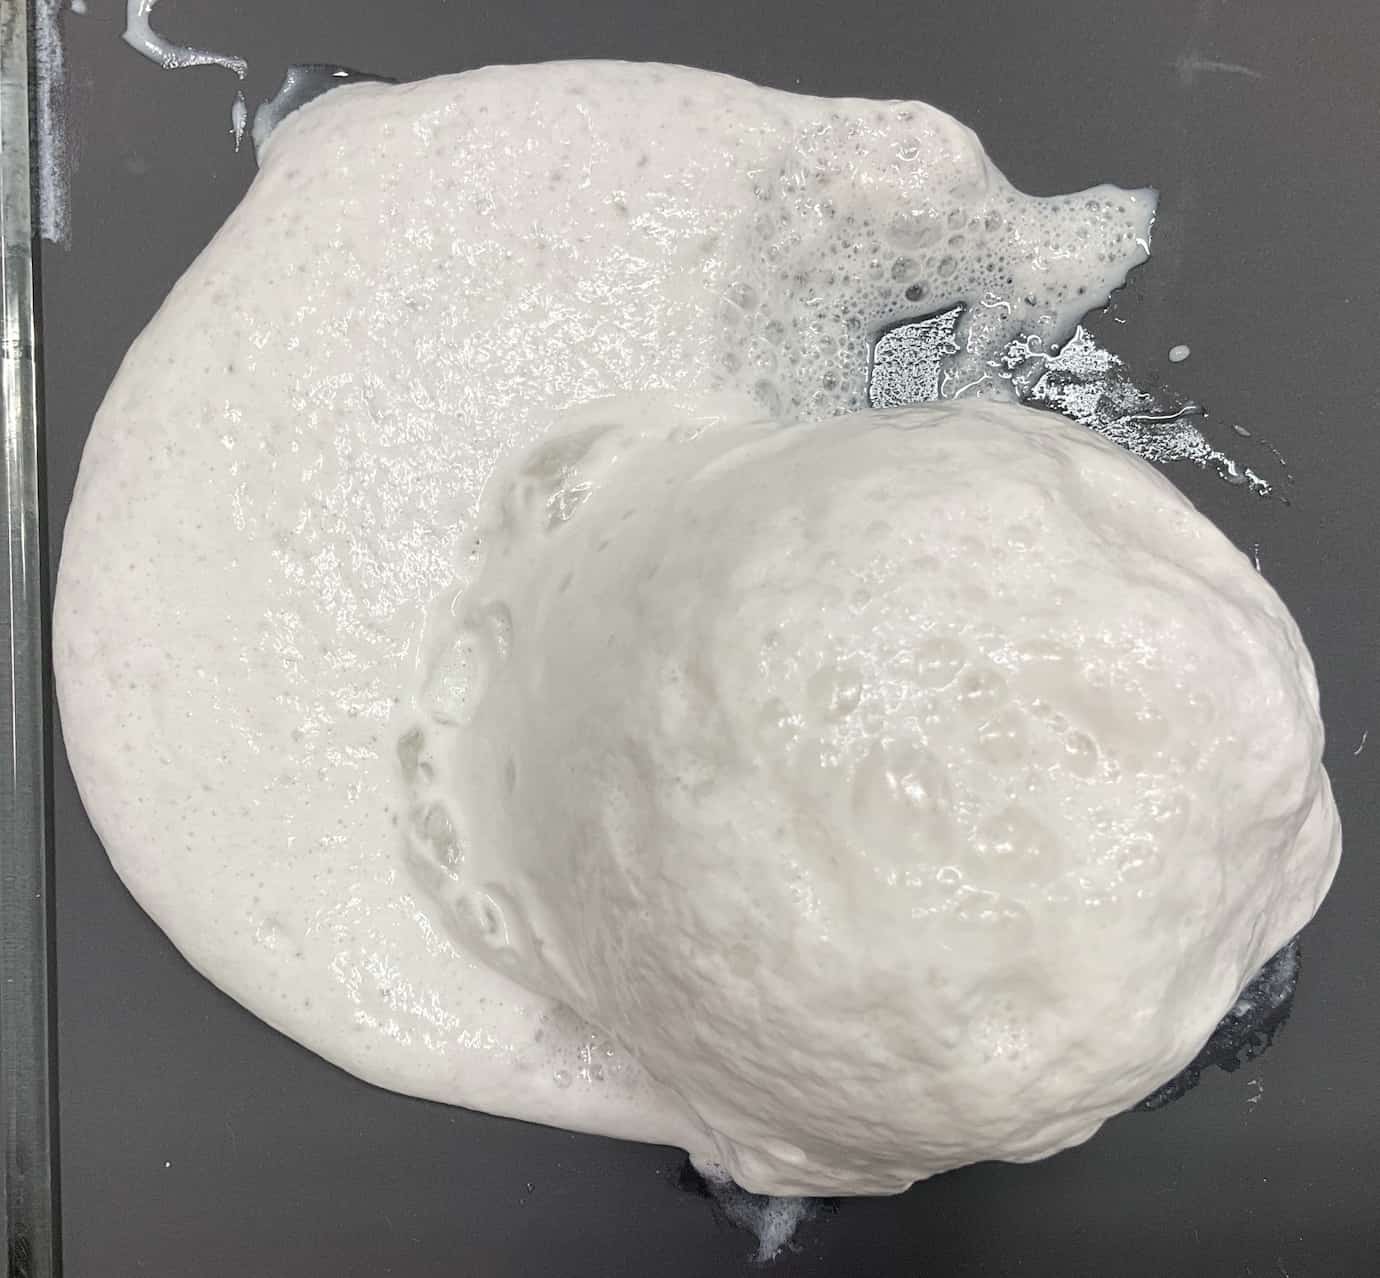
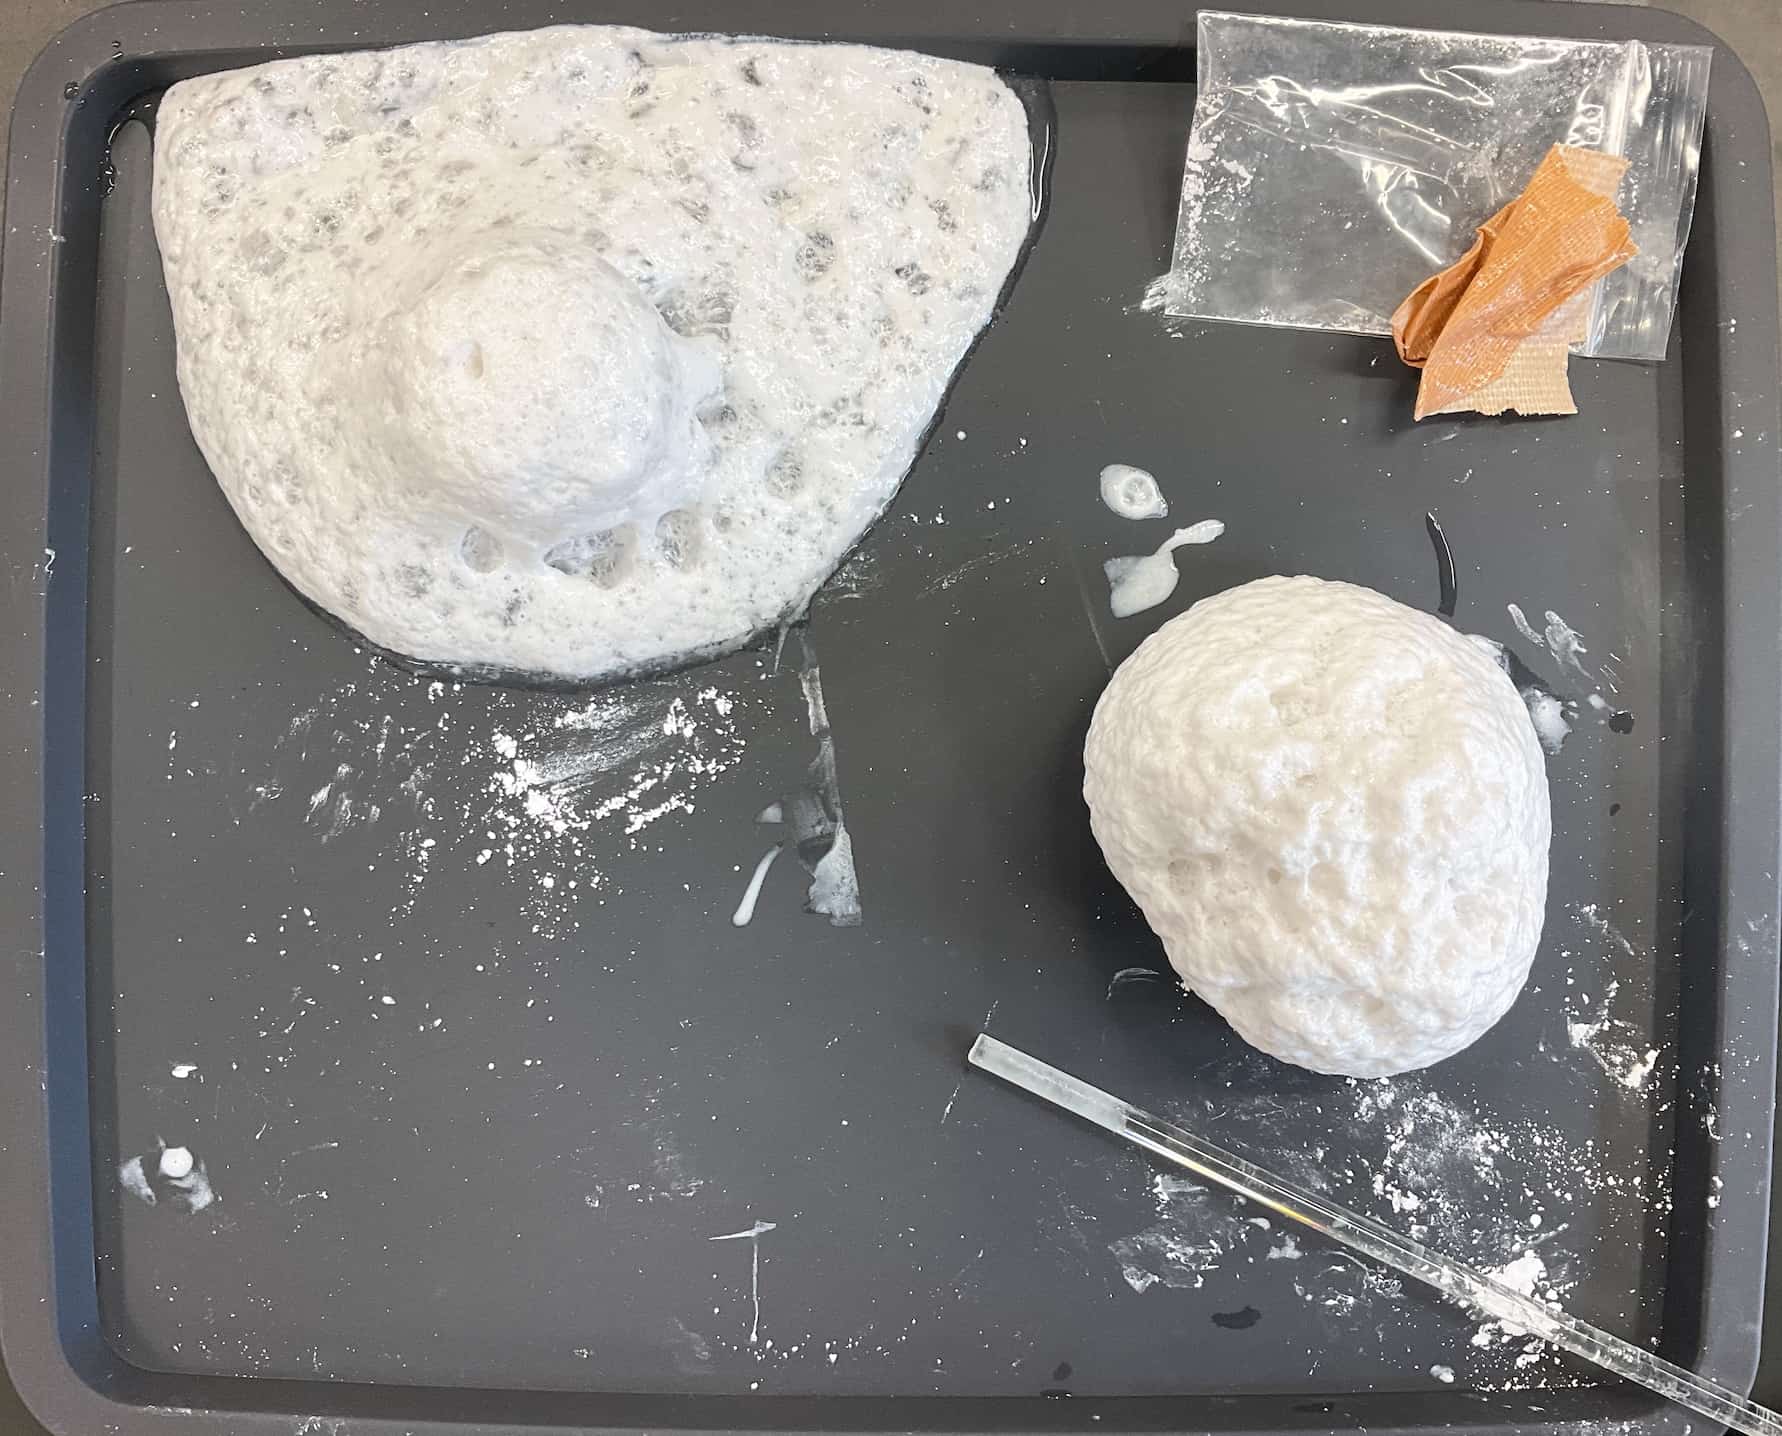
Here’s what happens when you perform the experiment.
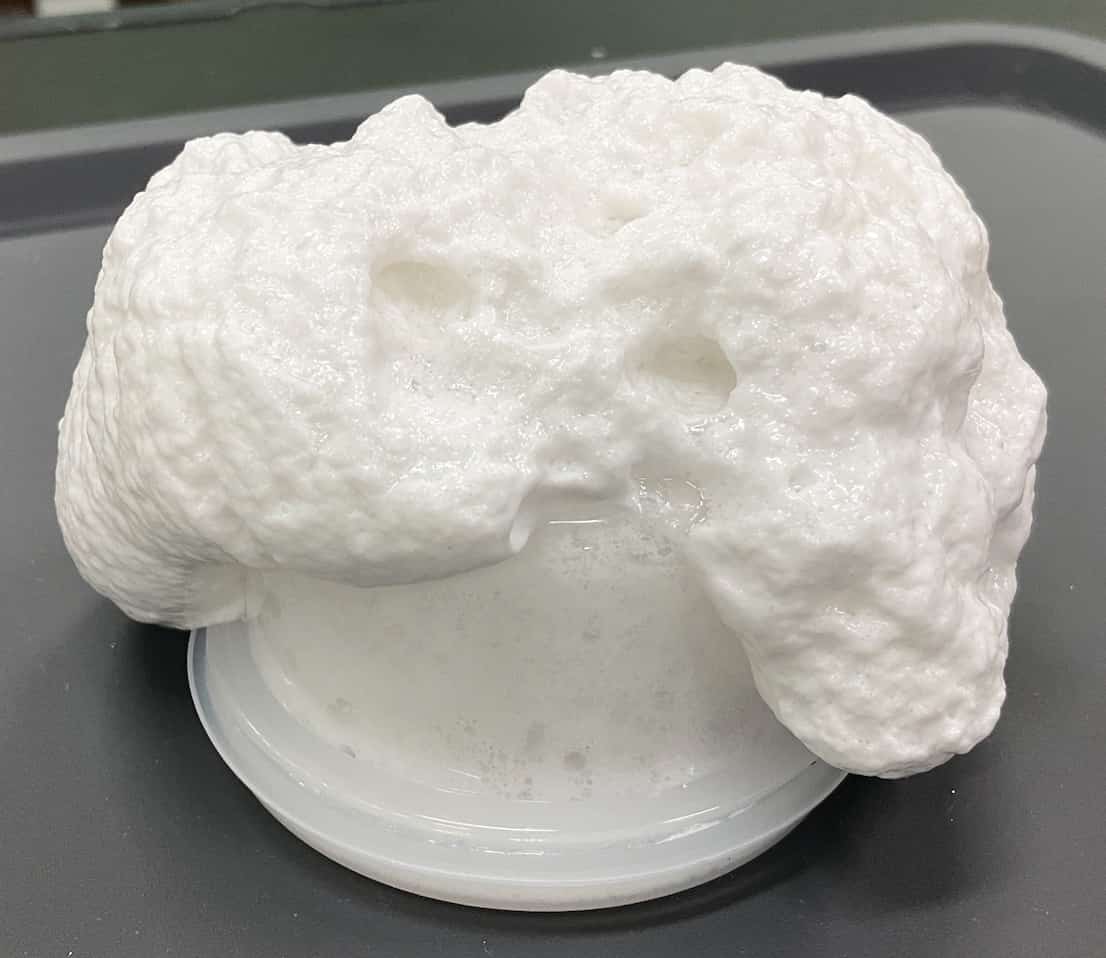
High-Viscosity Magma

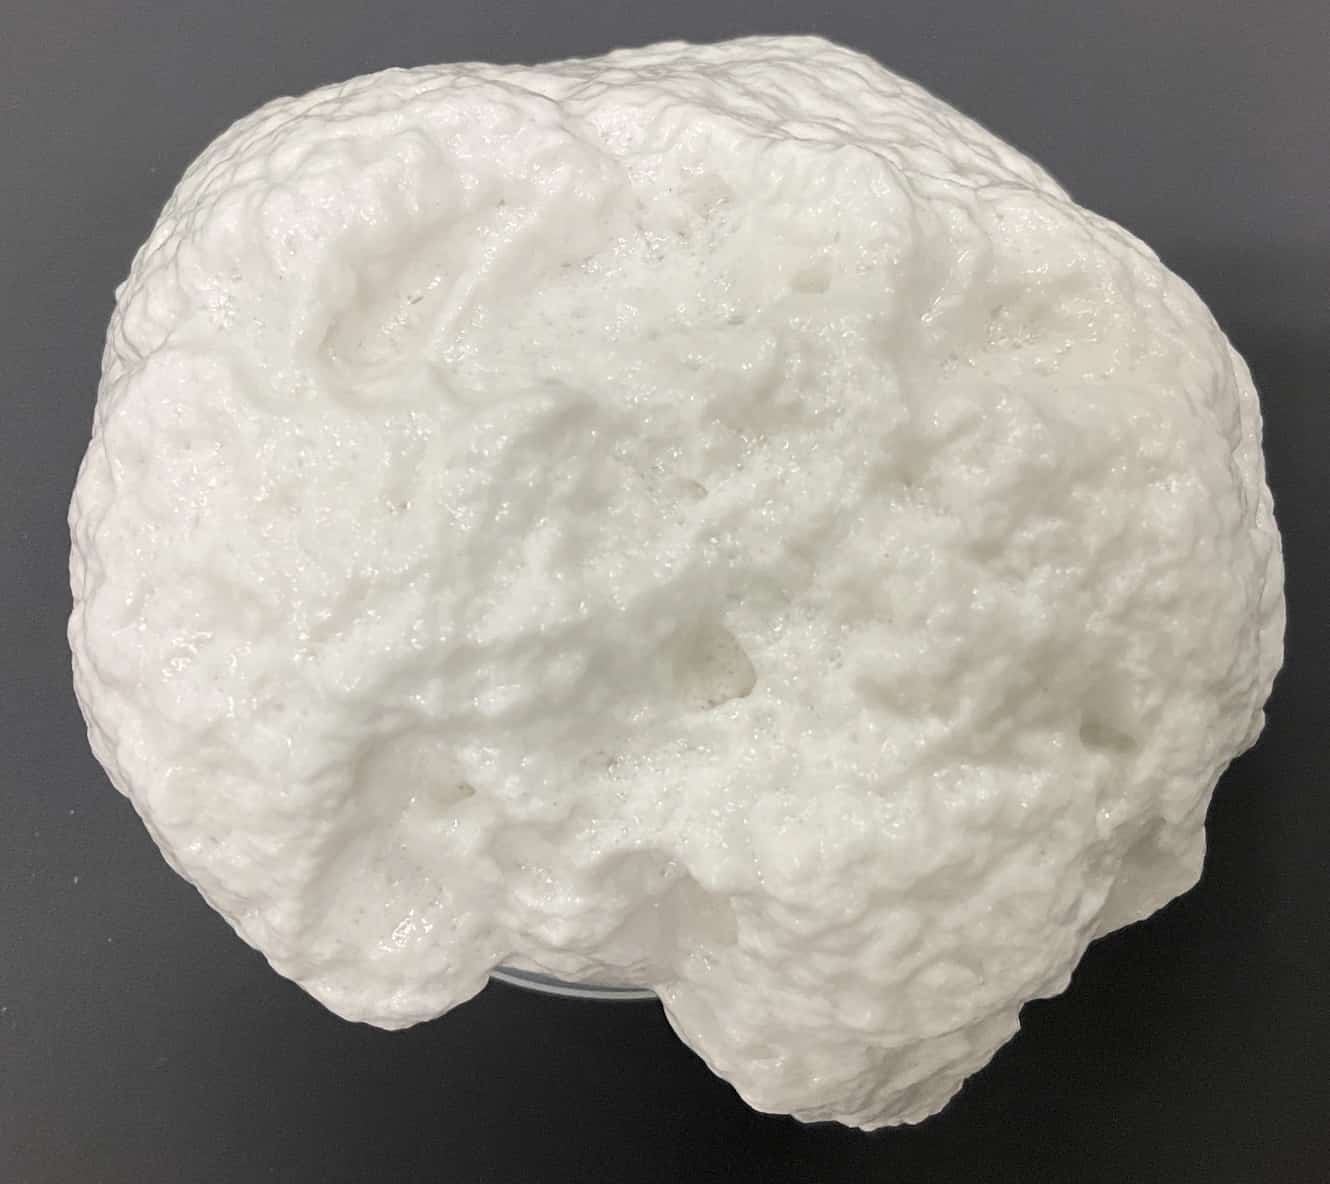
Low-Viscosity Magma
We prepared four sets for our students, and it was a huge success! The proportions were perfect—a big thank you to Mr. H for his help.
Why Does This Mixture Erupt?
The key to this experiment lies in the chemical reaction between the plaster, baking soda, and water.
1. Carbon Dioxide Production from Baking Soda’s Decomposition: When baking soda (sodium bicarbonate: NaHCO₃) dissolves in water, some of it breaks down to produce carbonate ions (CO₃²⁻), bicarbonate ions (HCO₃⁻), and ultimately, carbon dioxide (CO₂) and water.
2NaHCO₃ ⇌ Na₂CO₃ + H₂O + CO₂↑
2. Carbon Dioxide Production from the Plaster-Baking Soda Reaction: Calcium ions (Ca²⁺) from the dissolved plaster (calcium sulfate: CaSO₄) react with the bicarbonate ions (HCO₃⁻) from the baking soda. This reaction creates a precipitate of calcium carbonate (CaCO₃) and, at the same time, generates carbon dioxide (CO₂) and water.
CaSO₄ + 2NaHCO₃ → CaCO₃↓ + Na₂SO₄ + H₂O + CO₂↑
The Role of Laundry Starch (PVA)
The polyvinyl alcohol (PVA) found in the laundry starch shows a high viscosity when dissolved in water due to its long, tangled molecules. This PVA plays a crucial role by trapping the carbon dioxide gas bubbles. This prevents the gas from escaping all at once, allowing it to slowly expand and then erupt, creating a “viscous eruption.”
If you use less PVA, the bubbles escape quickly, resulting in a runny eruption (like a Hawaiian shield volcano). If you use more, the mixture becomes very thick, and it will slowly build a dome (like a lava dome such as Showa-shinzan).
Through this experiment, students don’t just see how a volcano’s shape is created. They also gain a deeper understanding of how the underlying chemical reactions and physical properties of materials influence a natural phenomenon like an eruption.
With a little ingenuity and some trial and error, this volcano eruption experiment can become a truly captivating lesson that inspires students’ curiosity. I highly recommend you try it in your next class!
NEW 分解問題集 理科
- 7月21日発売!『高校入試 分解問題集 理科』(学研)…難しい問題も小さな問題に分解することで、問題を解くことができます。そんな分解の技術が身につくように深く関わりを持って作りました。
7月のイチオシ実験!
夏でプシュッと爽やか実験!

テレビ番組監修・イベント等のお知らせ
- 7月18日(土)「TIF presents ONE SONG FES. 」(フジテレビ)
- 7月18日(土) 教員向け実験講習会「ナリカカサイエンスアカデミー」
- 7月23日(木)科学監修 19:00〜 THE突破ファイル(日本テレビ)
- 7月30日(水) 監修したテレビ番組放送予定
- 12月26日(土) ナリカサイエンスアカデミー(教員向け実験講習会)開催
書籍のお知らせ
- 『大人のための高校物理復習帳』(講談社)…一般向けに日常の物理について公式を元に紐解きました。特設サイトでは実験を多数紹介しています。※増刷がかかり6刷となりました(2026/02/01)

- 『きめる!共通テスト 物理基礎 改訂版』(学研)… 高校物理の参考書です。イラストを多くしてイメージが持てるように描きました。授業についていけない、物理が苦手、そんな生徒におすすめです。特設サイトはこちら。

各種SNS(更新情報をお届け!)
【日本語】X(Twitter)/instagram/Facebook 【英語】BlueSky/Threads
Explore
- 楽しい実験…お子さんと一緒に夢中になれるイチオシの科学実験を多数紹介しています。また、高校物理の理解を深めるための動画教材も用意しました。
- 理科の教材… 理科教師をバックアップ!授業の質を高め、準備を効率化するための選りすぐりの教材を紹介しています。
- Youtube…科学実験等の動画を配信しています。
- 科学ラジオ …科学トピックをほぼ毎日配信中!AI技術を駆使して作成した「耳で楽しむ科学」をお届けします。
- 講演 …全国各地で実験講習会・サイエンスショー等を行っています。
- About …「科学のネタ帳」のコンセプトや、運営者である桑子研のプロフィール・想いをまとめています。
- お問い合わせ …実験教室のご依頼、執筆・講演の相談、科学監修等はこちらのフォームからお寄せください。