Ken Kuwako, Your Science Trainer: Every Day’s an Experiment!
Do you ever stop to think about “crystals” in your daily life? They’re actually all around us! Take the frost on your window on a cold winter morning, the intricate patterns of snowflakes, or even the tiny grains of sugar and salt on your table – all are small crystals. But how exactly do these wonders form? Most of us probably haven’t given it much thought.
This time, we’re diving into an exciting experiment called “Recrystallization.” It’s a topic usually covered in junior high chemistry, and it’s all about creating crystals with your own hands – something we don’t often consciously observe in our daily lives. Specifically, we’ll learn how to extract crystals using potassium nitrate and sodium chloride. Through this experiment, you’ll get a firsthand feel for solubility and the effects of temperature, deepening your understanding of material properties. Let’s jump right into how it’s done!
Experiment Steps
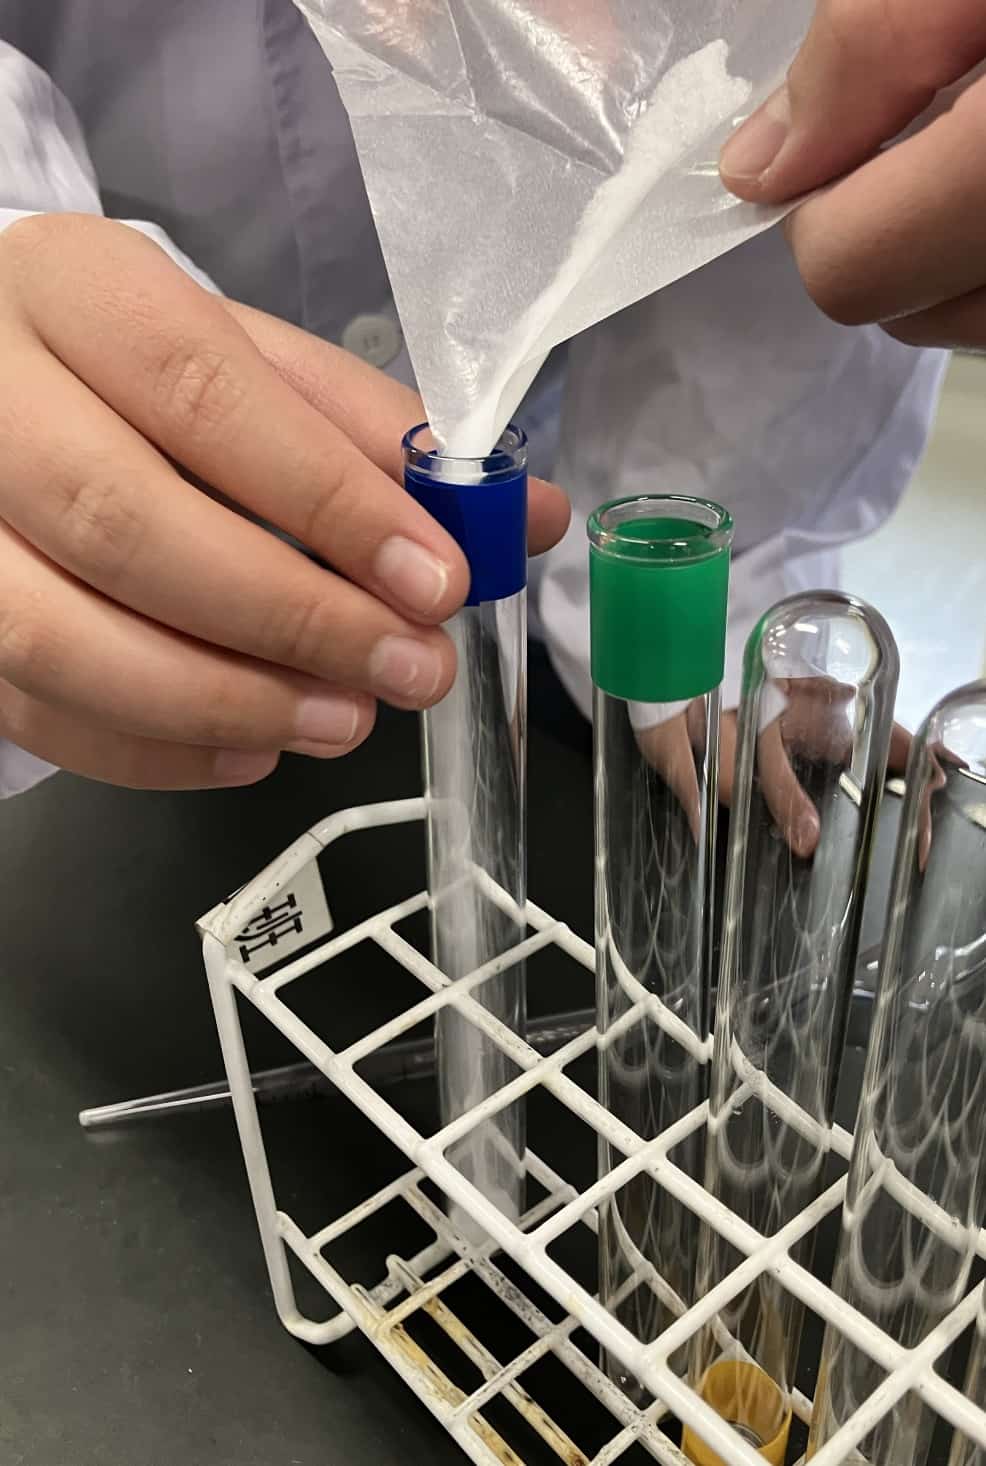
⓪ Pre-Experiment Prep
Prepare 3g of table salt (red) and 3g of potassium nitrate (blue) in separate weighing papers and place them in test tubes. To speed things up, it’s a good idea to pre-measure the salt and potassium nitrate into weighing papers. I asked our science assistant to prepare these in advance, and it took about 30 minutes.

① Dissolving in Test Tubes
Place 3g of each substance into separate test tubes. Then, add 5mL of water to each. Submerge the test tubes in a beaker of hot water and gently shake to mix thoroughly. (I instructed students to put potassium nitrate in the blue-labeled tube and sodium chloride in the red-labeled tube.) Some students struggle to accurately measure 5mL with a pipette, so it’s important to provide prior guidance on how to hold and use a pipette correctly.
Potassium nitrate dissolves completely.
Some groups of students, due to less efficient handling, had their hot water cool down, preventing everything from dissolving properly. We added more hot water for them, but this experiment takes a full 50 minutes, so timing is crucial. If not everything dissolves after a while, transfer approximately 2mL of the supernatant liquid (the dissolved part) to a separate test tube (the one with the green label).
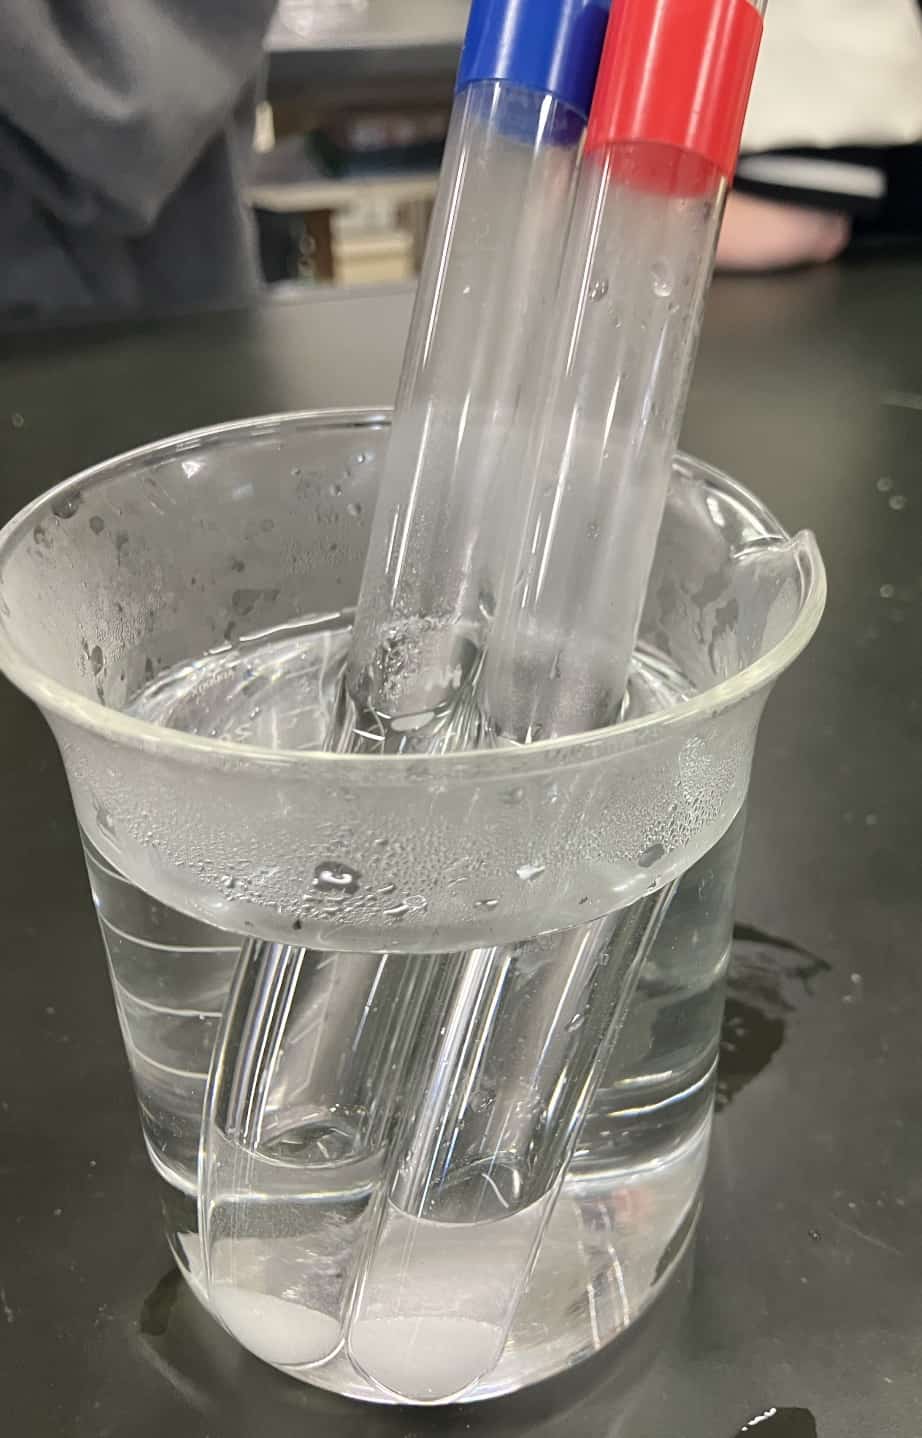
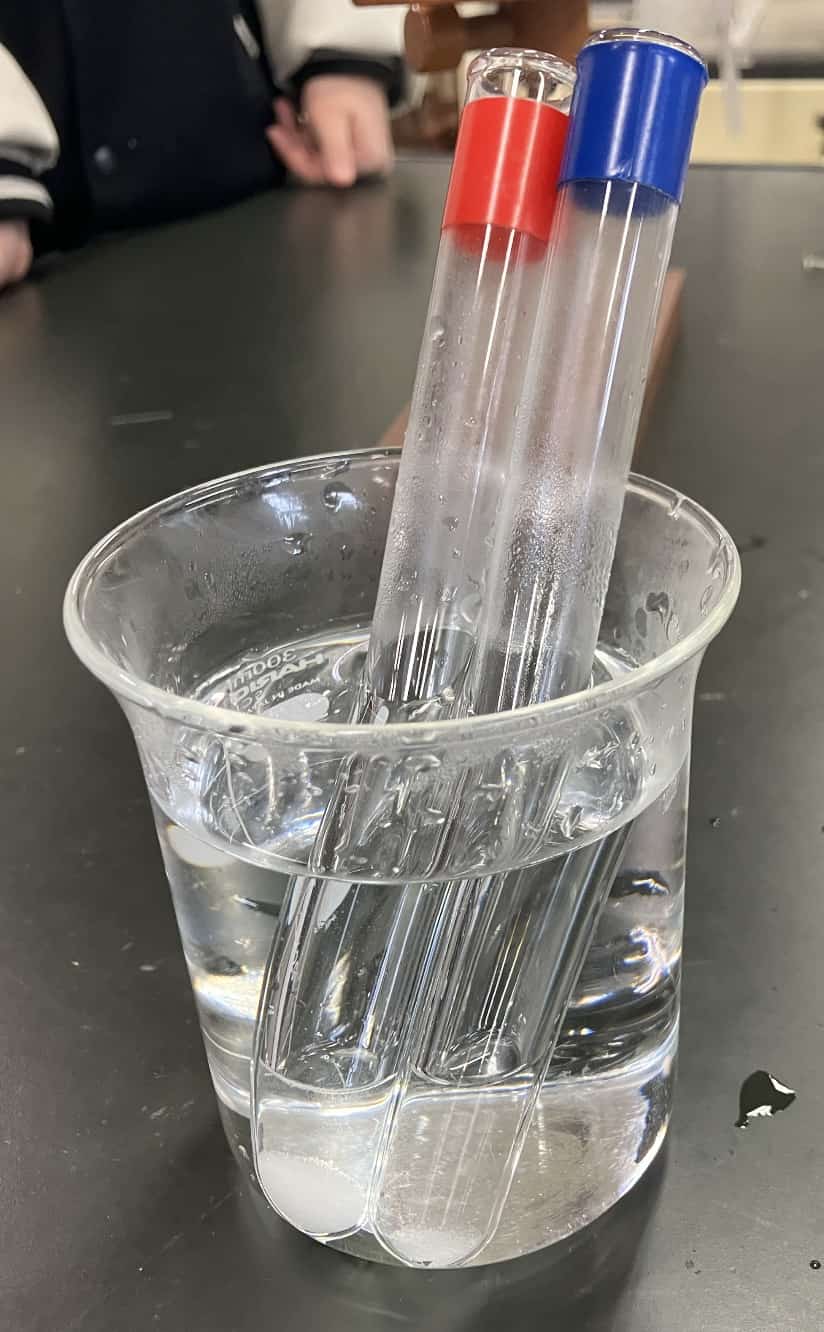
② Cooling the Solution and Observing
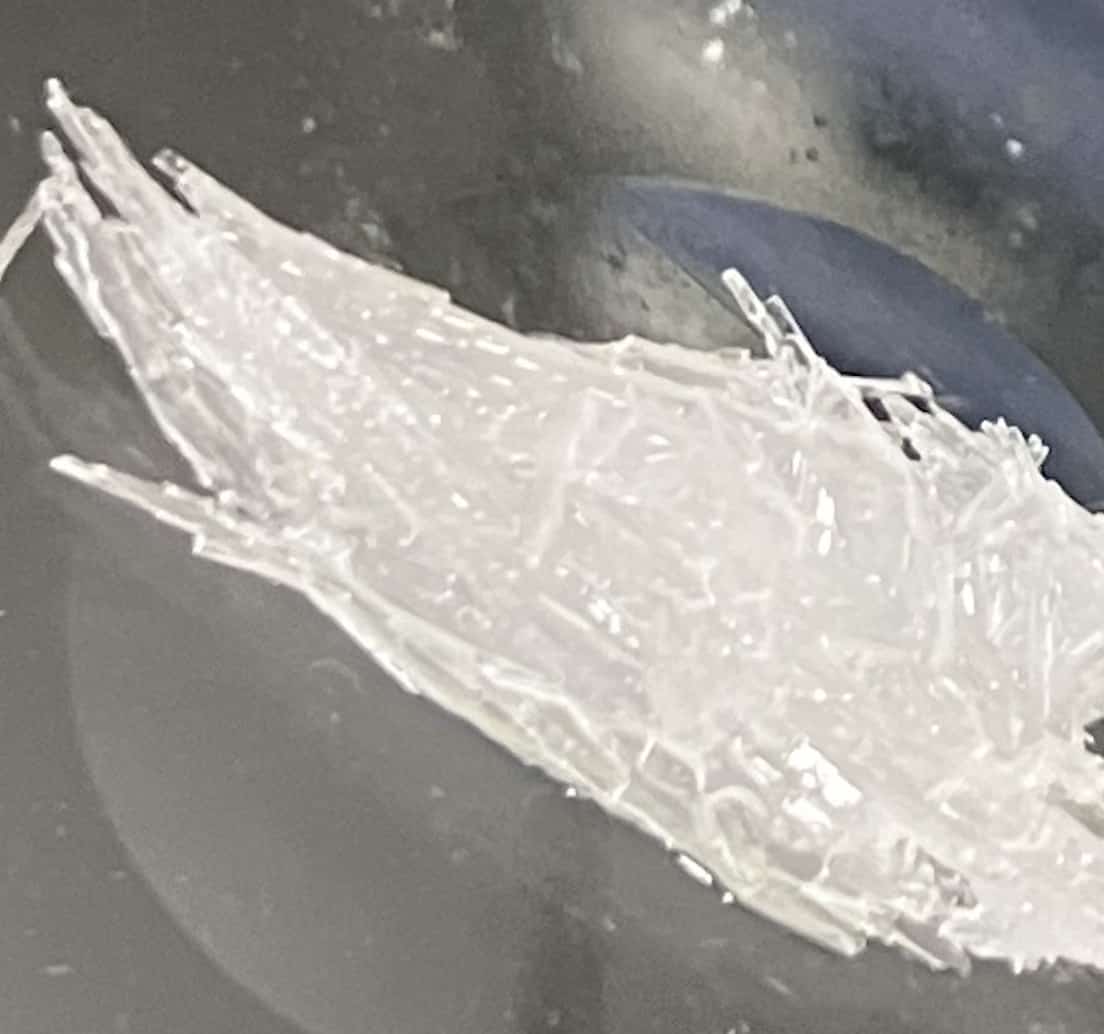
Once everything in the blue-labeled tube (potassium nitrate) is dissolved, even if there’s undissolved material in the red one, place both test tubes into a beaker filled with water to cool them down. What happens next? The solute (solid component) in the potassium nitrate solution will start to appear as crystals! Once crystals form, place the test tube in a test tube rack and observe them. You’ll see beautiful, needle-like crystals.
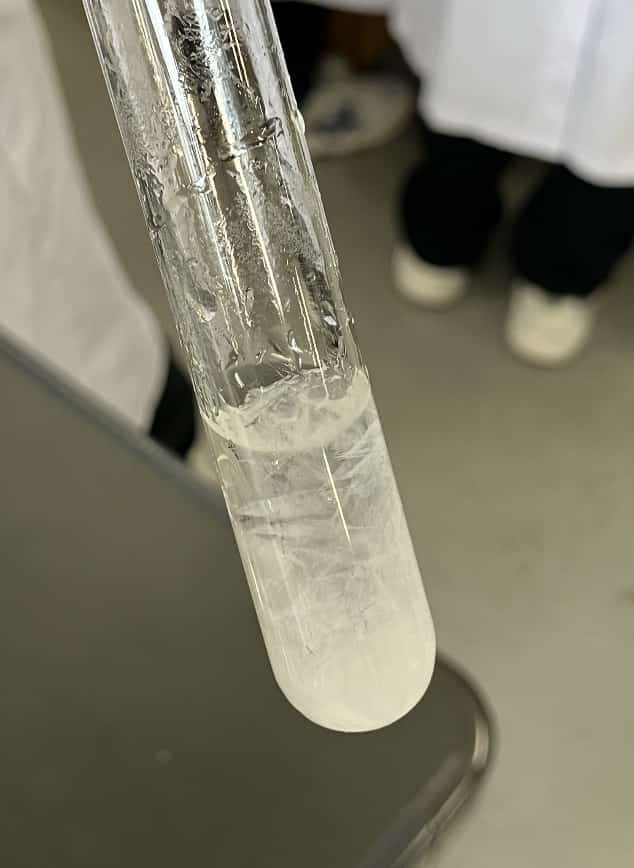
Potassium nitrate crystals forming
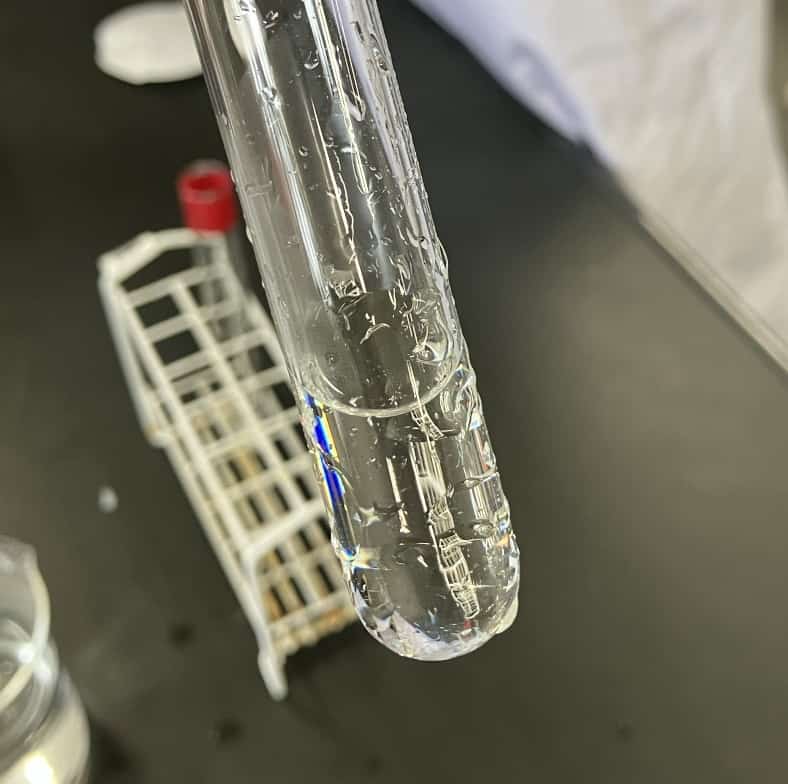
No crystals appear from sodium chloride.

③ Filtration and Microscopic Observation
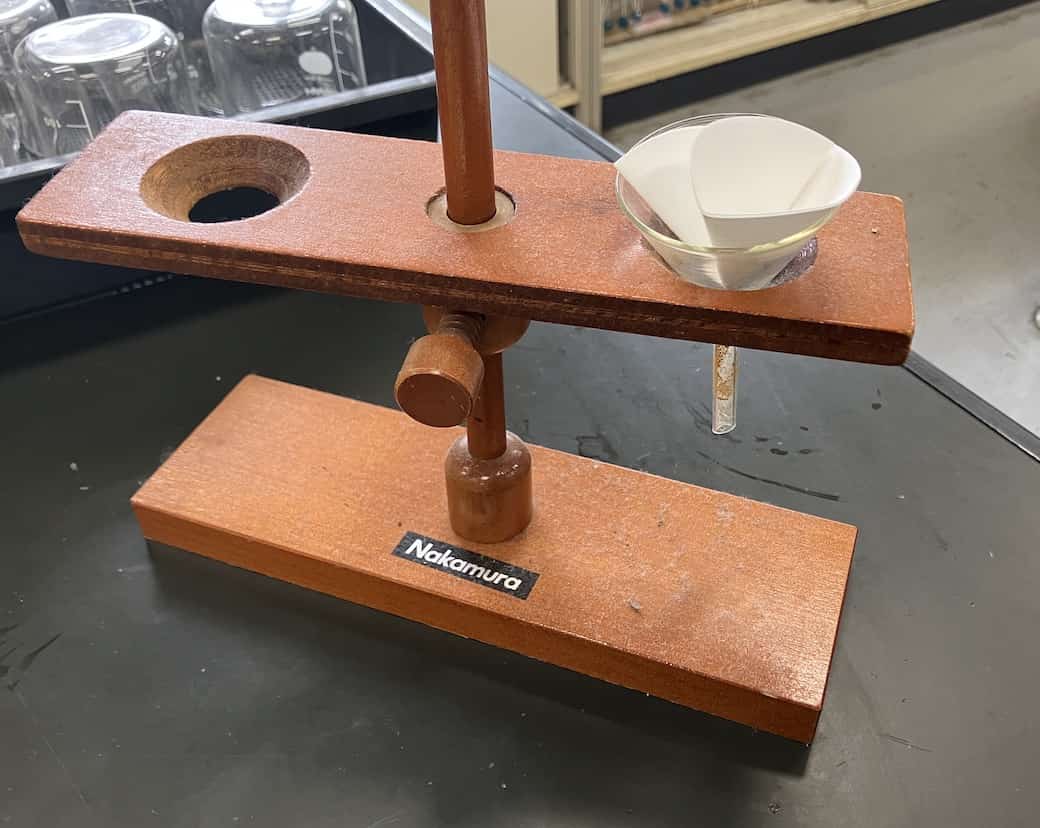
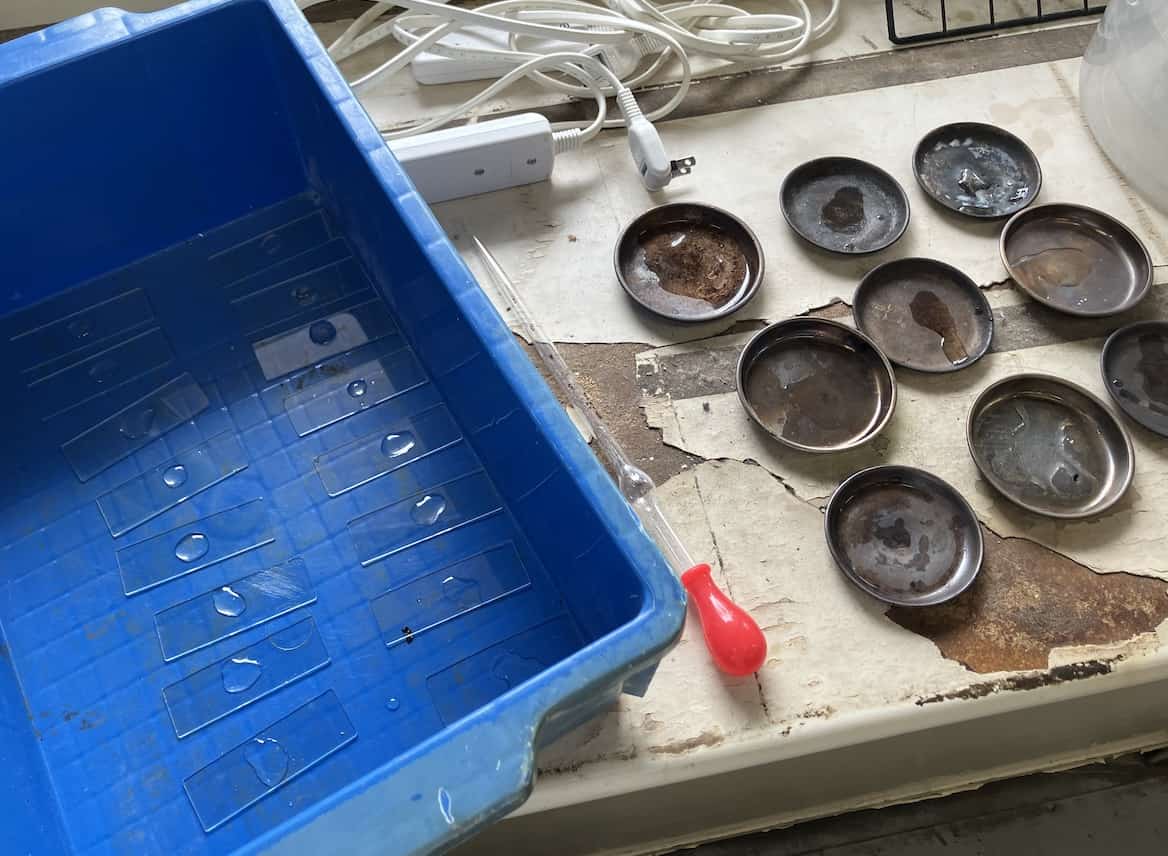
Filter the potassium nitrate solution with filter paper to extract the solid. You could observe it immediately, but since we also want to see the salt crystals, we’ll proceed by dividing the solutions into two parts. One part will be left for natural evaporation, and the other will have the water boiled off. First, let’s look at the boiling method.
This is the method where we boil off the water.
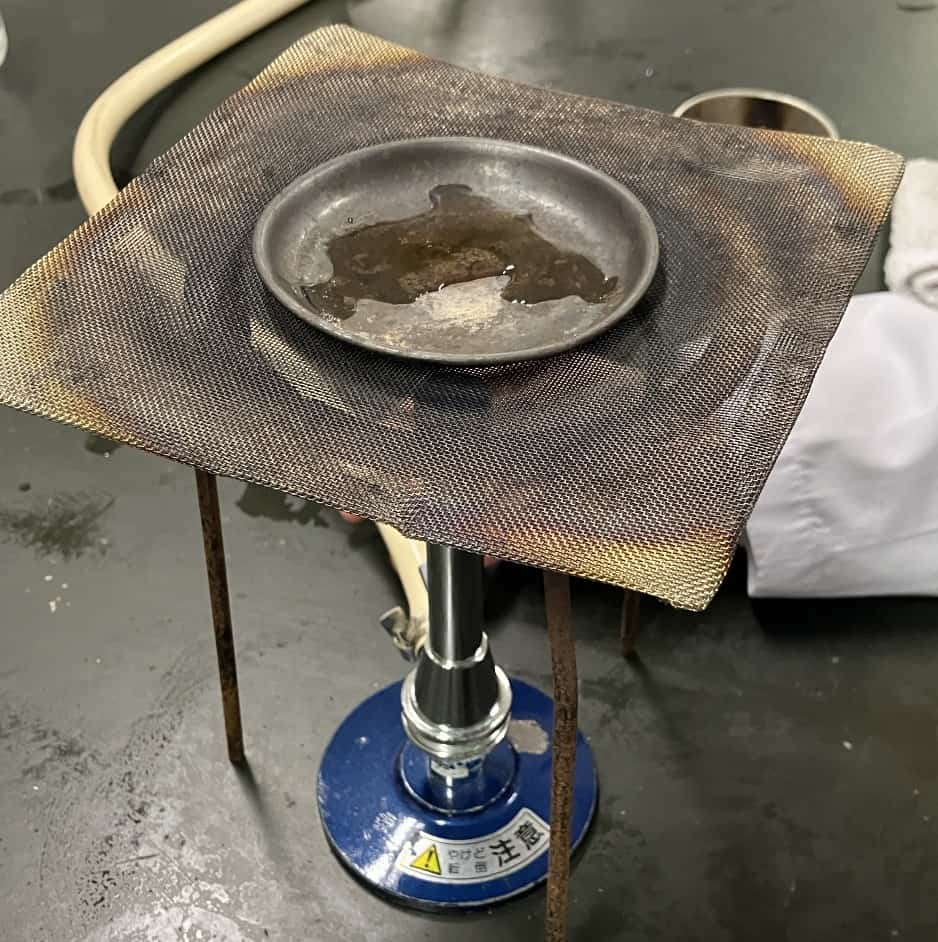
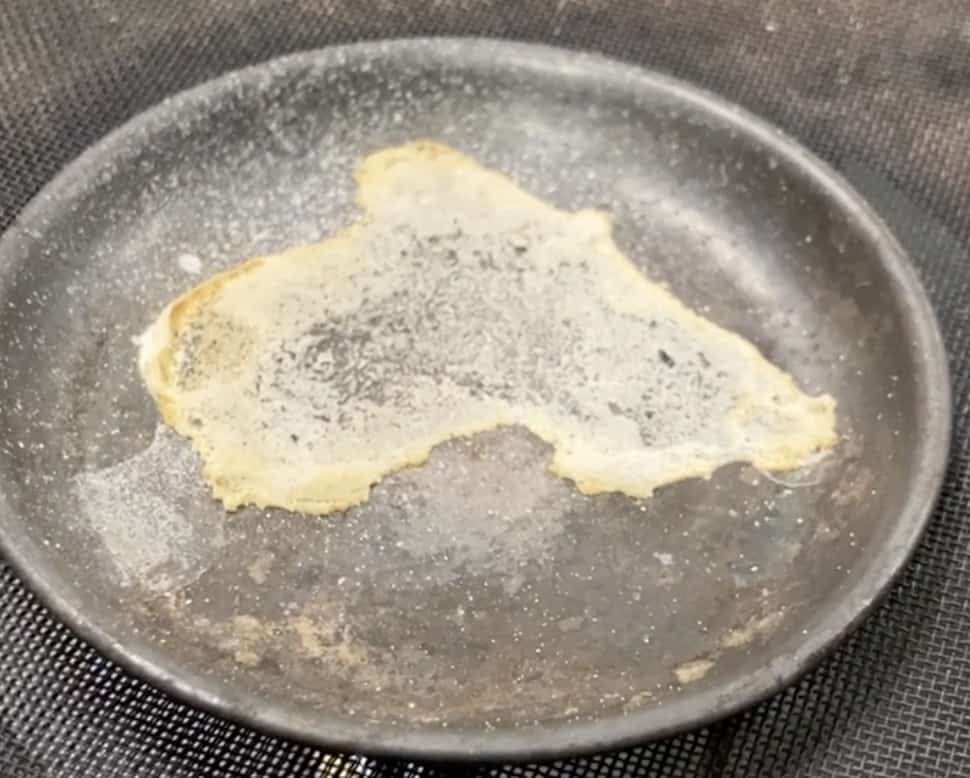
Be careful when heating, as salt can sometimes splatter. Make sure to wear safety goggles! This is what it looks like in the end.
Collect the crystals with a spatula and examine them with a magnifying glass or a microscope. Under the microscope, you’ll find that table salt shows very few discernible crystals.
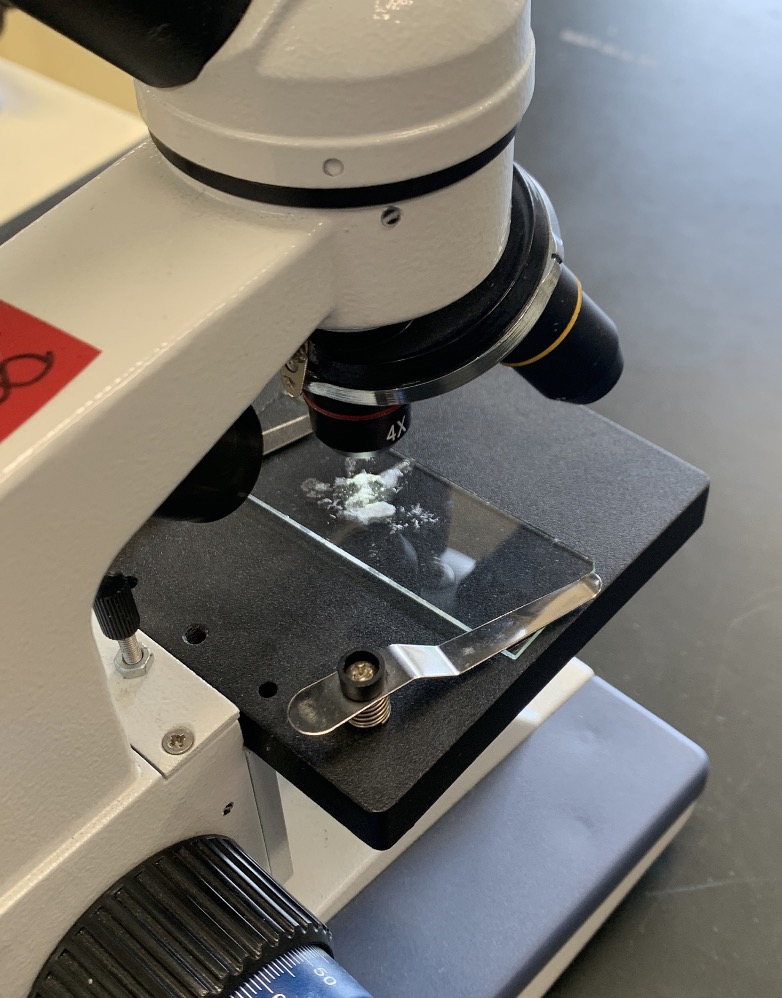
Observing under a microscope
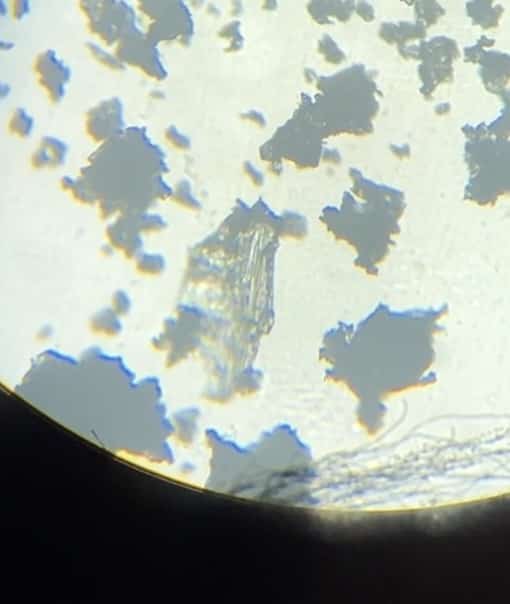
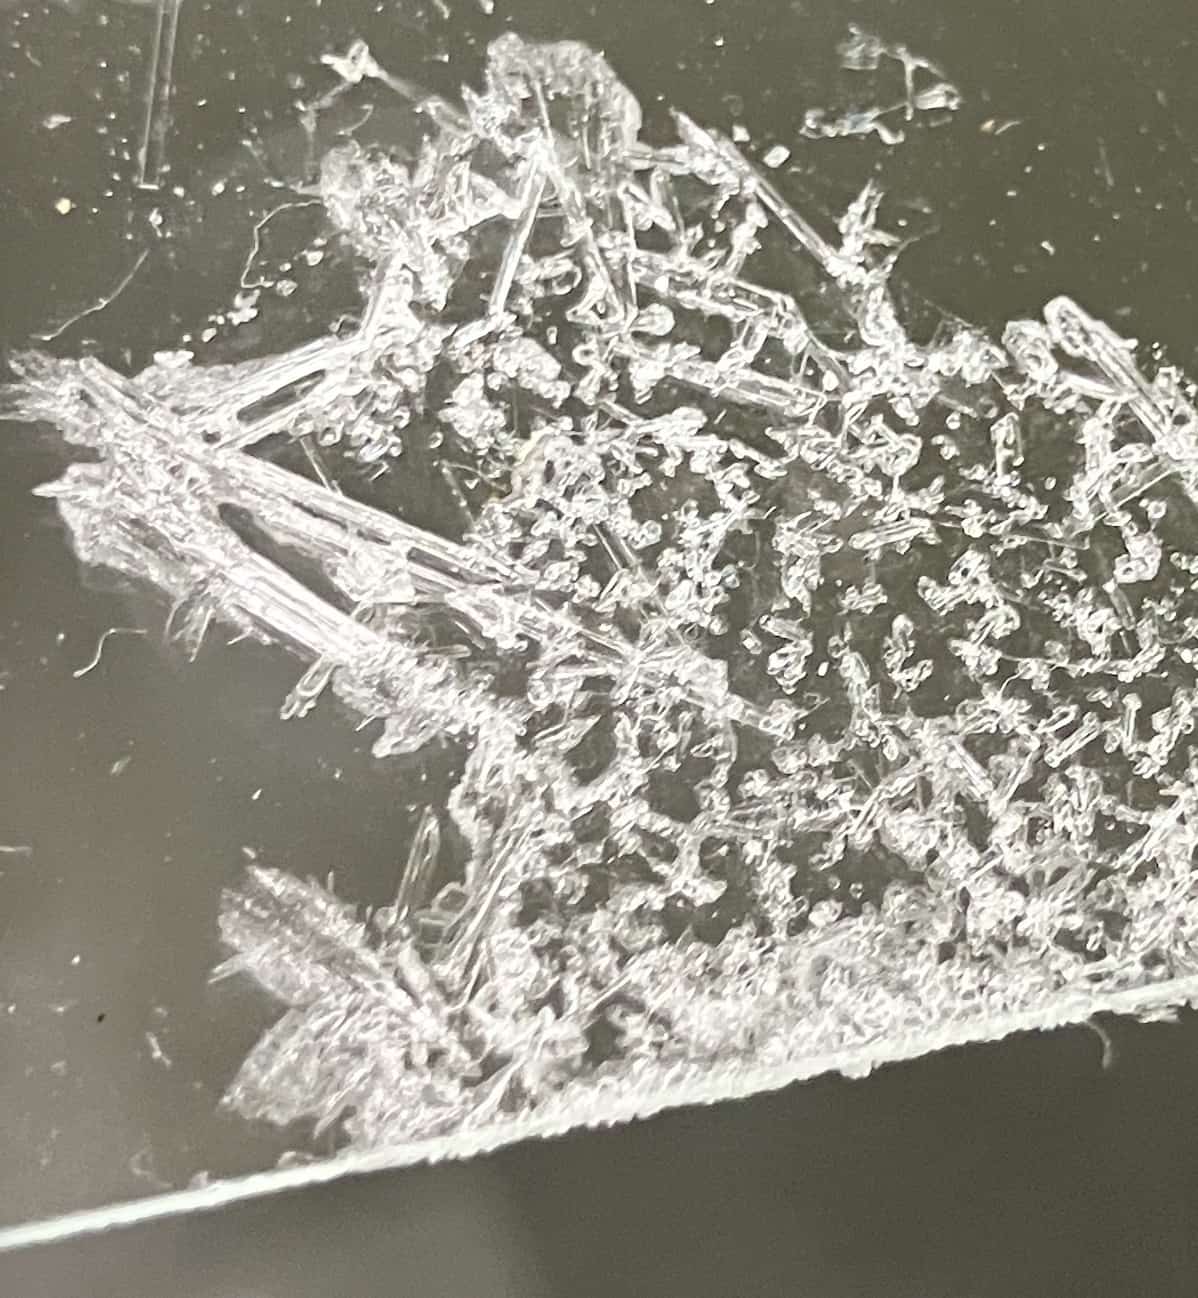
Now, let’s take the potassium nitrate crystals from the filter paper with a spatula and observe them under the microscope. Even with the naked eye, you can see surprisingly delicate crystals. They are simply beautiful! You can clearly see the needle-like crystals.
Magnified view:
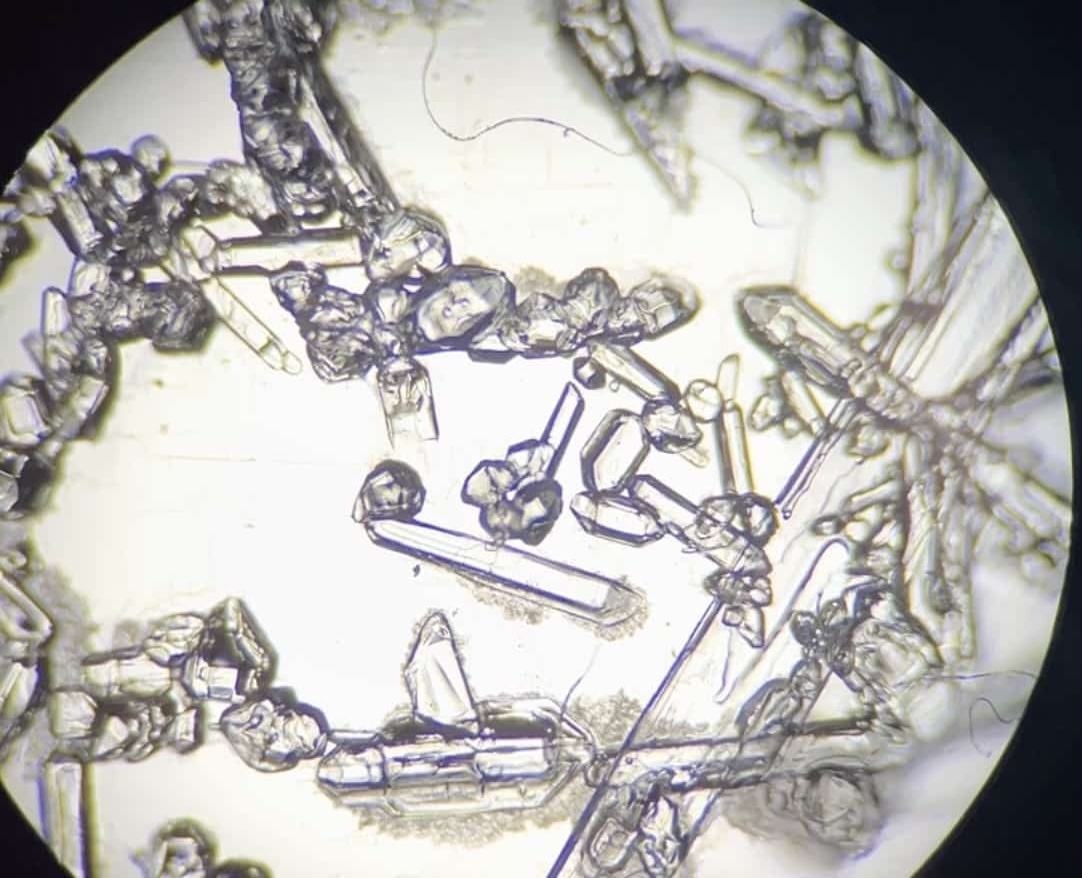
Observing on a slide under a microscope (Potassium Nitrate)
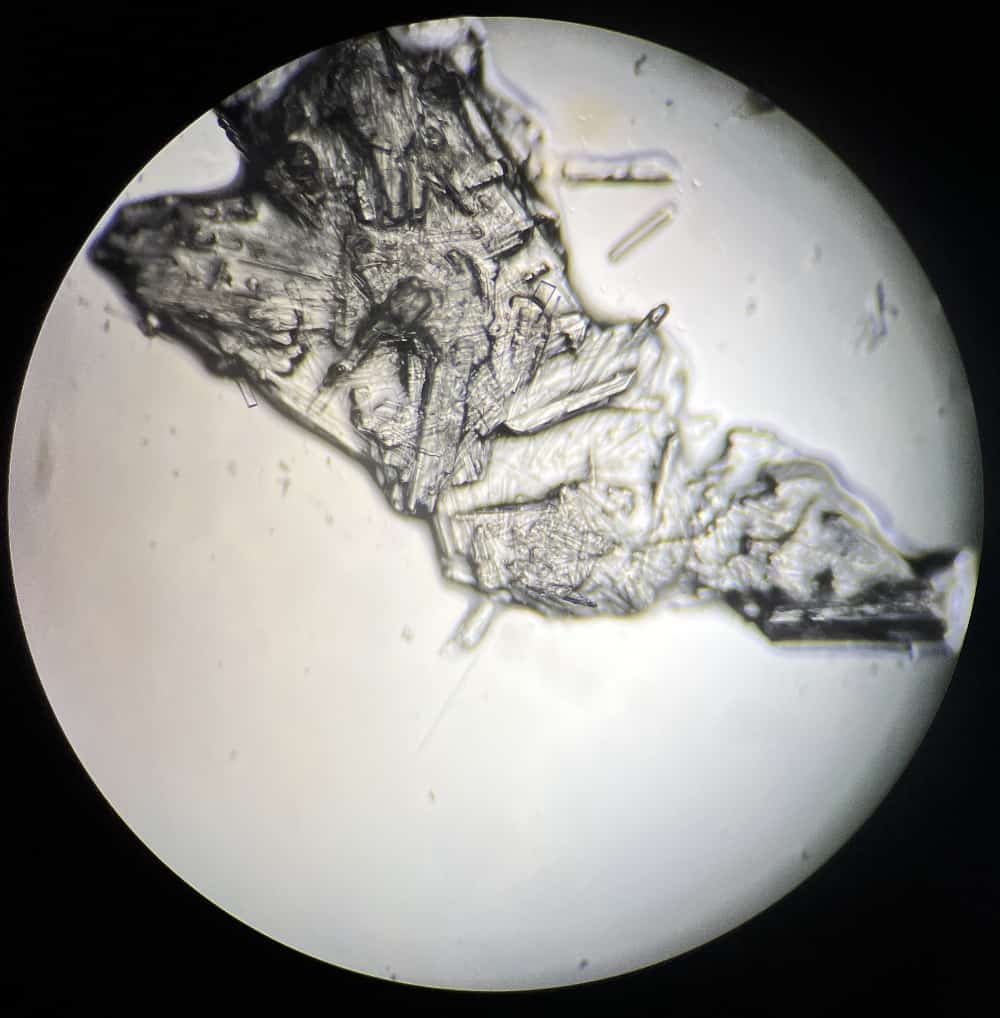
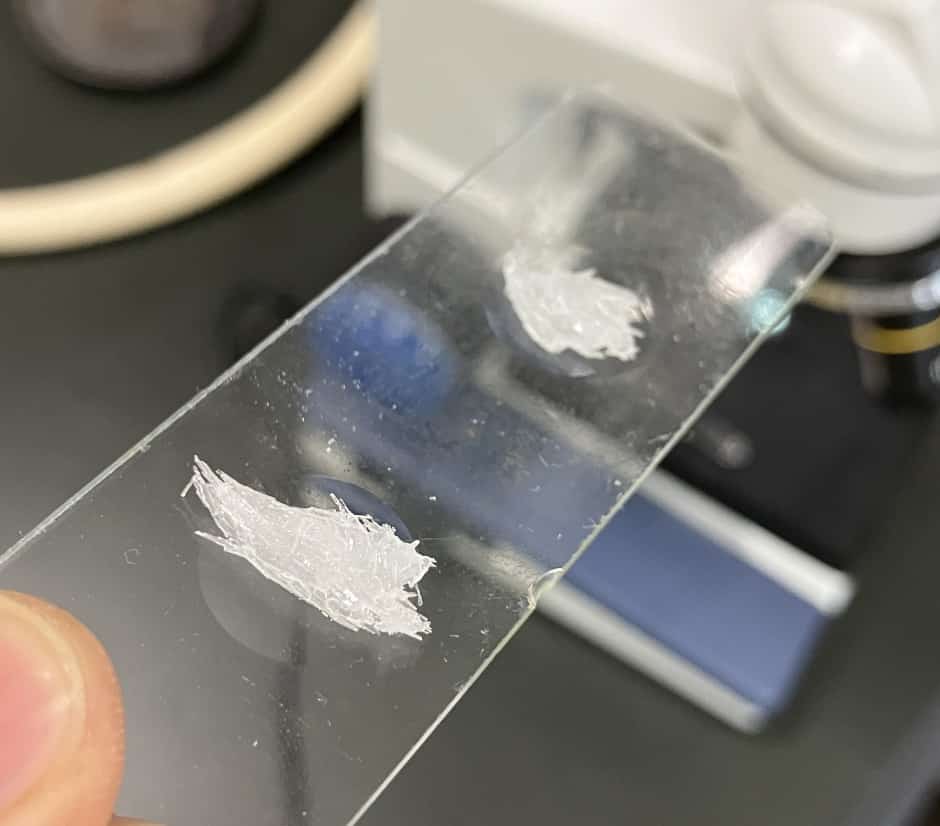
This is what they look like. For the naturally dried samples, we collected them and dripped them onto microscope slides.
We’ll observe these in the next session.
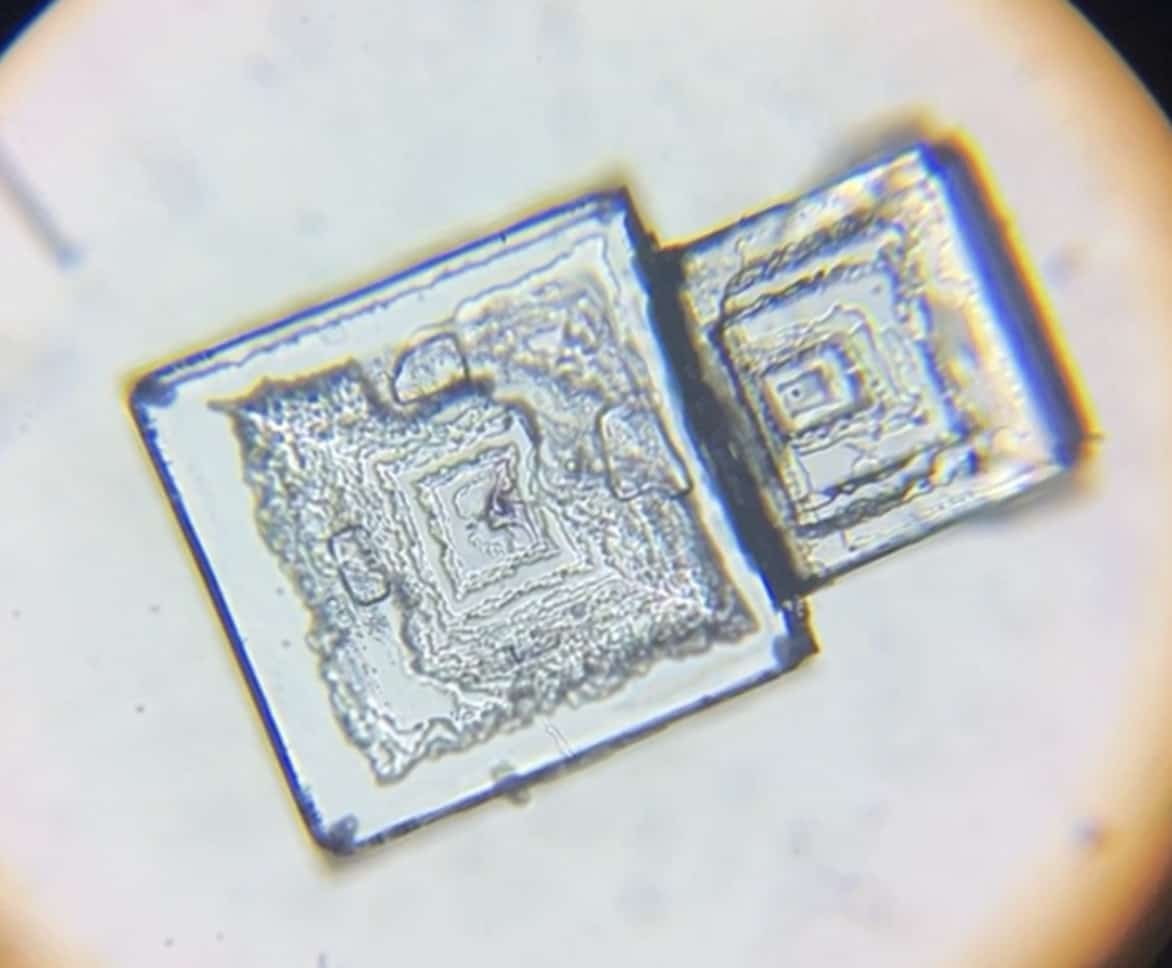
④ Later Observation of Sodium Chloride Crystals
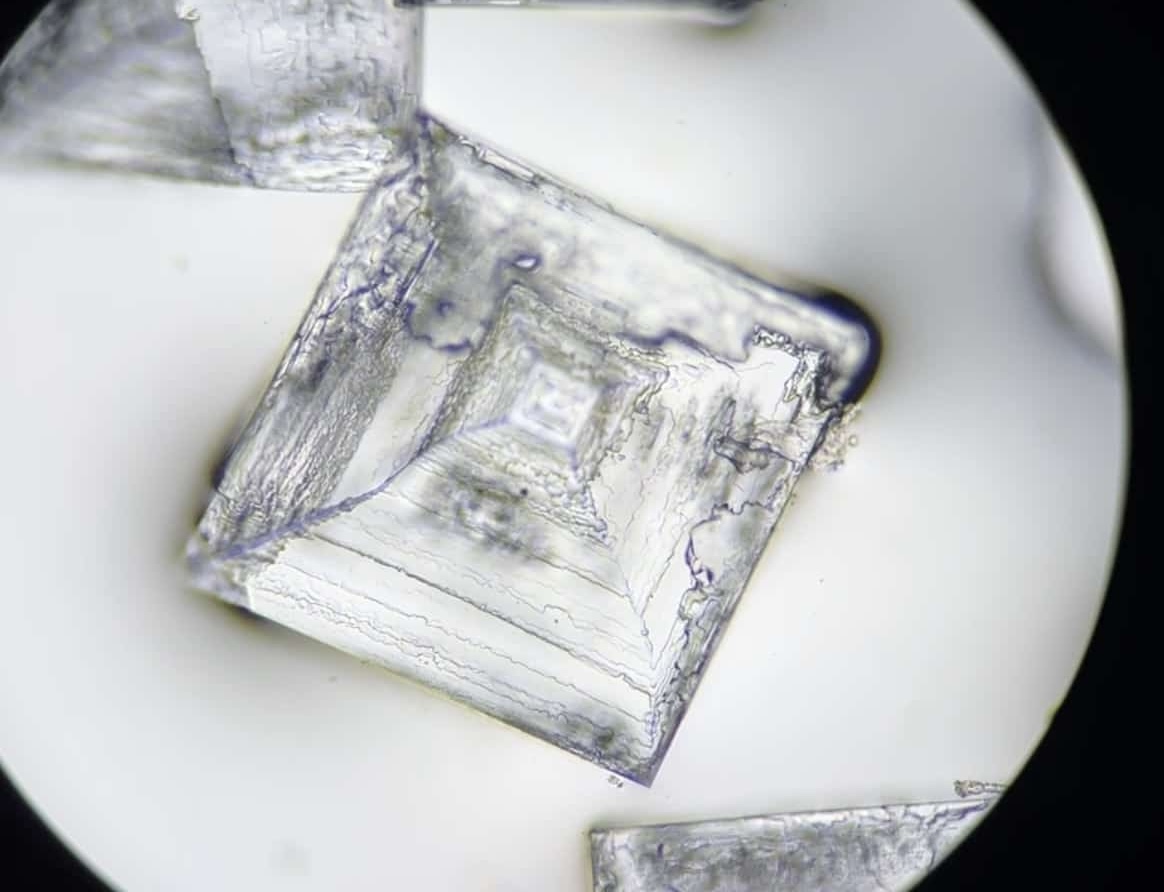
Take a good look at the shapes and patterns of the crystals. After observing them, be sure to sketch their beautiful forms to record them. Sodium chloride crystals (you can see a square-like structure).

You can even observe the square structure with the naked eye. We also looked at it under a microscope.

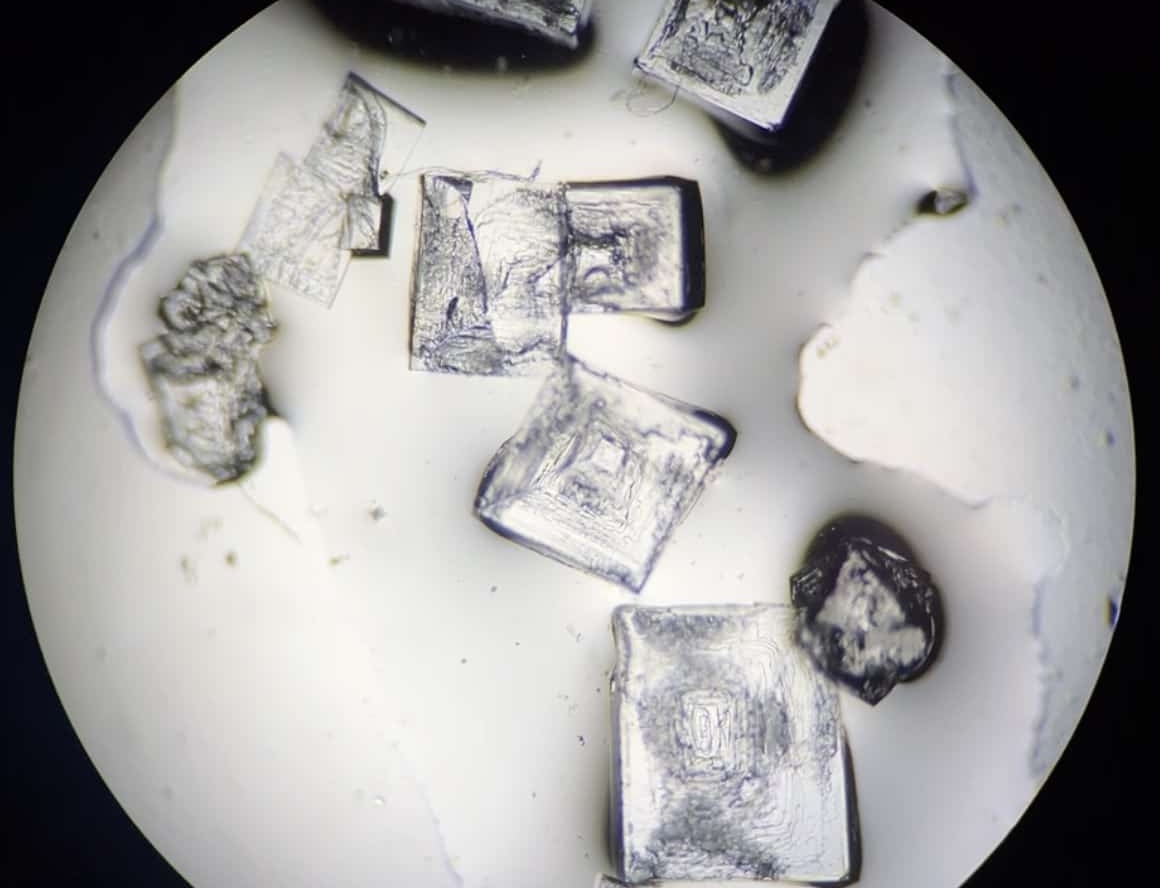
Zooming in…
Similarly, we air-dried the potassium nitrate. Here’s what that looks like.
The recrystallization experiment is a truly exciting experience where you get to see invisible solutes reappear as solids right before your eyes! When students create crystals with their own hands, they’ll surely feel the wonder of science up close. If you want to grow even bigger crystals, the next step would be to challenge them with methods for growing larger crystals – that would be a lot of fun too!
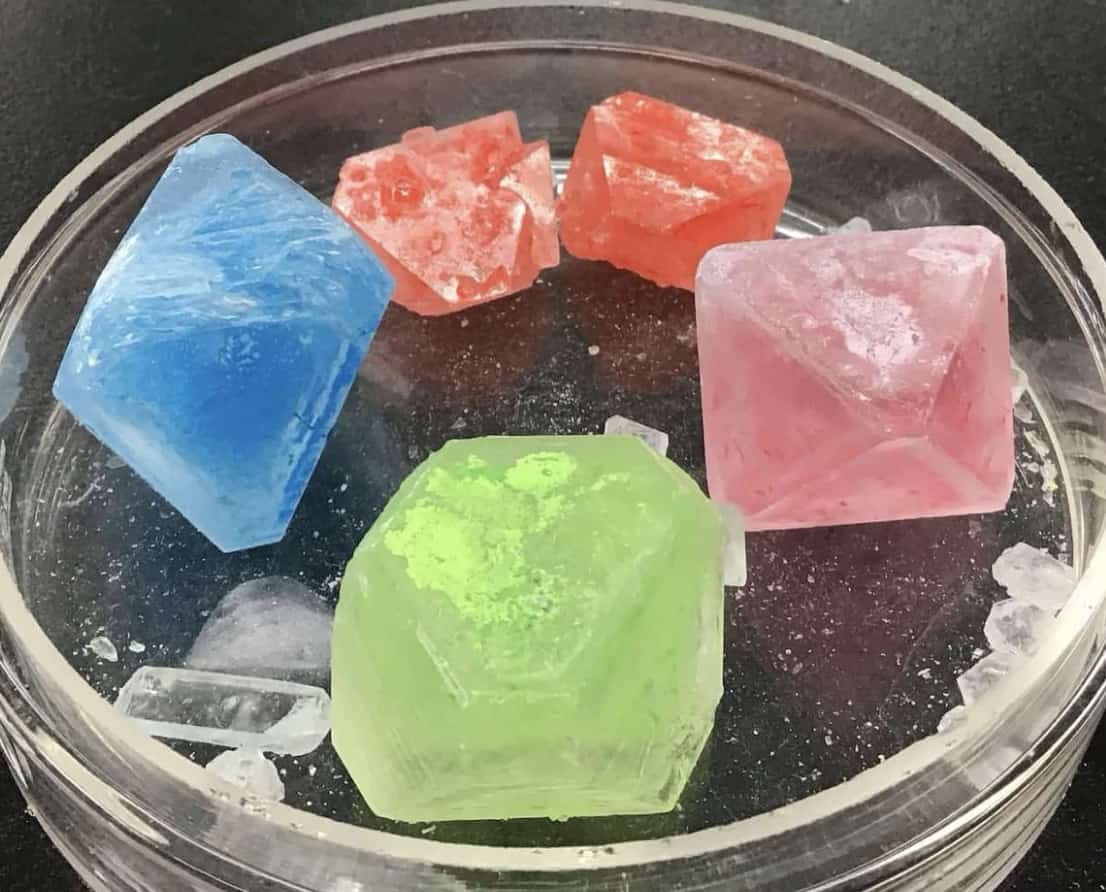
By the way, these are crystals made by students in the science club at my previous school.
I also highly recommend observing ammonium chloride crystals. You can check them out here:
Contact & Requests
Discover the wonders and excitement of science right at your fingertips! This blog offers easy-to-understand guides on fun science experiments you can do at home, along with helpful tips. Feel free to explore and search around!
・Learn more about the operator, Ken Kuwako, here.
・For various requests (writing, lectures, experiment workshops, TV supervision, appearances, etc.), click here.
・Get article updates on X! Follow to stay up-to-date with the latest information.